My last tip on the knife tool caused one of my viewers to bring about an interesting question.
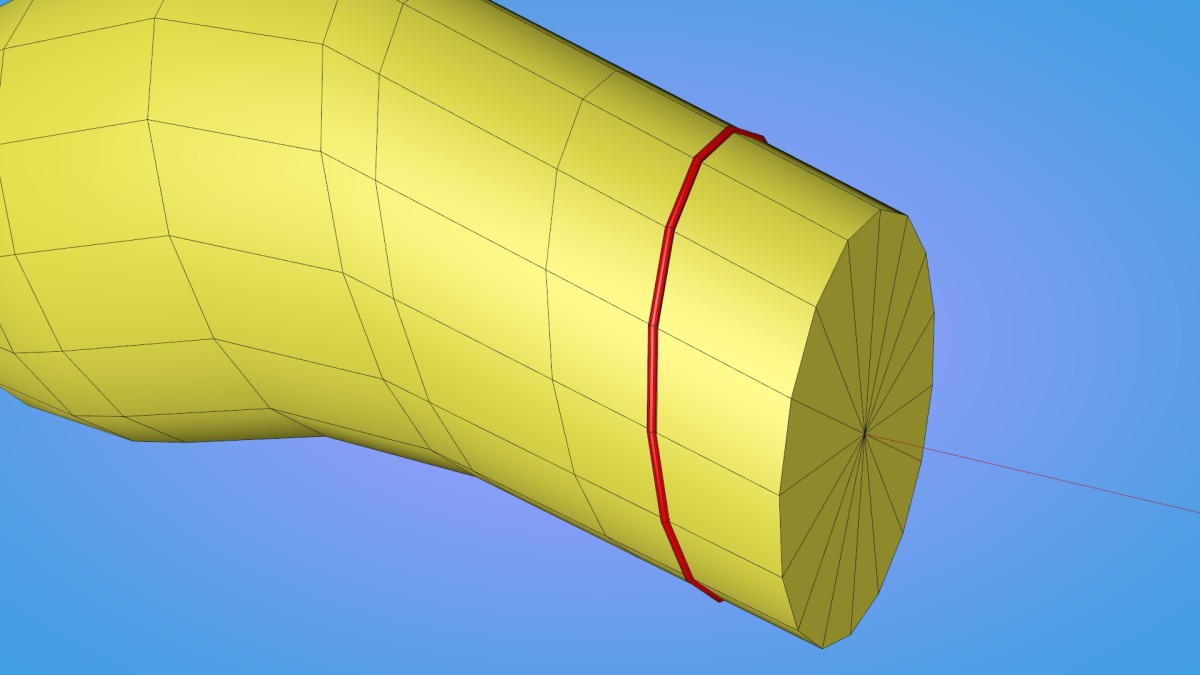
How would you cut a line that is perfectly parallel to a group of selected polygons?
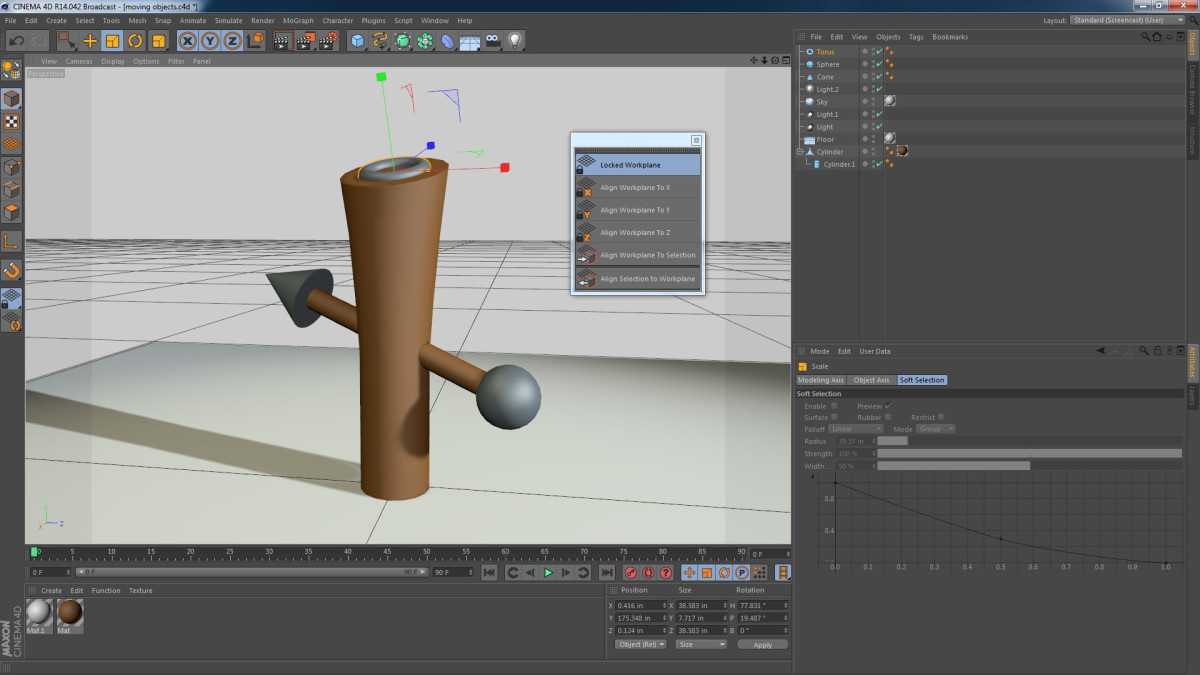
The answer to this actually lies in one of my previous tips on workplanes. Using workplanes and the knife tool, we can indeed create a perfectly parallel cut. See the video below for an explanation on how this is done.