In this part of the Razorback creation series, we button up some of the armor near the front of the machine, and then evaluate the rest of the bike.
Covered in this video
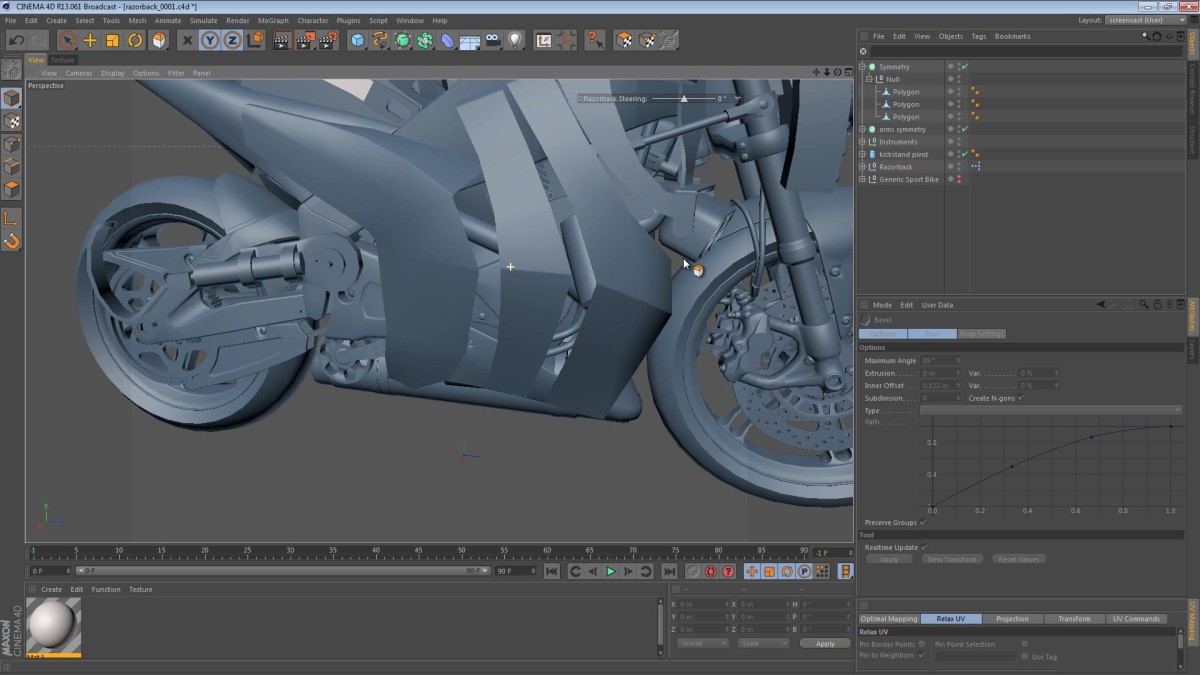
- Near the 3 minute mark, we start beveling the armor plating to give it the appearance of hard creases.
- Once we’re done tweaking the front armor plates from the last video, we focus on armor that would protect the sides of the engine.
- The remainder of the video is spent adjusting the armor and flaring it out so it acts as a cooling scoop as well.