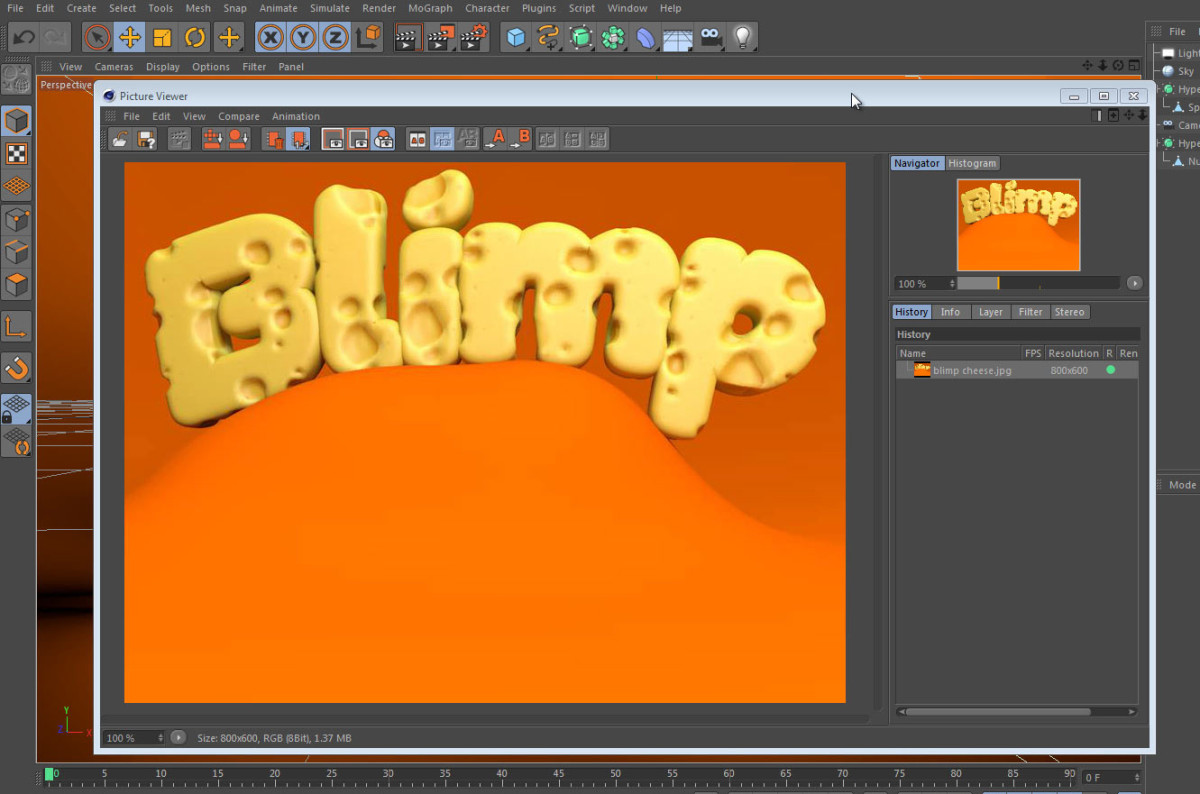
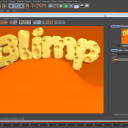
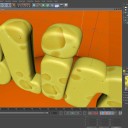
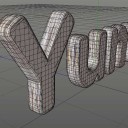
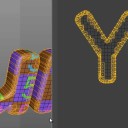
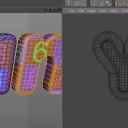
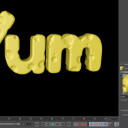
In this final part of the UV mapping series, we take a look at a special request from one of my viewers. He pointed me to some 3D artwork that involved stylized text as cheese. The context of his question was UV mapping. I decided to see how close I could get to the effect while applying UV mapping as a primary technique.
The video below is essentially a re-creation of the technique involved in creating the cheesy text.
FancyRedFox
March 30, 2015 — 3:16 am
UVs have for years been something I’ve understood, but never really been
able to wrap my head around in execution. These videos have been incredibly
helpful for me, especially since I started using Cinema only in the past
year or so. So thanks!
Anders Skov Johansen
November 25, 2014 — 5:01 pm
I like your videos!
Michael Davis
November 22, 2014 — 5:09 am
I have watched dozens and dozens of hours of tutorials, and you are without
a doubt one of the best video tutors I have ever watched (“listened to”, I
guess?). These videos were phenomenal, thank you so much
Bolivar1105
October 4, 2014 — 1:24 pm
great stuff! learnt loads
Daniel Nardi
September 12, 2014 — 11:36 am
Hello Jamie, thanks for this great tutorials series about uv mapping it
really helped me a lot!
I really would love to see your approach on something bit more complex such
as this example:
https://www.behance.net/gallery/19172323/TENIS I’ve been trying to work
this out in terms of modelling and texturing but found it quiet
challenging..:(
Keep up the great work!
Thank you!
Jolly Green Giant
August 27, 2014 — 3:53 pm
Excellent tutorial – you are a great teacher. Do you have any tutorials of creating product packaging using uv mapping or some other method? That would be very interesting, for me at least.
Jamie Hamel-Smith
August 29, 2014 — 11:53 pm
I do not, but the latest version of Cinema 4D might have something for you: https://www.youtube.com/watch?v=-VRbBz3QlHE
Simon Sanders
August 11, 2014 — 4:35 pm
Keep up the great work Jamie your series has helped me understand UV
mapping.
Tommee Graeber
November 27, 2013 — 9:46 pm
Very nice and helpful Tutorial about UV Mapping.
But one thing if i have an Text which is animated and shows then the front
and back, how can i do it then with the seem?
J. Alejandro Martinez
September 9, 2013 — 8:44 pm
Very nice tutorials… I understood much more than with any other tuts about UV mapping… thank you for taking your time to explain this.
Efrain Lopez
July 17, 2013 — 4:59 pm
Great tutorials, it’s hard to find good and step by step tutorials for c4d, specially about texturing and UV mapping. Keep up the great work and thanks for sharing with us your knowledge.
Jamie Hamel-Smith
July 28, 2013 — 6:01 pm
Thanks for taking the time to leave your feedback, and for the kind words 🙂
Rob Gagnon
June 2, 2013 — 9:53 am
Awesome Tuts. Great voice, and thorough explanations. You’re the best in my book. Keep it up. 2 Years with r12, and you still showed me things I didn’t know.
andrea landi
May 2, 2013 — 9:59 am
Hello Jamie it’s italy for you! I enjoied the tutorial, but there’s something I wanna ask you…
in this tuts, for creating new seams, you simply selected the parts wich you want, but I saw in a tutorial an head unwrapped with the relax uv applied, so the face was opened like a candy wrap with just one seam, going from the front to the neck.
this seam was also redmarked.
is there a way for selecting a few segments and tell c4d to use them as a seam?
and please, I’m a beginner, so can you please make a video tip?
thank you again 🙂
TheWim12345
May 1, 2013 — 9:52 am
Great thanks 4 all uv mapping tutorial’s
Jamie Hamel-Smith
May 1, 2013 — 4:34 am
Thanks for the kind words everyone, I will try to record as many as I can.
Jose Luis Tutoriales
April 23, 2013 — 9:50 pm
hi, Im spanish, sorry if you dont understand me 😛
Great videos, its really amazing.
I will like, pelease, if you can and you want, othe tuotorial of Uvs, but this time for a character or a creature, this gives me a lot of problems
Jamie Hamel-Smith
May 1, 2013 — 4:33 am
I’m not very good at characters, but if you watch my Fuel Tank video, it might help.
hypoetical
April 22, 2013 — 9:52 am
why did you add an AO effect to the diffusion channel rather than use it in the render settings? loved this entire series by the way, it’s made me a believer in mapping most situations manually. thank you.
Jamie Hamel-Smith
April 22, 2013 — 2:39 pm
I used Ambient Occlusion in the diffusion channel for a couple of reasons. Aesthetically, I only wanted to fill in the dimples in the cheese. I didn’t want to darken the rest of the scene with occlusion. It can be faster than applying it to the entire scene, and it is typically easier to control the quality vs. render time when you can apply it independently to different objects.
I’m glad that you got something out of the videos!
Steve Langley
April 19, 2013 — 8:19 am
Great little UV series. Definitely answered a few questions. Thanks again.
DononovanKeith
April 17, 2013 — 11:52 pm
Great series, thanks for sharing!
Shawn Altorio
April 11, 2013 — 3:32 am
Very helpful. I learned a bunch of great tips.
MySonyVegas
April 10, 2013 — 7:26 pm
Excellent, I learnt a lot, keep them coming, your tuts!
Herbert001SubCentral
April 10, 2013 — 6:58 pm
Like it 😉
BRODZELi Lasha
April 10, 2013 — 6:56 pm
thank for tutorials
pnvgordinho
April 10, 2013 — 6:02 pm
Porreiro.
NightHawk Italo
April 10, 2013 — 1:04 pm
Thank you very much for great tutorials 😉