Category: Five Minute Tips

Short-form screencasts where I show a quick tip (usually in Cinema 4D) that you’ll likely find useful. It’s worth noting that most (if not all) of these videos have closed captions available in English. If you would like to help me translate one of these tips to your language, please email [email protected].

MoGraph Distribution From Texture

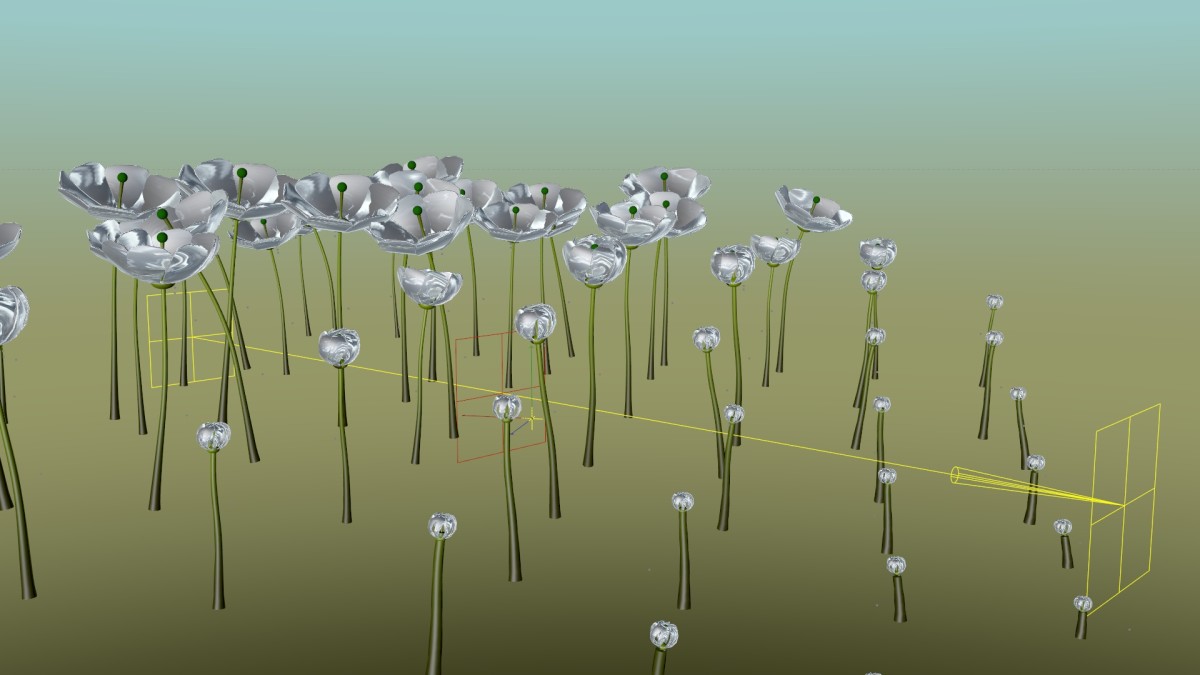
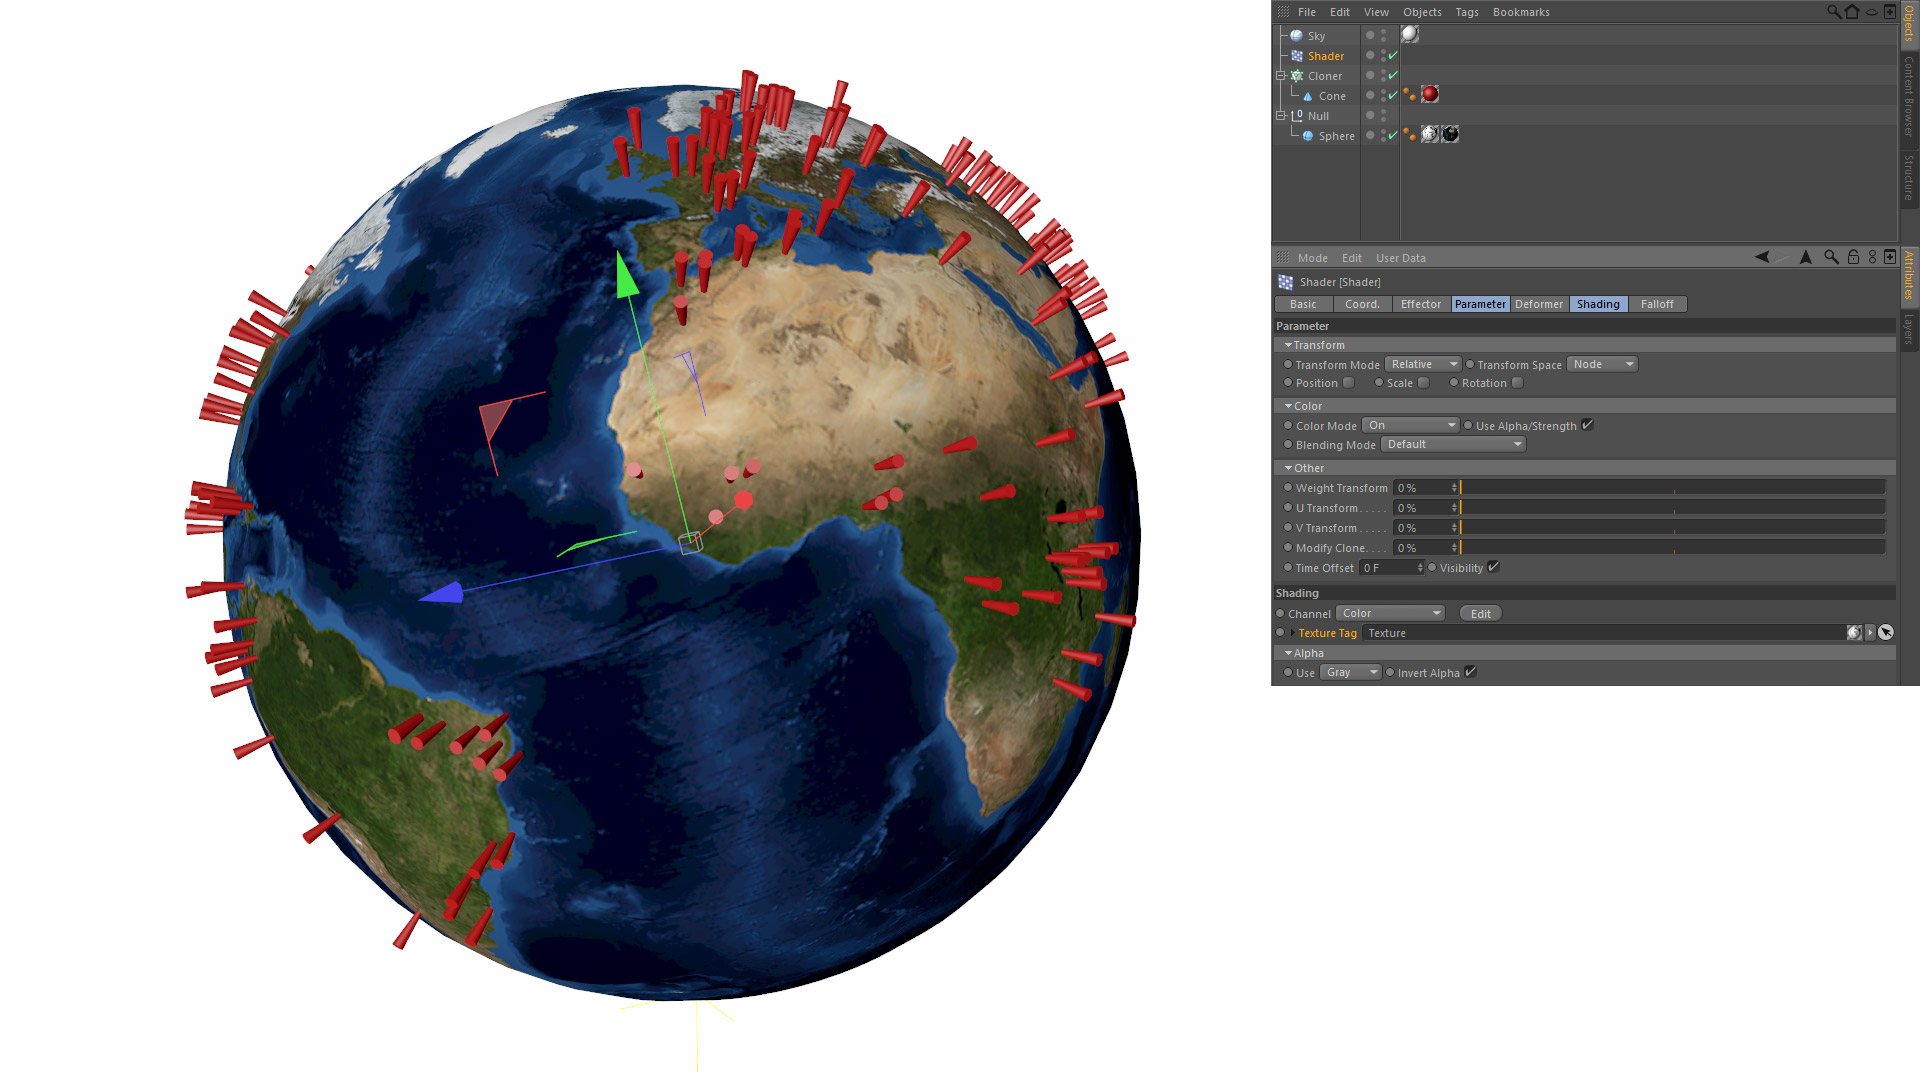
This tip examines a technique that can be used to control where MoGraph clones appear; you can add a Shader Effector, and then give it a texture tag to gain precise control over where the clones appear.

In this video we look at an approach using two example scenes. The first is a simple sphere with cubes as clones; the second is a globe with small cones as population markers.

Read More

Baking Dynamics For The End Result in Cinema 4D

This tip looks at a scenario where you may want to influence the ending position of a dynamically animated object.

The video walks us through the process where we might allows a few objects to fall, and then come to a rest; in this case we want them to rest facing a specific direction.

Read More

Cutting Parallel to a Plane of Polygons in Cinema 4D

My last tip on the knife tool caused one of my viewers to bring about an interesting question.

How would you cut a line that is perfectly parallel to a group of selected polygons?

The answer to this actually lies in one of my previous tips on workplanes. Using workplanes and the knife tool, we can indeed create a perfectly parallel cut. See the video below for an explanation on how this is done.

Read More

Locking the Knife Tool in Cinema 4D

The Knife tool in Cinema 4D does not leave much to be desired. It’s got a few different modes, and a lot of options to slice your geometry or add points. one such feature is not immediately intuitive (but is well documented), and might be useful to you. There is an ability to lock the knife tool’s position and numerically enter a value in the Attribute Manager. Check out the accompanying video to see how this works.

Read More

3 Ways To Move An Object To Another Object In Cinema 4D

This tip focuses on three different techniques to move one object to another when using Cinema 4D.

  1. Using parent-child hierarchies: By moving one object into another you can zero the child object’s coordinates and then they will share the same location and orientation.
  2. Using the Transfer [modeling] tool: This tool allows you to transfer the PSR (Position, Scale, Rotation) data of one object to another. It is very quick and produces predictable results.
  3. Using a custom workplane: The workplanes feature (introduced in Cinema 4D R14) allows you to temporarily change the world axis to an arbitrary position and orientation. Once the workplane is set to the new orientation, you can then model on it at that specific angle.

See the short screencast for a demo of everything I mentioned above.

Read More

Cylinder Slice Bool in Cinema 4D

Cinema 4D has a slice option on the cylinder primitive. In this video we will see how to use that with a Bool object to create a cutaway effect.

The effect is achieved by animating the slice’s From and To properties. By animating one or both of these, you can create a slice that grows out of nothing and rotates around a central point. The video below will show you how to leverage this in order to create a cutaway effect on a turbo-charger model.

Read More

Using Objects as Cameras in Cinema 4D

This tip shows an odd method of object control. It demonstrates how Cinema 4D allows you to navigate the scene using any light or object as your camera.

I first stumbled across this option when (if memory serves me correctly) my 3D mentor and former boss showed me a similar option in E.I.A.S. back in the year 2001. This was before Cinema 4D was the Motion Graphics star-child that it is today and if you’ll believe it; before Cinema 4D had the option of selecting and manipulating multiple objects simultaneously. It’s an old feature that has very little glitz and glamour but perhaps this tip will be useful to a few of you folks out there.

Read More

Controlling GI Color Bleed in Cinema 4D

In this tip we take a look at color bleed from Global Illumination, and how to control it.

Cinema 4D offers a few different controls for controlling GI, and one of them is in every material. The Illumination tab houses a pair of simple values that allow you to accentuate or subdue the GI color bleed without affecting the overall brightness of the effect.
Read More

The Array Object and The Connect Object in Cinema 4D

Sometimes you need to make modifications to every identical side of a radial object. The Array object is great for repeating things in a simple circle, and this video shows how you can use it to get greater control over modeling radial things.
Read More

Splines and Current State to Object in Cinema 4D

This video is a really simple tip showing how to use the Current State to Object command in Cinema 4D when dealing with interpolated splines. Enjoy! Read More

Controlling Animation with Effectors in Cinema 4D

We start this tip by looking at a simple animation of a flower growing/blooming; nothing too amazing. It’s the subject of the video and we take a look at how we can drive its animation timeline using MoGraph and a couple effectors.

Read More

Sweeps and Rail Splines in Cinema 4D

The Extrude, Sweep, and Lathe are very useful objects in any 3D program. Cinema 4D lends itself very well to traditional designers, mainly due to the fact that it effortlessly imports Bezier splines from Illustrator. So, we can use splines drawn in Cinema 4D or in another program to Extrude or Sweep; but what happens when we need more control over the details of the generated object? Read More

Mastodon