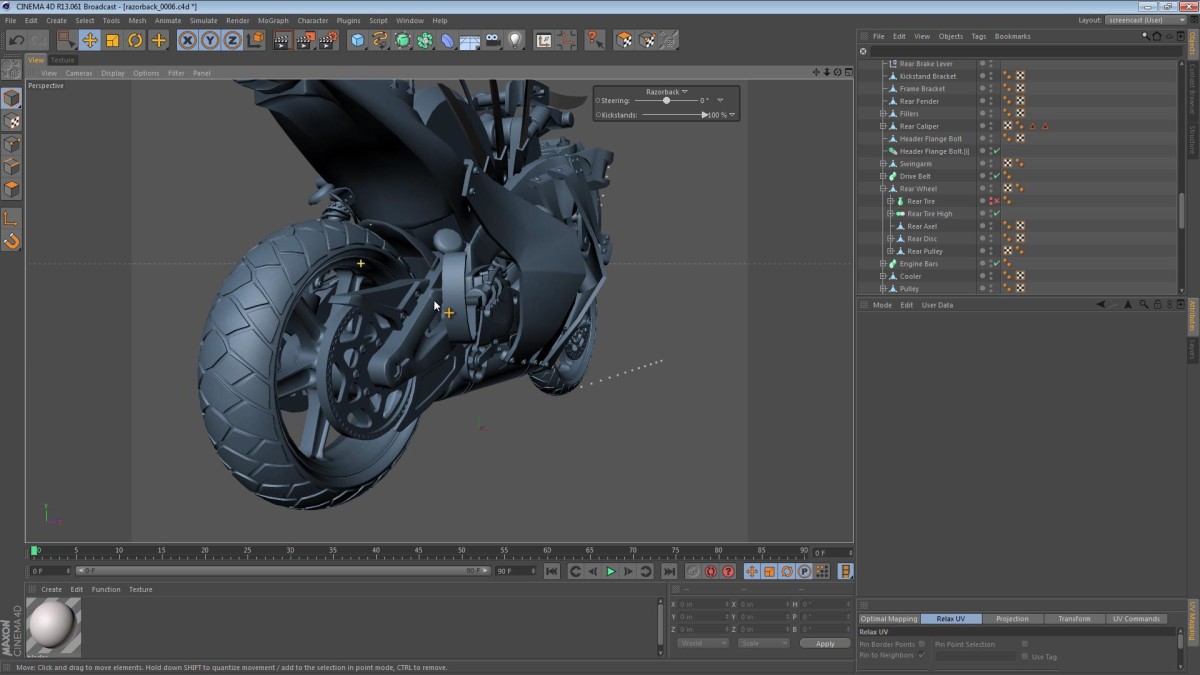
In this part of the Razorback series, we are wrapping up the modeling phase (for now). This video shows a little peek at how the tires were modeled, and then moves onto a little bit of material-making and texturing. If you’d like to see more on how the tires were modeled, then you should check out my motorcycle tire modeling tutorial. It’s long, but a good video I think. Grab a hot beverage and kick back while watching it.
Tag: brackets
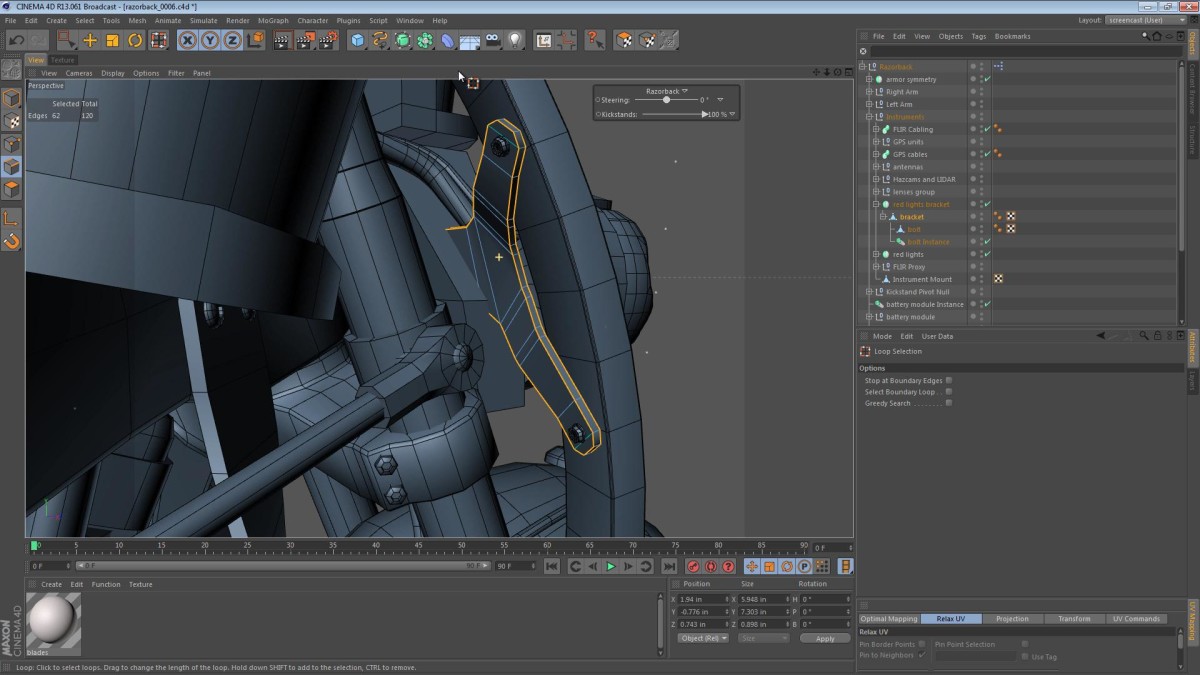
In this part of the Razorback series, we finally create brackets for the Infrared arrays that sit near the front of the machine. These have been floating in space since they were modeled, so it’s about time that they got official mounting hardware. The video is below, and I hope you enjoy it.
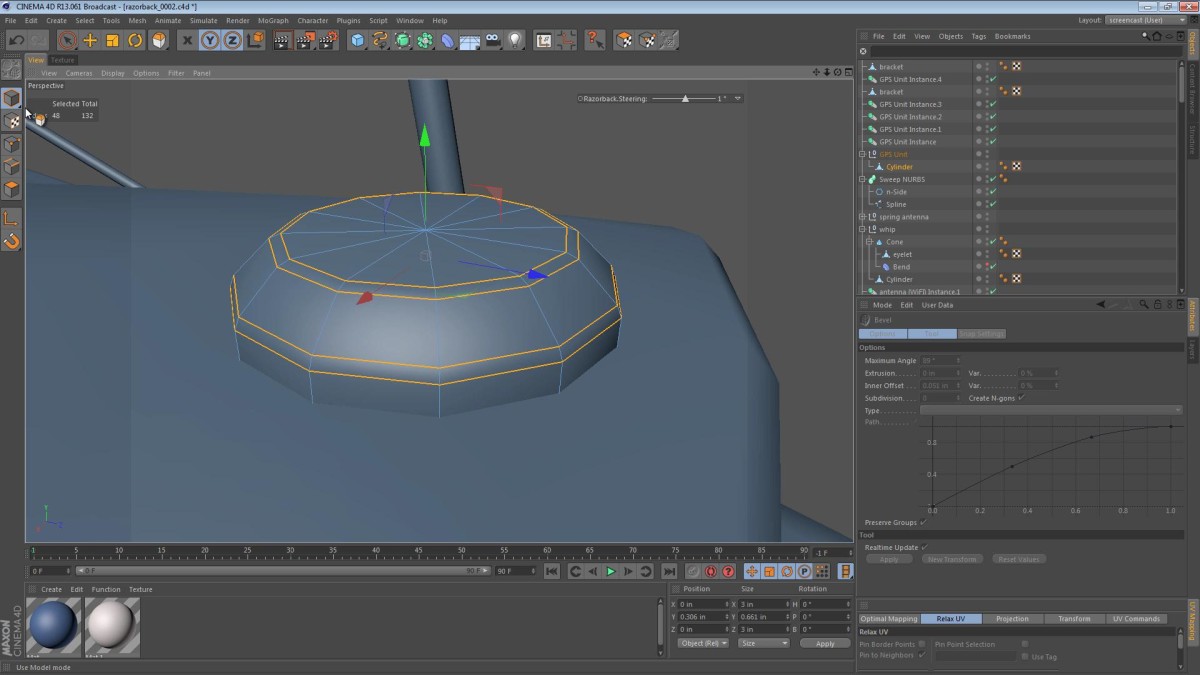
In this part of the Razorback video series, we add a few GPS antennas/receivers. In Daemon, the Razorbacks use an array of sensors including GPS to navigate. The idea of having multiple GPS antennas comes from both the novel itself, and real world implementations where redundancy is necessary.
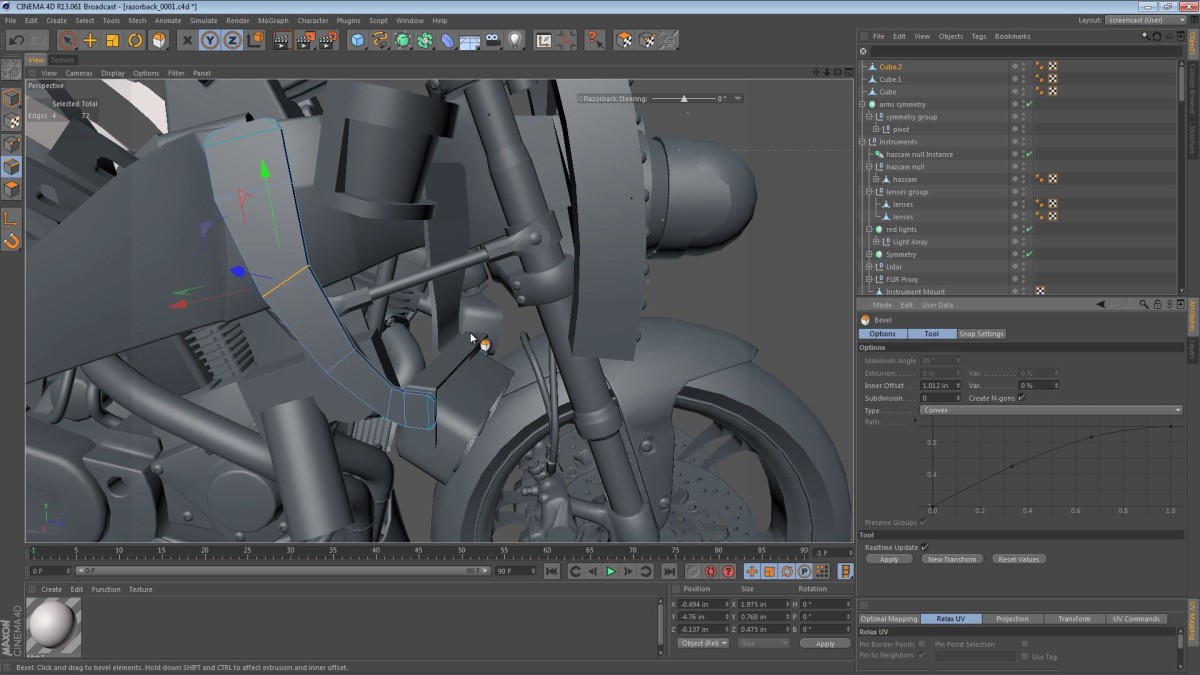
The term Hazcam is taken from the cameras on the front of the NASA/JPL Mars rovers. It stands for Hazard Avoidance Cameras. I think the instrument density is at a good level. We’ve still got to include an antenna array and several GPS sensors as described in the book.
Read More
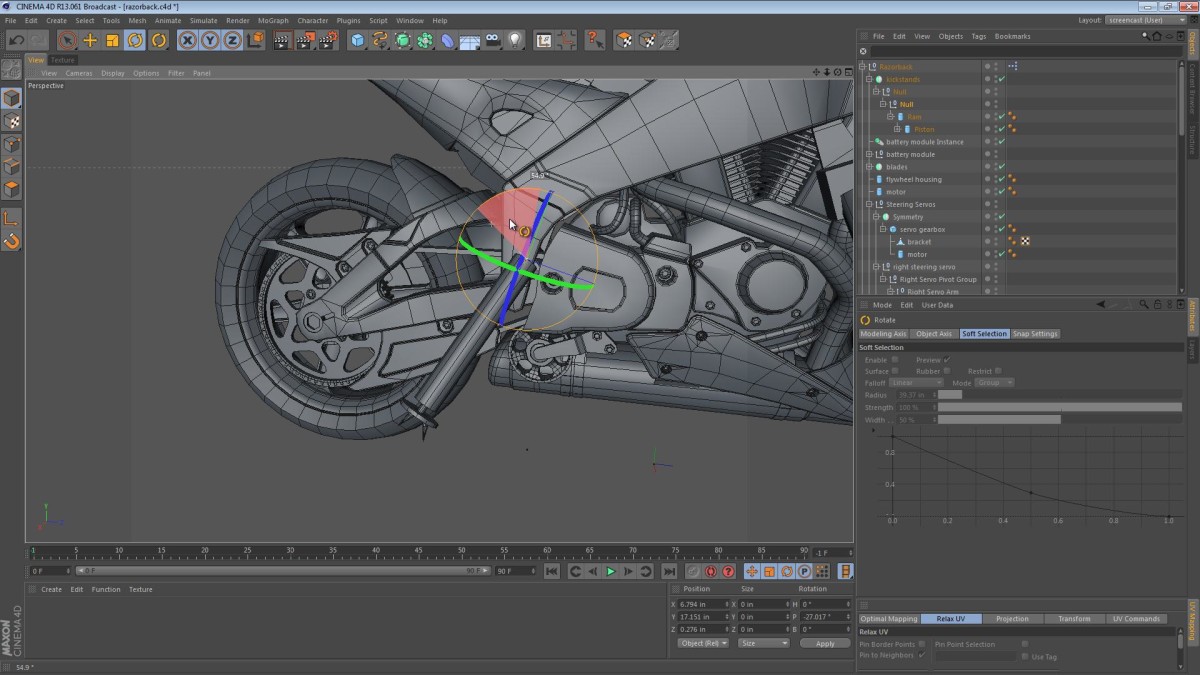
In this video we cover the modeling of the brackets that connect the steering servo gearboxes to the frame. While modeling the brackets, we get to use the Bridge tool to patch up geometry and focus on the benefits of using quads instead of triangles.
We also take a look at the kickstand placement taking issues such as ground clearance and style into account.
