In this part of the Razorback saga, we’re coming up on number 40 in the series. This is a pretty relevant part of the series as we’re starting to get into UV mapping and texturing. The video below is a little similar to my previous UV Mapping tutorial. If you enjoyed the Fuel Tank UV Mapping tutorial, then grab a cup of coffee/tea, sit back, and check out the following video.
What’s Inside
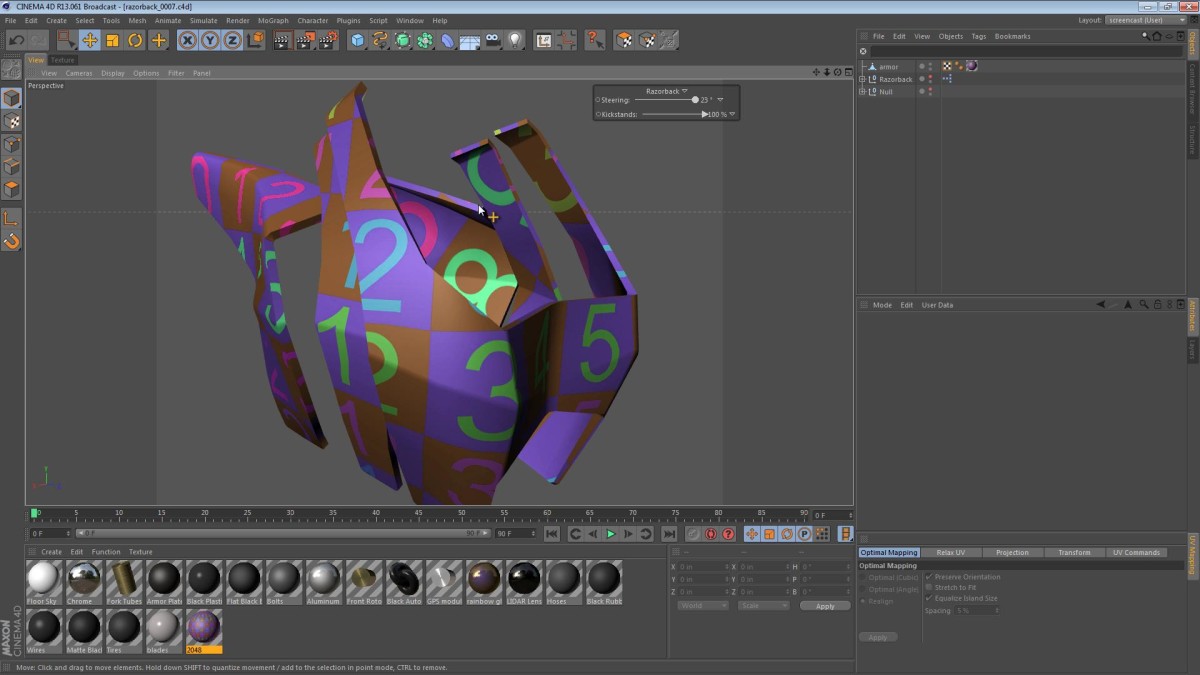
- Initially we experiment with some different texture projections, and instead of trying to perfect the projection, we just settle on a basic projection (Flat Mapping) and assign some UV coordinates. We can see that the mapping worked, but we immediately begin to identify problem areas that need attention. Luckily Cinema 4D’s relax tools can fix this pretty easily.
- Halfway through the video, we take a look at the different ways to split the logical shells of polygons away from each other. Once we’ve separated the shells, we can examine the surfaces for distortion and further justify the need to unwrap and unfold them. There’s a lot of boundary examination and discussion about why you’d choose to cut some of the edges, and which edges make logical sense to bisect.
- Once we’ve torn the UVs apart, terraced them (thanks solomanpro and Alejandro Prieto), unfolded the shells, mirrored the UVs, and tried to pack the shells (or islands) into an optimal area, we can step back and look at the fully UV mapped object.
ragecg
February 26, 2013 — 6:41 am
Well done man, that was very eye opening!
Thanks so much for this video:)
Jamie Hamel-Smith
February 27, 2013 — 1:27 am
I’m glad you enjoyed it!