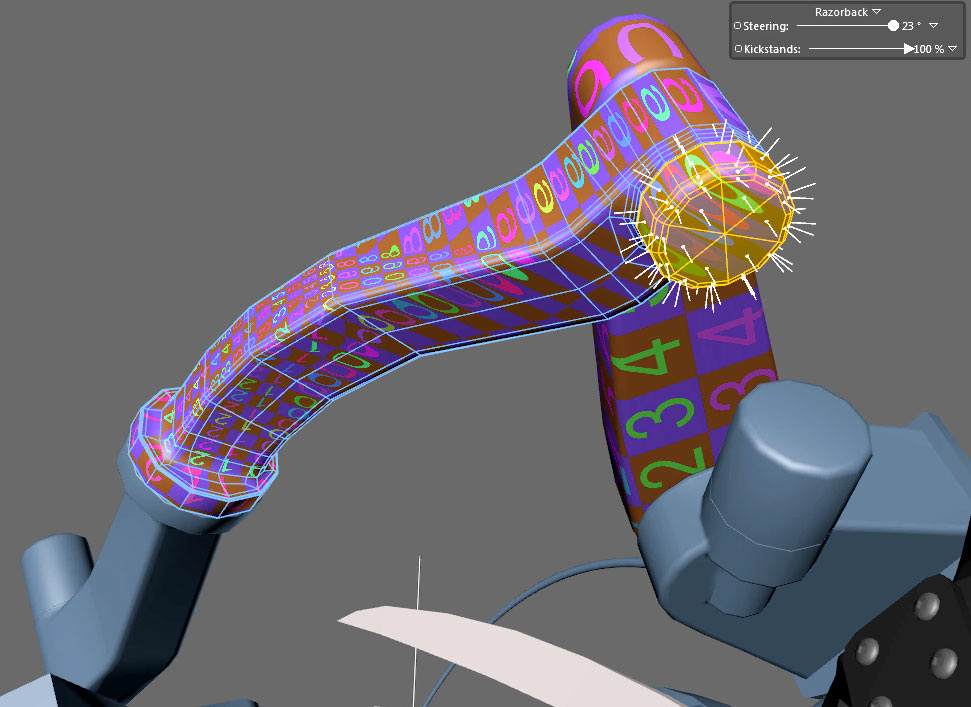
In this installment of the Razorback series (after a short break), we resume UV mapping of the robotic arms. The arms of the razorback contain a few organic profiles, and in this mapping exercise, I’ve decided to approach the mapping from a more organic perspective.
The video below contains a bit of discussion about where the seams should appear, and a lot of technique discussion; mostly involving the unwrapping of this semi-organic shape.


Geertjan
May 14, 2013 — 11:52 am
Hi Jami, from now I can finaly leave the bodypaint wizard alone. Reprojecting different parts of a model in the same uv map is a real eye opener. I didn’t know that that was possible. One question though. Your models seem fairly low poly and I did not see you use hypernurbs to smooth the models. C4d has some tools that deal with the uv’s in a hypernurbs but they are not perfect at best. Do you skip using hypernurbs after all?. Thanks again. Uv mappings finaly fun.
Jamie Hamel-Smith
May 14, 2013 — 8:55 pm
I use HyperNURBS in conjunction with UVs sometimes. I’ve used it on this model: Kawasaki ZX-6R and this one here too: Generic Sport Bike. The trick is to set the HyperNURBS object to Boundary or Edge. That usually fixes the weird UV distortion.
kesmeby
April 18, 2013 — 4:29 pm
This tutorial series is incredibly useful. Easily the best free UV mapping guide I’ve found online.
Jamie Hamel-Smith
May 1, 2013 — 4:31 am
Thanks! Knowledge wants to be free, but sometimes we charge for it. In this case though, it’s pretty much just free :-)
Kwik Gambino
April 7, 2013 — 2:24 pm
Tutorials to help me more understand UV mapping? I’m all for it, Well Done!
Steve Langley
March 26, 2013 — 6:04 pm
Great stuff Jamie. Thanks again.
Jamie Hamel-Smith
May 1, 2013 — 4:31 am
You got it, my friend!