This tip focuses on three different techniques to move one object to another when using Cinema 4D.
- Using parent-child hierarchies: By moving one object into another you can zero the child object’s coordinates and then they will share the same location and orientation.
- Using the Transfer [modeling] tool: This tool allows you to transfer the PSR (Position, Scale, Rotation) data of one object to another. It is very quick and produces predictable results.
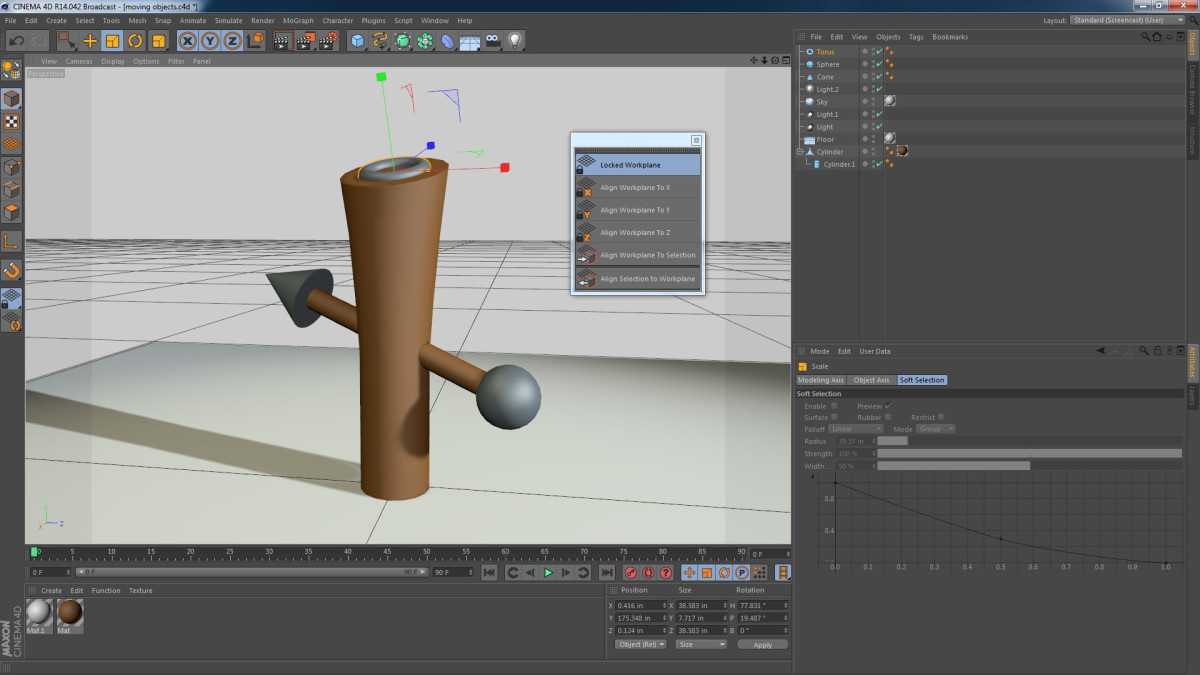
- Using a custom workplane: The workplanes feature (introduced in Cinema 4D R14) allows you to temporarily change the world axis to an arbitrary position and orientation. Once the workplane is set to the new orientation, you can then model on it at that specific angle.
See the short screencast for a demo of everything I mentioned above.
cinematon
May 12, 2017 — 8:17 am
Very nice tips Jamie. I’ve been googling some questions as a C4D beginner and your vids kept popping up, hope you keep making them :). Definitely learned some new stuff, however my original question remains unanswered. I was looking for a way to precisely move an object to another one, so that they would align at a particular point. Like you can in SketchUp for example: https://www.youtube.com/watch?v=wNjyBm6n_-8&t=441
As you can see you you can move the whole object by essentially moving one of its points to a specific point, which is very precise.
In C4D if you try to move a point I don’t see a way to make the object follow it, so you end up distorting the object. Or you have to go through a comparatively cumbersome method: make the object editable, turn on the axis tool, turn on snapping (with the right options) move the axis to the desired point, turn axis tool off and finally move the object to its new destination. Is there really no fast way to do this like in the SketchUp example?
Jamie Hamel-Smith
May 29, 2017 — 4:16 pm
I don’t think there’s a quick way to do this in Cinema 4D.
Piffle
July 30, 2018 — 7:28 am
Hi cinematon,
Create a null and press “Shift + S” to toggle on Snapping.
Snap the null’s position to the desired vertex and then make the object a child of the null.
Move the null, still with Snapping on, to the vertex of the second object.
Job done =]
lieamnion
May 18, 2015 — 8:55 am
Really great!Thanks for sharing :-P
Chichou Soual
May 3, 2015 — 12:40 am
thanks for sharing this techniques
Jon Bonebrake
January 11, 2015 — 10:22 pm
Fantastic tutorial. Subscribed and plan to watch all of your tutorials.
VitoLee
December 11, 2014 — 1:09 pm
Nice Jamie! I learn everytime something important from you 🙂
Thank you so much.
Here is my wishlist with things that i wish to learn from you in the future
😀 …
– Aligning the Gizmo to Edge direction
– Physics & Dynamics
– Joints, Constraints
See ya soon!
regards
slackdave
November 11, 2014 — 11:27 pm
C L E V E R !!!
…one of the few who seem to have read the manual!!
Julian
September 30, 2014 — 4:16 pm
Great tips! Do you know of a good way to “proportionally resize” one mesh to another?
Thx
Erik Blad
September 15, 2014 — 11:00 pm
So helpful. First time Ive seen the workplanes explained so clearly. thank
you.
Milo Mirabelli
September 4, 2014 — 10:55 pm
Very good, btw, how are you accessing the drop down axis menu shown at the
very end of the video?
David vesty
August 30, 2014 — 11:29 pm
Amazingly useful – great tip thanks
Curtis Rhoads
August 30, 2014 — 6:29 pm
Here’s a little Cinema 4D tip that I’d like to share. It covers three ways
to position objects to other objects, including the use of workplanes.
Tom D
August 30, 2014 — 12:27 pm
<3 my workplanes
Kai Sinzinger
August 30, 2014 — 11:04 am
very usefull, as allways – Thank You!! #:)
Max Rybakov
August 30, 2014 — 9:55 am
thanks
Xppro304
August 30, 2014 — 9:49 am
Thanks!!!
gumzster
August 30, 2014 — 9:17 am
Nice little tips. Btw there is a reset button for position/scale/rotation.
shift+c reset psr
I use it all the time so I keep the button on the interface.
Cubinator73
August 30, 2014 — 8:26 am
Very cool tips, especially the last one :)
InfiNity Stoffer108
August 30, 2014 — 7:36 am
Thx dude!
Jamie Hamel-Smith
August 30, 2014 — 7:11 am
Here’s a little Cinema 4D tip that I’d like to share. It covers three ways
to position objects to other objects, including the use of workplanes.