Publishing Java Based Panoramas With PTviewer
- Click & drag the image to look around.
- Use the + & – keys on your keyboard to zoom in or out.
- Use Shift & Control to Zoom in & out while dragging.
Basic Formula
The code below shows the bare minimum code required to display a panoramic image in your web browser. (with the addition of the ‘auto’ parameter which makes the view rotate until the user clicks the image.) This code must be placed within the body tag of your HTML Document.
<applet archive="ptviewer3.jar" code="ptviewer.class" width="480" height="320">

<param name="file" value="sample_full.jpg">

<param name="auto" value="0.1">

</applet>
The above text belongs to the HTML Document that is diplaying the Panorama, but two additional flies are required to display the panorama: The Panoramic Image & the .jar (Java) File.
You can see references to these two files in the above code (highlighted in red): (ptviewer3.jar & sample_full.jpg) — sample_full.jpg is the file name of the panoramic image that I used for this example and as you can see from the image below, ptviewer3.jar is the name I gave the .jar file that is being referenced in the code.

The .jar (Java) File that is showing the above panorama is version 3 of the ptviewer.jar file. I am using this version of the .jar file on this page, and I have renamed it to remember which version of the file it is.
- You can download the ptviewer3.jar file here. (Right-Click and “Save As”)
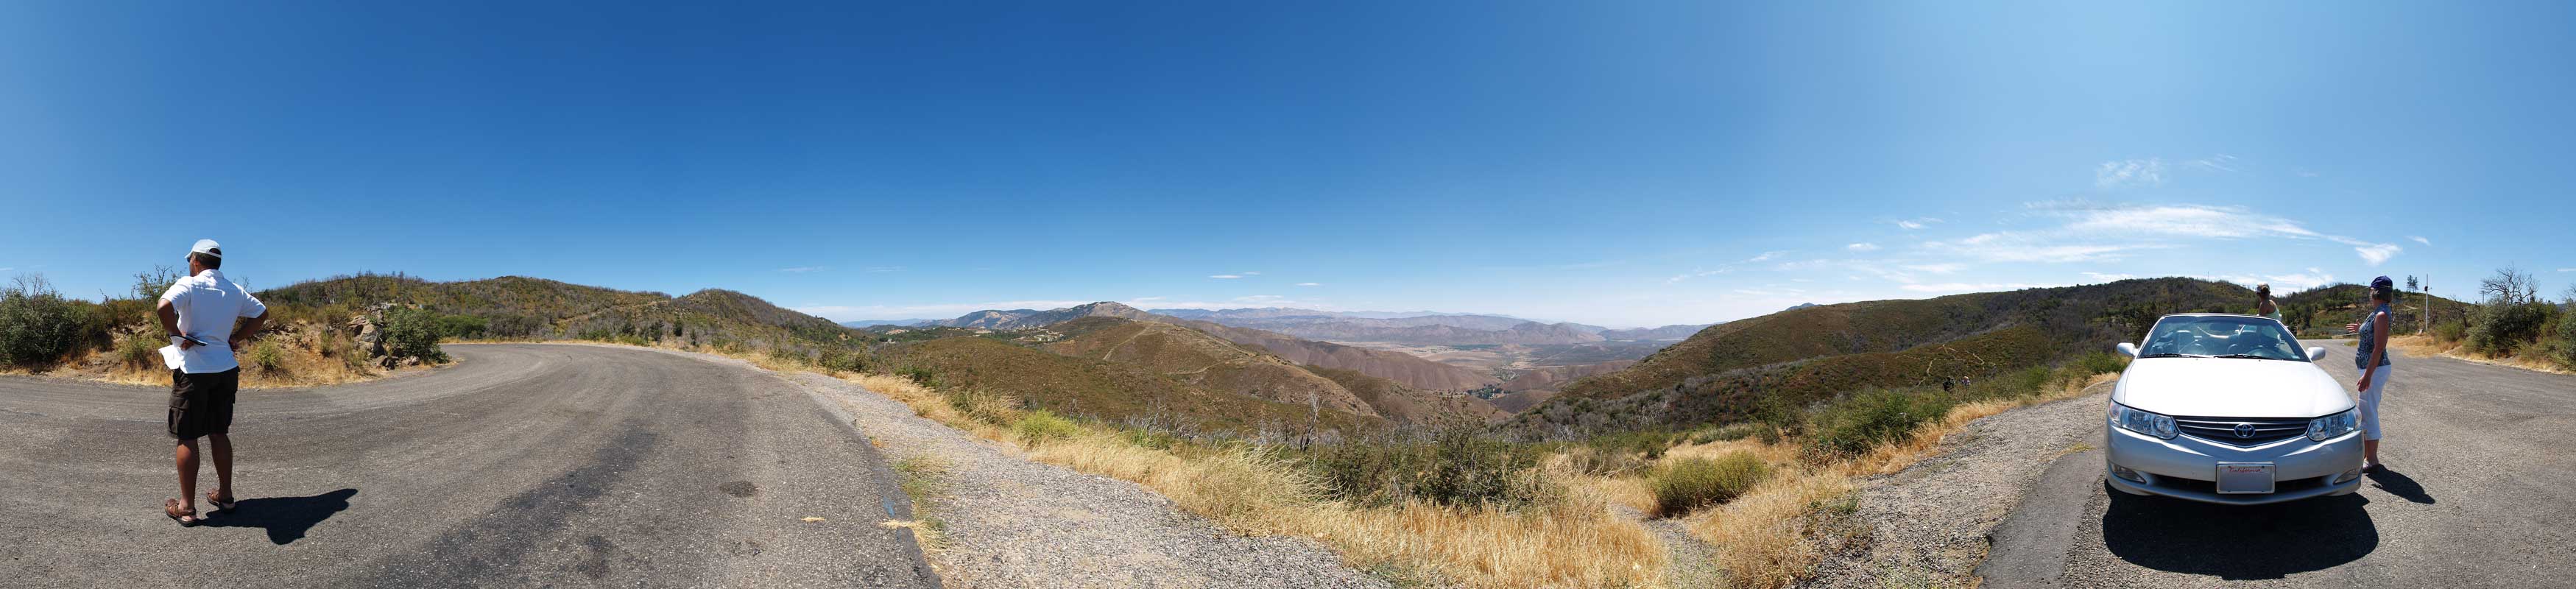
- You can view the Panoramic Image (sample_full.jpg) here.
To download other versions of the PTviewer file, check the link to ‘PTviewer at the PanoTools Wiki’ at the end of this page.
Full Vs. Partial
A full panorama is one with a field of view (FOV) of 360° while a partial panorama is one with a field of view less than 360°.
For a partial panorama, you will want the “camera” to stop at the edges of the image instead of showing the seam where the left and right edges meet. You will also want the image NOT to be stretched a full 360° around a spherical view. To obtain this effect, you simply add the following parameter to the code between the APPLET tags along with the other parameters:
<param name="pfov" value="180">
This code tells the panorama viewer that the image you have specified has a partial field of view (pfov) of 180° You can estimate this number, or your stitching software such as Hugin (Using PanoTools) may be able to tell you the combined Horizontal FOV of your panorama. The partial panorama below has a horizontal FOV of 218° according to Hugin & PanoTools.
If we look at the Jpeg File for the partial panorama, the line going down the center of the street is actually curved quite a bit because of the wide Horizontal Field of View. When looking at the Panorama below the Jpeg, the fact that the center line in the street is perfectly straight is a good indication that the number for the FOV is pretty much spot-on. If this number was too high or too low, the line would “bow” upwards or downwards in the panorama.
Sample Partial Panorama

Here’s the code for the partial panorama:
<applet archive="ptviewer3.jar" code="ptviewer.class" width="480" height="320">

<param name="file" value="sample_partial.jpg">

<param name="pfov" value="218">

<param name="auto" value="0.1">

</applet>
In this code, the jpeg image has been changed to a partial panorama and the line of code discussed above was added as a parameter. The viewer interprets this extra line of code and makes the necessary adjustments to the setup.
There are many other parameters and features, but these are the main and essential features needed to view the panorama, weather it’s partial or a full 360°! If you are interested in researching these additional features, check the documentation for PTviewer. Be warned, not all the features work in all the versions of PTviewer, so test your panoramas before using a different version of the ptviewer.jar file.
Jim Loudenback
August 12, 2010 — 12:39 pm
I am a novice at panoramics. I am a senior and have taken some photos (usually 12 shots in a 360 degree panorama) at our clubhouse to use as my sample project. I am doing some research to find how you create hotspots on 360 panoramas that navigate from one panorama to another. I do not know if that is possible but if it is I would like to find the code. I have seen some websites that deal with real estate which combines floor plans to hot buttons. That would be nice for my project but I would think that I would have to put out big bucks for that type of application. A “fixed income” will not allow me to spend such money. Again what I want to do is to link a panorama I took in the entry way of the club house to the panorama I took in the computer room and in the library.
I would appreciate all the help you can give me and I think you for your time.
Jamie
August 12, 2010 — 1:15 pm
As far as I can tell, PTViewer 2.8 does support hotspots. I have not tried them personally, but I’m sure if you comb through this documentation http://www.fsoft.it/panorama/PTViewer/PT_Reference.htm you’ll be able to figure it out.
Looking at the documentation, I’m not actually sure how to set them up but if anyone reads this and knows how, I’m sure they’ll let us know.
Zoom Dan
July 21, 2010 — 9:10 pm
I am studying this. Thank you for the tutorial. Very useful.