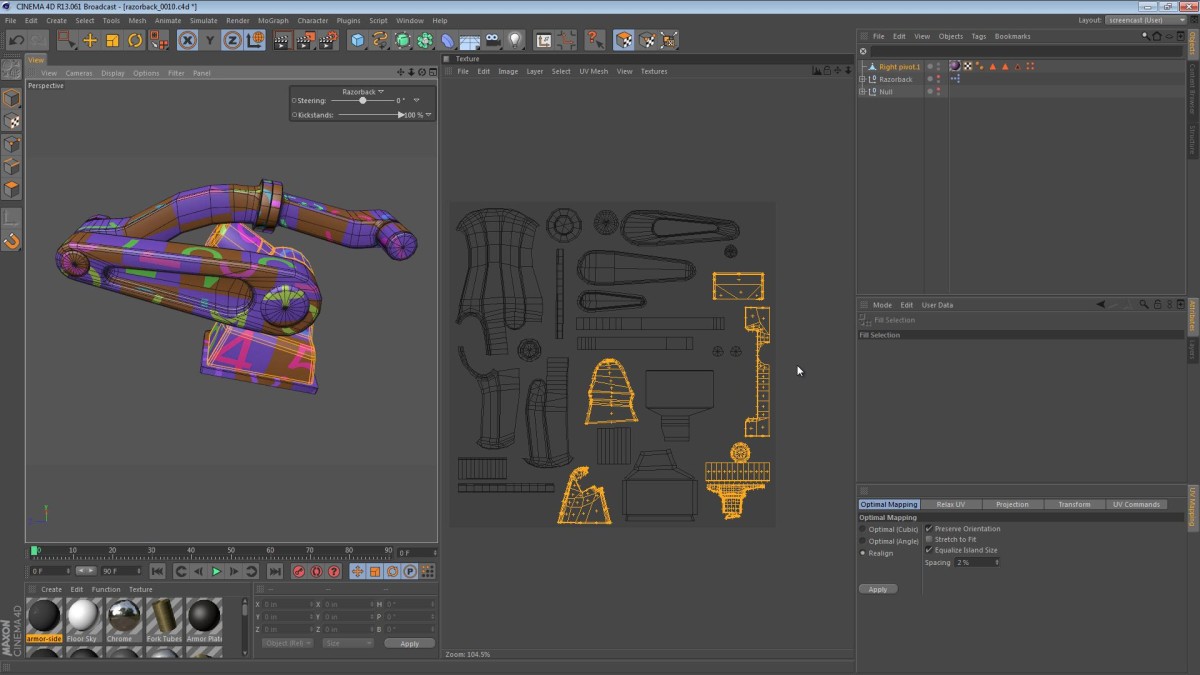
This episode takes a quick look at the concepts involved in joining geometry for the simplification of UV texture files.
Typically, when a UV mapped object is textured, we use one texture map per object (or contiguous mesh). This works well for characters and weapons, but for something like the robotic arms, there may be a better way.
tobu
April 6, 2015 — 10:14 am
You can also use the “connect objects” modifier to combine the textures of separate meshes. The rest of the tedious uv work remains the same though.
Bruce Brachman
July 8, 2013 — 2:20 pm
Jamie:
Kind of just jumped into your tutorials. Razorback seems to be familiar. Daemon? Freedom? As soon as you rotated the knife arm at the end of the video, I thought that I know this bike. Then the name hit me.
One request, saving the texture and UV map file with the linework is something I’d like to see. Otherwise, you have simplified a seemingly complicated workflow that has eluded me for a while. Thank you.
Jamie Hamel-Smith
July 28, 2013 — 6:05 pm
Yep, it’s from Daemon/Freedom. I’m a big fan of Daniel Suarez and his books.
Actually, I did create a tutorial on the thing you’re asking about. Go to my site ( jamie3d DOT com ) and search for: “Create a UV Mesh Layer”
Daan yo
May 8, 2013 — 6:47 pm
i have a quastion over creating the tires: how can you model along the spline on the plane? if you know what i mean??
Jamie Hamel-Smith
June 28, 2013 — 3:41 am
It’s modeled flat and then bent using a deformer. I have a couple tutorials that show how. Just check my channel.
Daan ieks
August 11, 2013 — 4:35 pm
thnx :)
ragecg
May 7, 2013 — 4:16 pm
That’s so sick man, GREAT job as always!