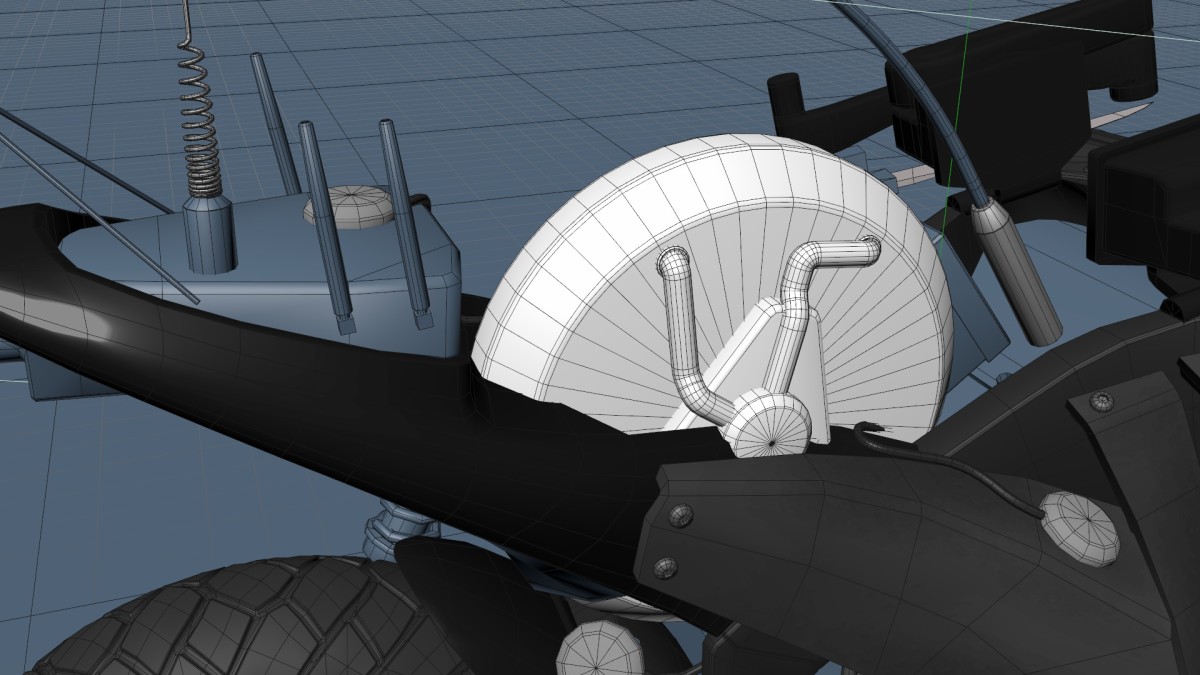
This part of the Razorback series focuses on the details of the K.E.R.S. flywheel housing. Most K.E.R.S. systems look like a boring cylinder with some generators and wires. But in this case, I wanted the system to look a bit more mysterious. We just added a triangular brace and a few lines radiating from the central pivot. The end result looks interesting to me, so I’d say that I am fairly happy with it.
Author: Jamie Hamel-Smith
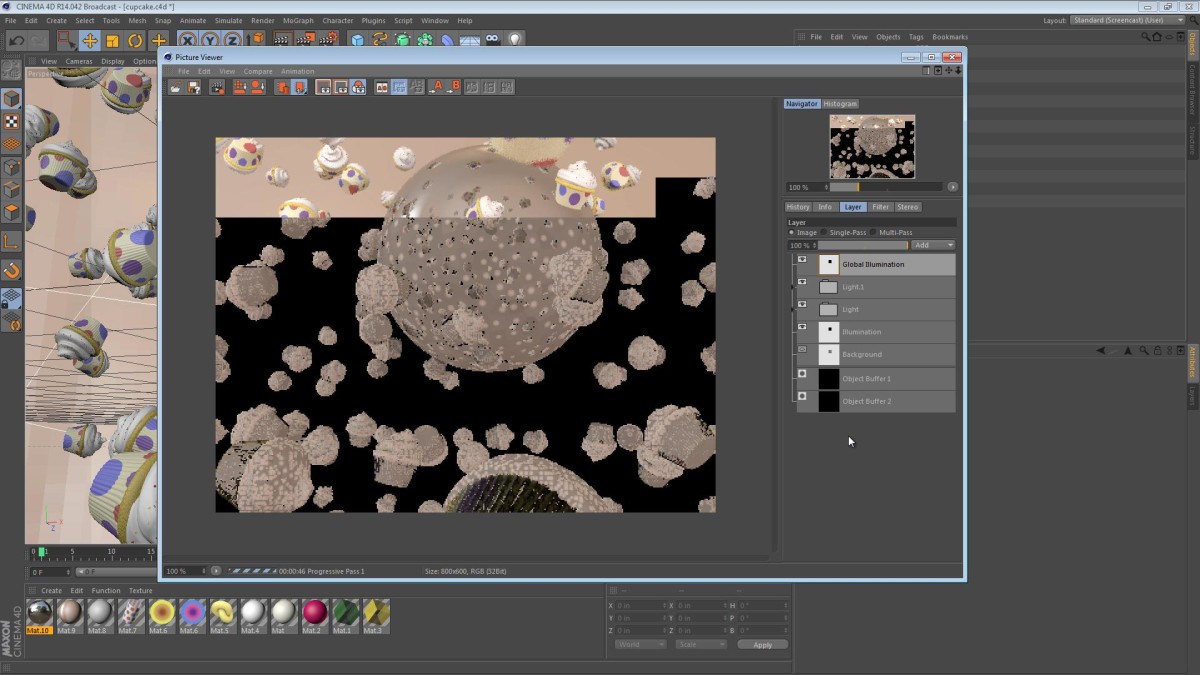
The Cinema 4D multi-pass rendering feature is an astonishingly powerful feature; it becomes more powerful when you have a scene that takes a significant amount of time to calculate. The feature becomes even more powerful when you assign Object Buffers to certain objects that might need a little help in post-processing.
Check out the video below to see how you can leverage this tool.
Read More
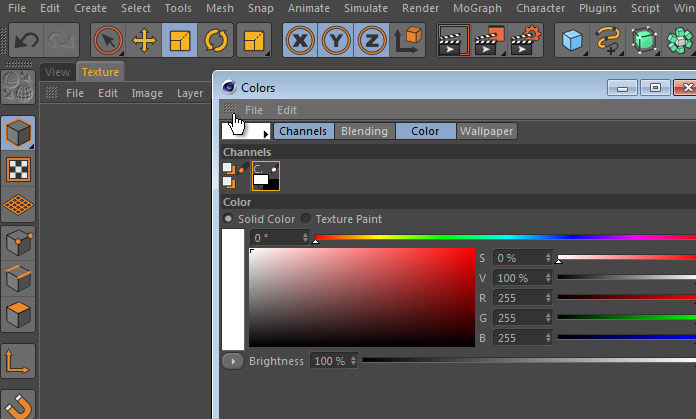
This tip is a perfect example of a technique that is so strange that you may never use it. However, if you do run into this issue, you might save a few precious minutes of your time with the technique below.
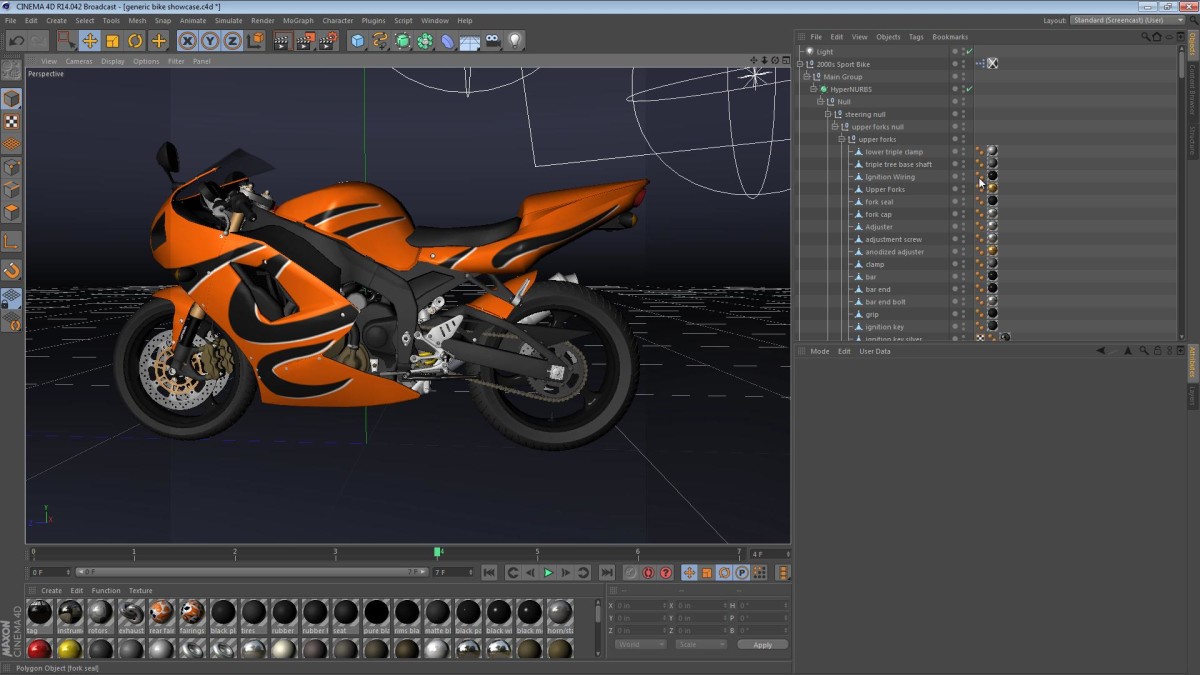
Cinema 4D (like many other 3D packages) applies materials hierarchically—if you apply a material to an object that has many children, all of the untextured children get that material applied too. There might be a situation (testing lighting for example) where you want to take an already textured hierarchy and apply a new material to all of the objects. Watch the short video below to see what that means.
Read More
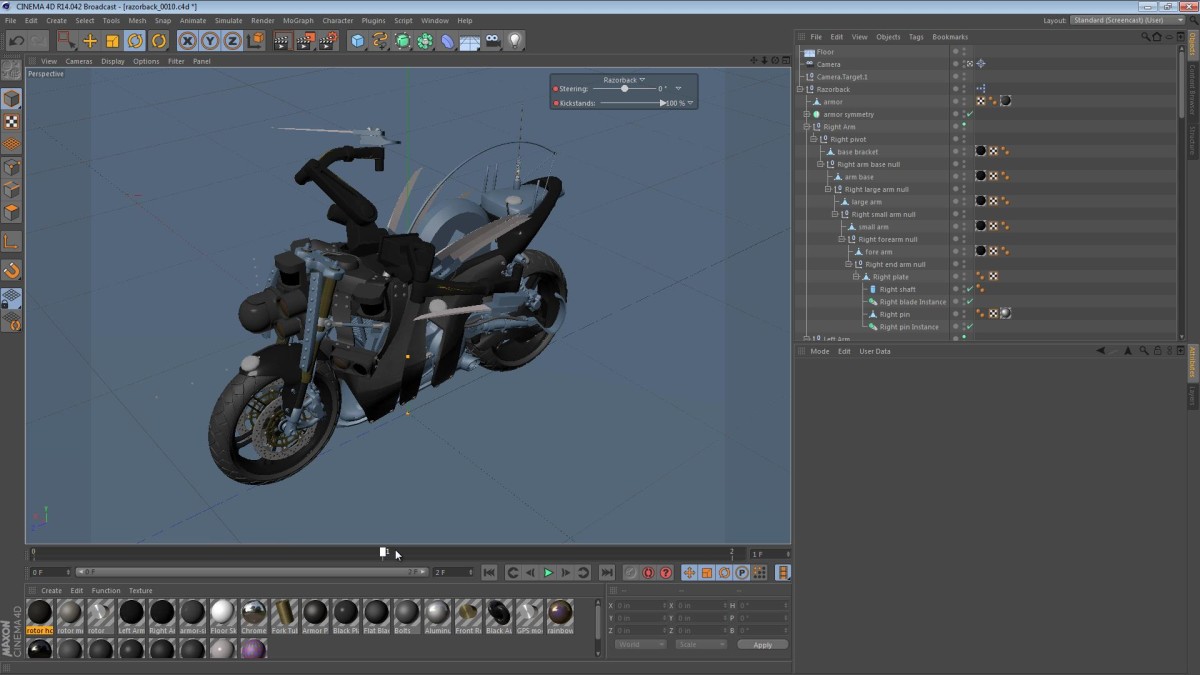
In this part of the Razorback screencast, we start off my looking at the rear tire and tweaking it a bit for accuracy. Once that’s complete, we move on to the concept of layout and posing. It’s a nice mixture of techniques, and I hope you enjoy it.
Read More
Cinema 4D has always had one of the most customizable and intuitive layout systems. The ability to create and reorder palettes is just amazingly powerful. I’ve had a few viewers ask about my layout, and I thought I’d give a bit of insight into why and how I setup my workspace the way I do.

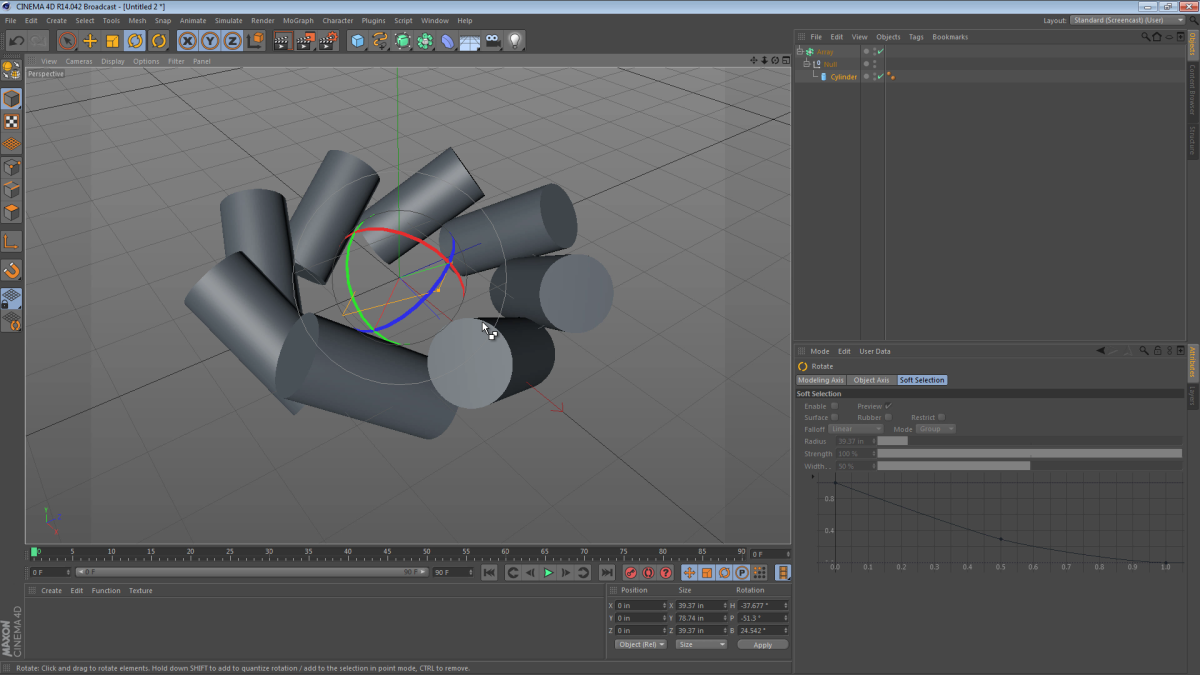
The Array Object in Cinema 4D is a convenient building block. Although some of its functionality comes with the MoGraph Cloner, it is still my favorite modeling aid when I need a few of the same object precisely laid out in a circle.
One of the challenges the Array object poses, is the lack of coordinates for position and rotation as you are working with the objects. This can easily be remedied by using a Null Object as the parent that the Array is replicating. Check out the short video below for an explanation.
Read More
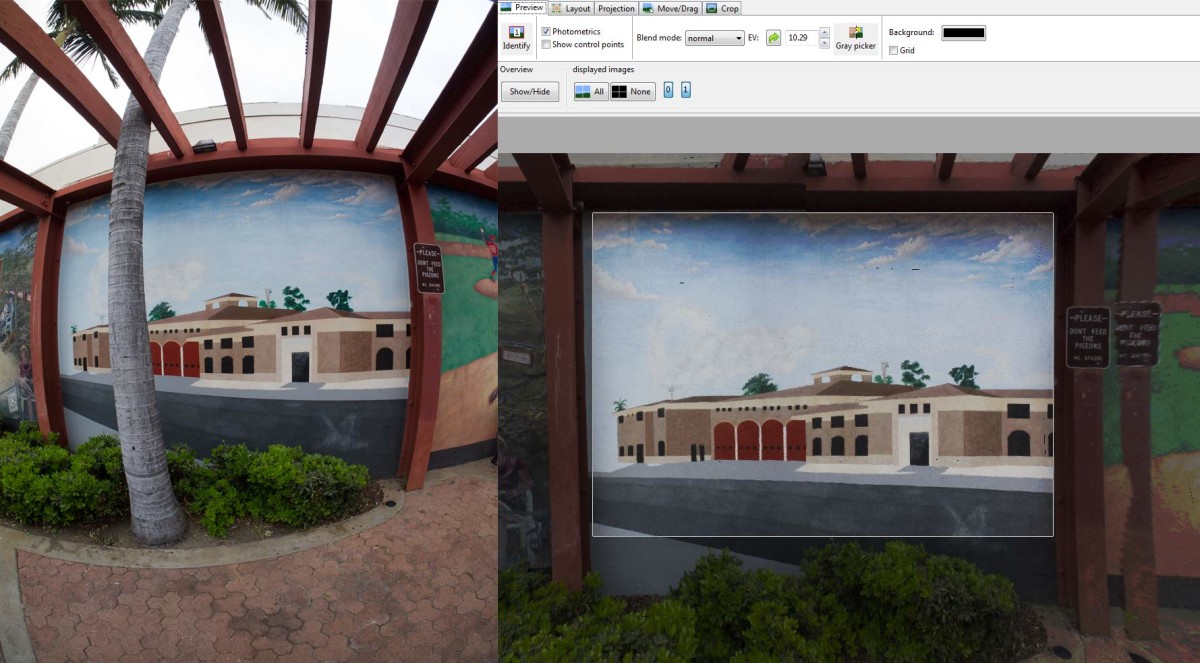
Before diving into this tutorial, I’d like to thank the following posts and their authors:
- Hugin tutorial — Stitching flat scanned images
- Hugin tutorial — Stitching murals using mosaic mode
- Linear Panoramas (Mosaic) Tutorial
- Creating linear panoramas with Hugin
The above posts armed me with the knowledge and techniques needed to go out there and shoot some really cool looking murals, while teaching me what I needed to create the below video. Read More
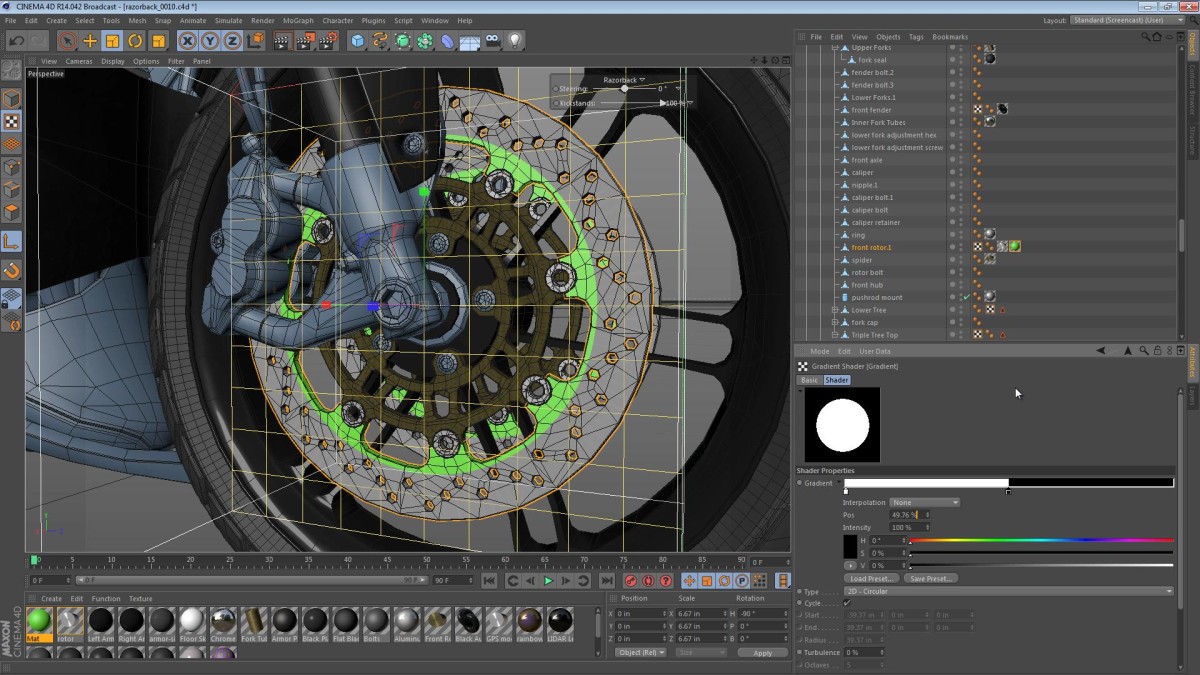
In part 48, we take a look at mirroring our UV map work, and duplicating one of the texture maps for the arms. We then move on to a more procedural method of texturing the front brake rotors.
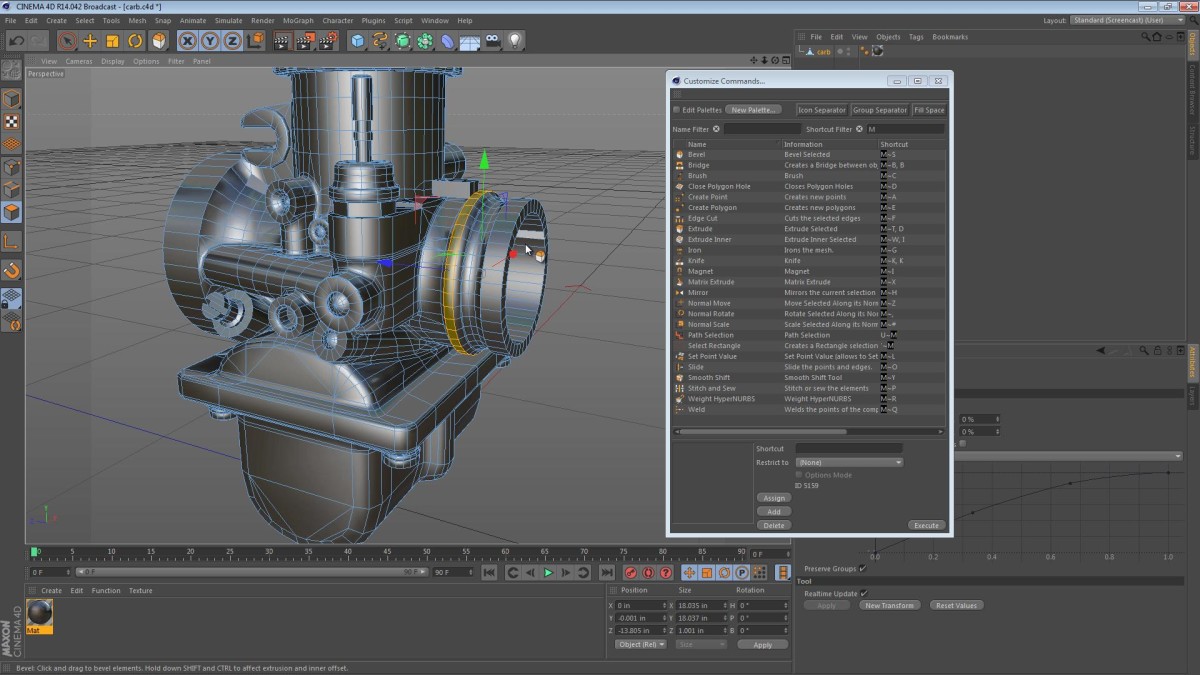
Cinema 4D (like many other modern 3D packages) has the ability to assign custom keyboard shortcuts. I typically assign a few groups of custom keyboard shortcuts for things like selection tools and painting tools.

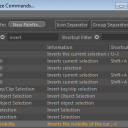

In the video below, we take a look at how you can assign your own shortcuts.
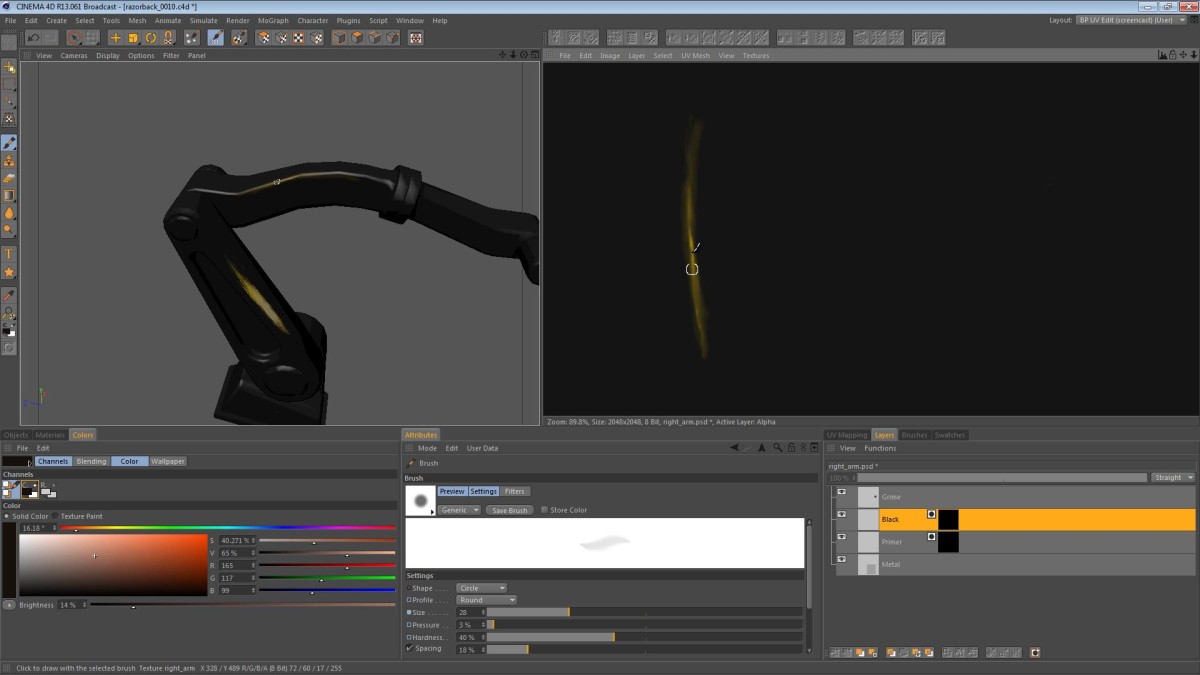
This part of the Razorback series focuses on painting the fully UV mapped arm. It’s a simple video, but hopefully, there will be more interesting parts in the near future.


Here’s a post that is a bit different for this blog. I don’t typically post about photography, but in this case it’s more about image manipulation. Photography is one of my hobbies, and especially panoramic photography. Some of the image straightening techniques explored here can also be used to prepare textures for use in 3D, so it’s still relatively relevant to this blog. Read More
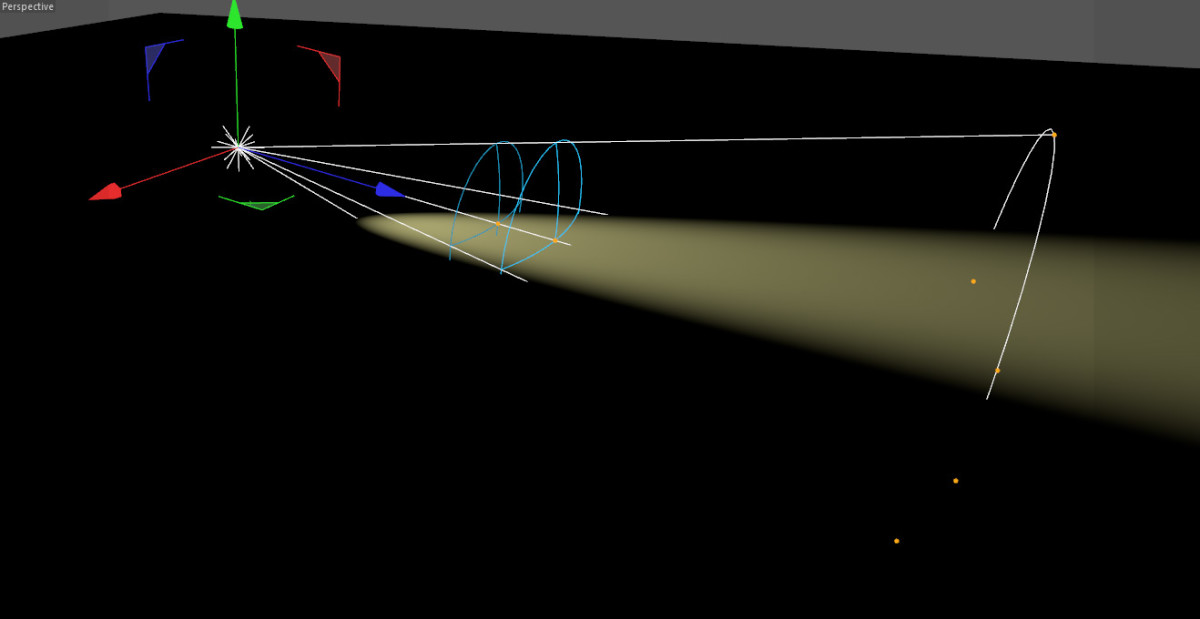
The Near Clip and Far Clip features in Cinema 4D are pretty useful, but they can be slightly tricky to understand. In the images below, you can see an example of how near clipping will influence a light’s illumination, but in the video we take a look at how it can also influence its shadow. Read More