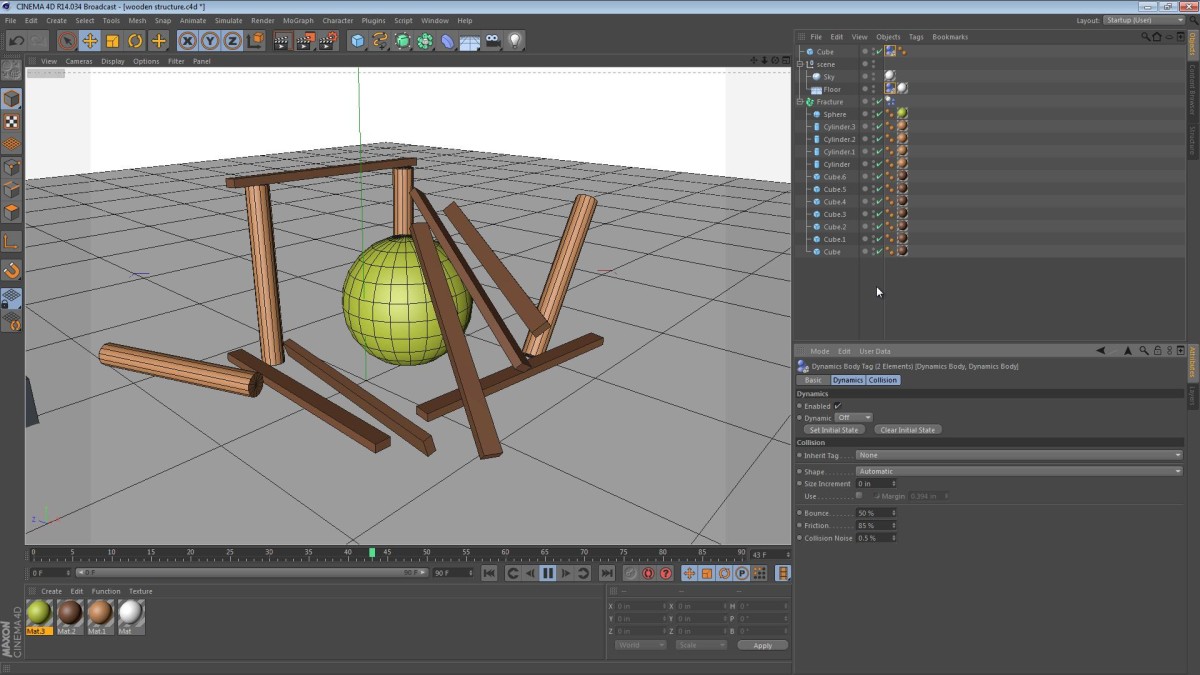
This Five Minute Tip focuses on achieving simple dynamics in Cinema 4D using MoGraph. The dynamics module in Cinema 4D Studio is awesome, but the Broadcast Edition lacks a full dynamics tool set. This technique will not replicate more advanced features like soft bodies, wind, or air pressure, and does not easily allow for different properties per object. Having said that, it’s important to note that this technique is quick, simple, and relatively effective.
Author: Jamie Hamel-Smith
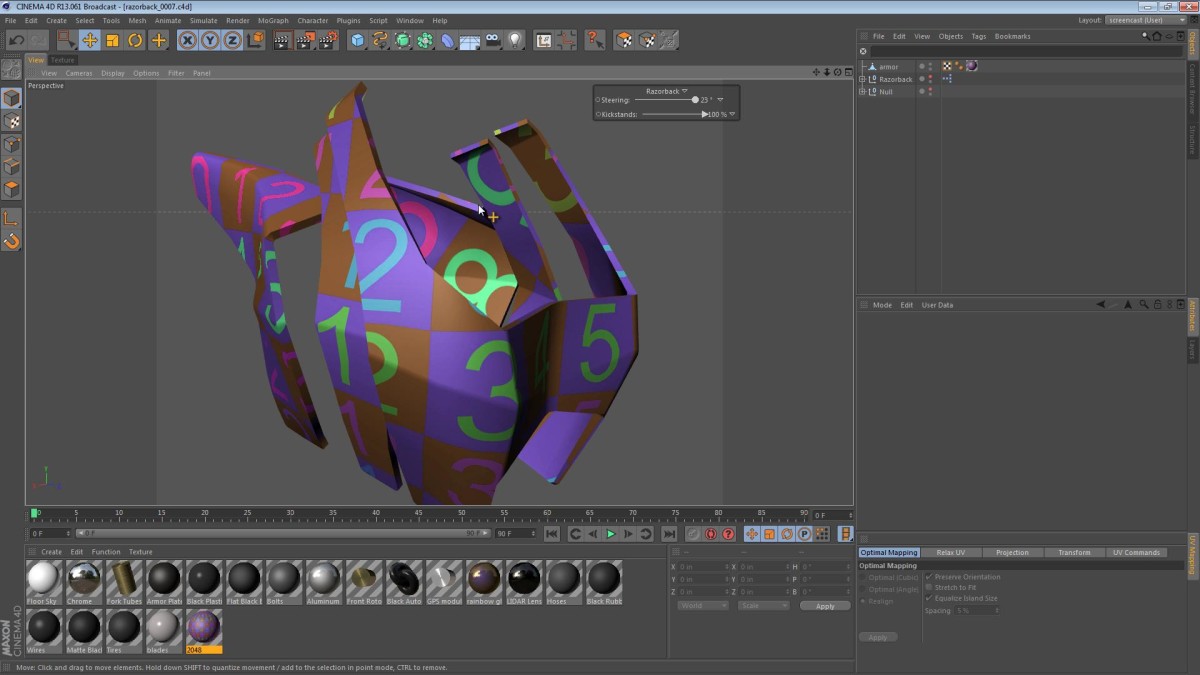
In this part of the Razorback saga, we’re coming up on number 40 in the series. This is a pretty relevant part of the series as we’re starting to get into UV mapping and texturing. The video below is a little similar to my previous UV Mapping tutorial. If you enjoyed the Fuel Tank UV Mapping tutorial, then grab a cup of coffee/tea, sit back, and check out the following video.
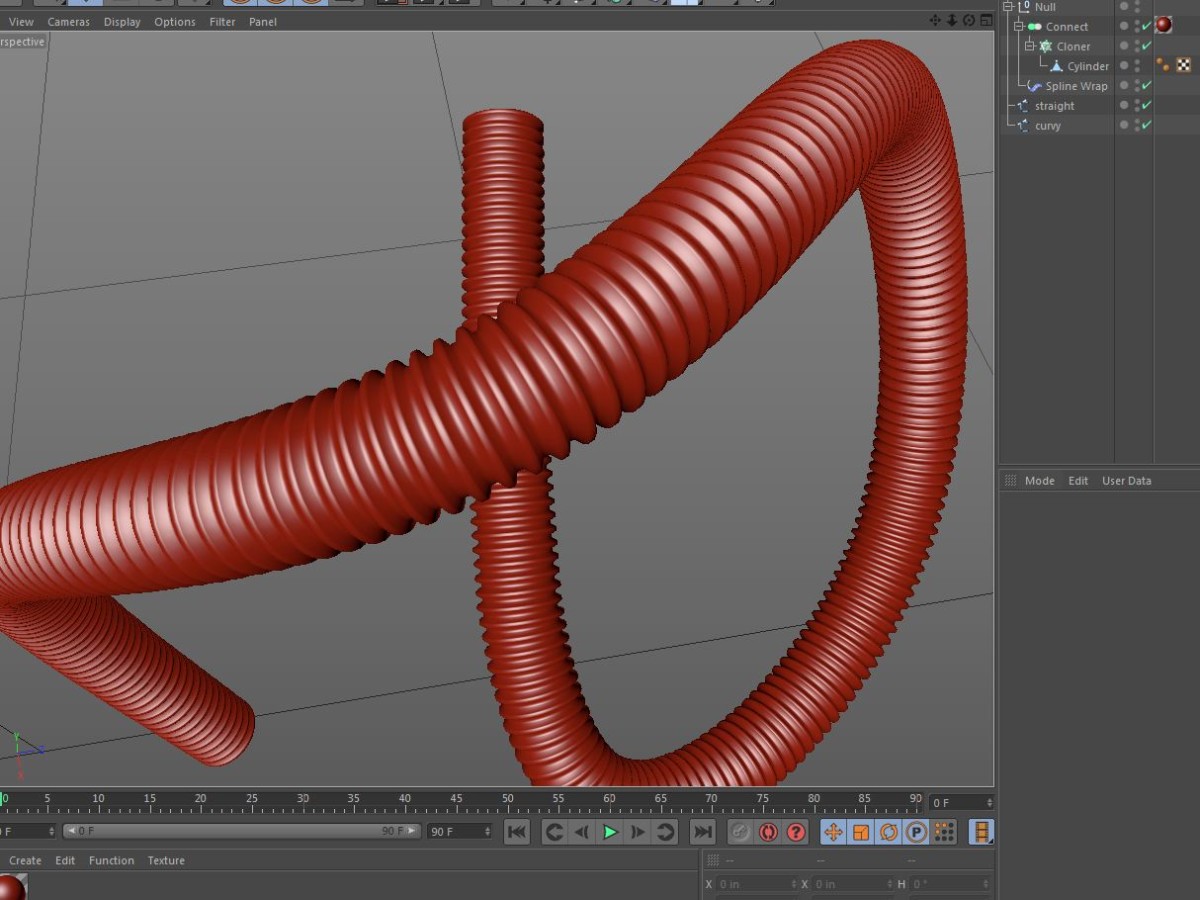
This Five Minute Tip was inspired by one of my YouTube viewers. The viewer in question (Sean) asked what techniques I would use to create corrugated pipe that’s easily repeatable and can be deformed along a curving path. I immediately thought of using a MoGraph Cloner to repeat the pipe segment, a Connect object to glue the pieces together, and a Spline Wrap deformer to make it follow the pipe. Read More
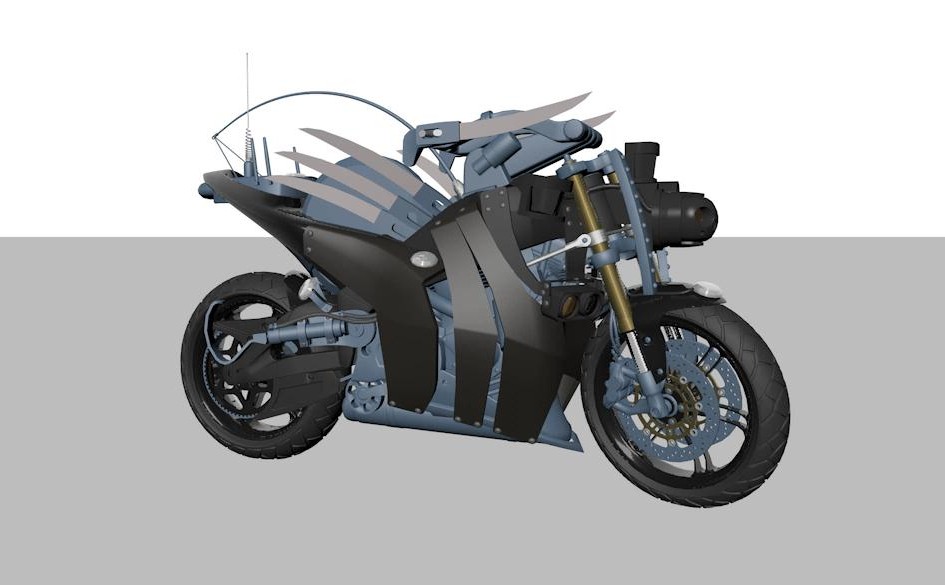
In this part of the Razorback series, we tackle more materials and texturing. Along with a simple set of black materials for some miscellaneous brackets and bolts, we also take a look at the metal materials for the fork tubes and brake rotors.
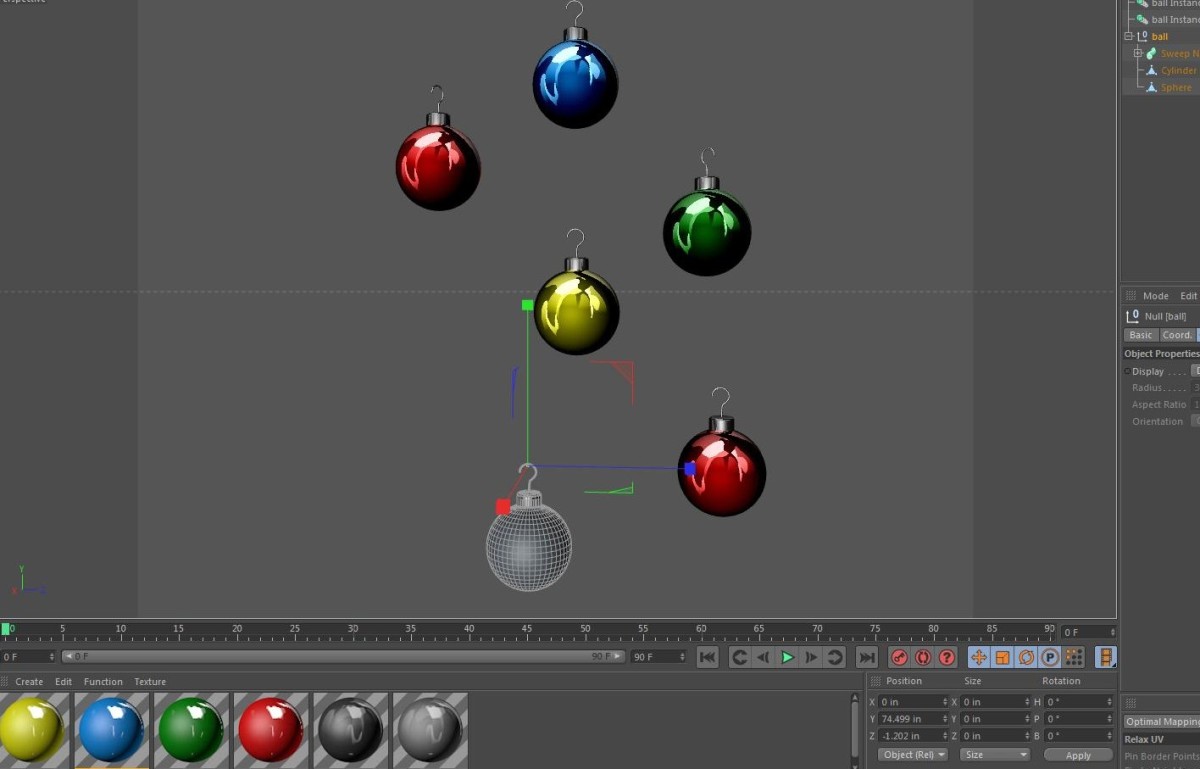
Instances are powerful objects in Cinema 4D. They allow you to copy or “clone” an object while maintaining a link to the original. This works out well for perfect copies of objects, but what do you do if there’s variation in the materials of these instances?
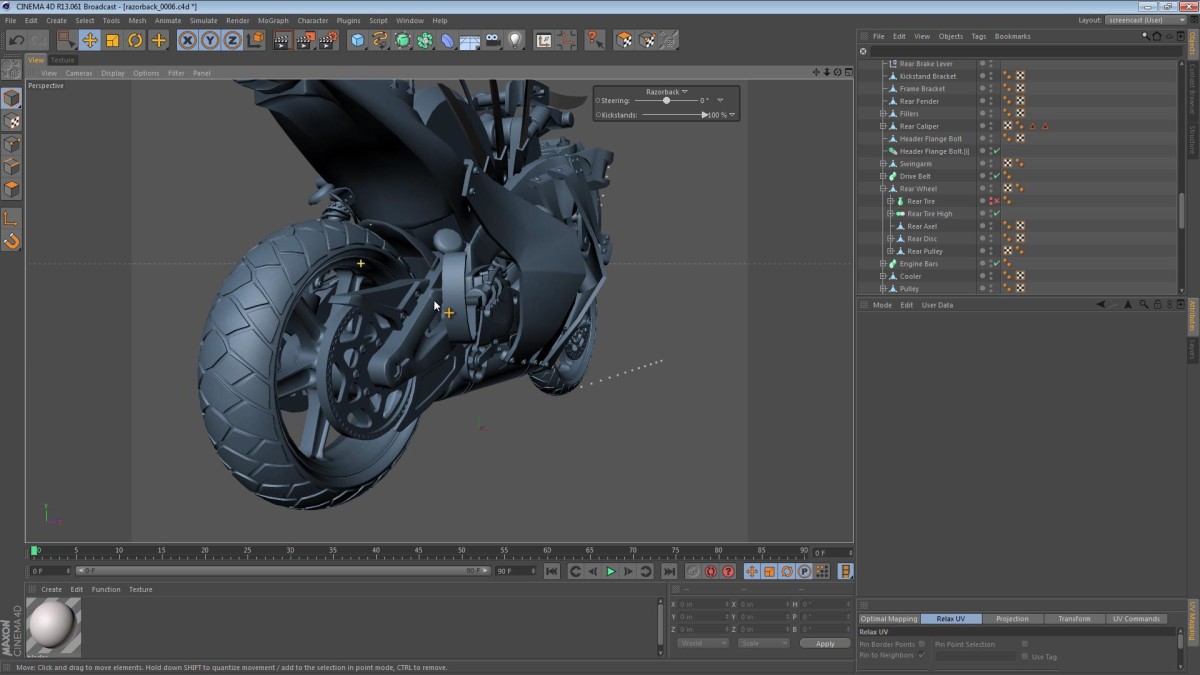
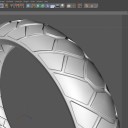
In this part of the Razorback series, we are wrapping up the modeling phase (for now). This video shows a little peek at how the tires were modeled, and then moves onto a little bit of material-making and texturing. If you’d like to see more on how the tires were modeled, then you should check out my motorcycle tire modeling tutorial. It’s long, but a good video I think. Grab a hot beverage and kick back while watching it.
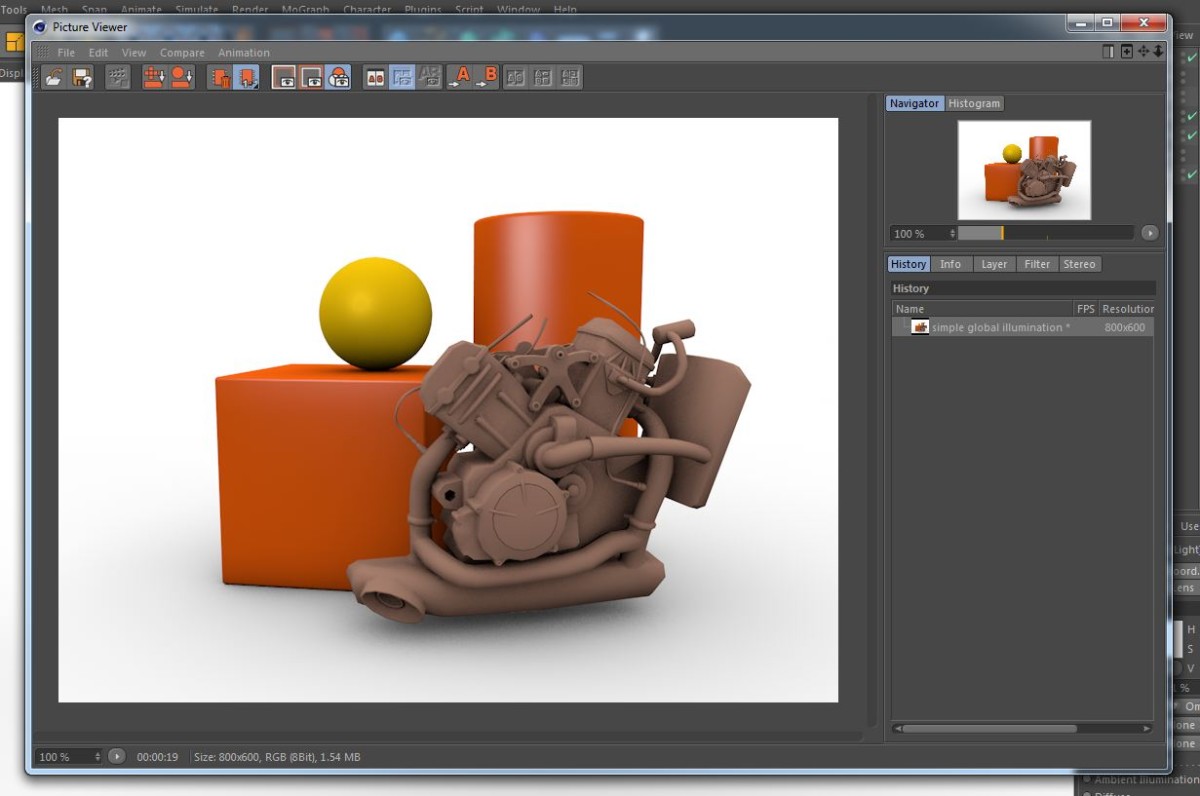
In this tip, we explore a few quick settings for creating a nice, evenly lit, Global Illumination based, lighting setup for your models in Cinema 4D. This isn’t a replacement for other full lighting rigs, or even a replacement for putting the proper time when lighting a scene, but it’s a quick start.
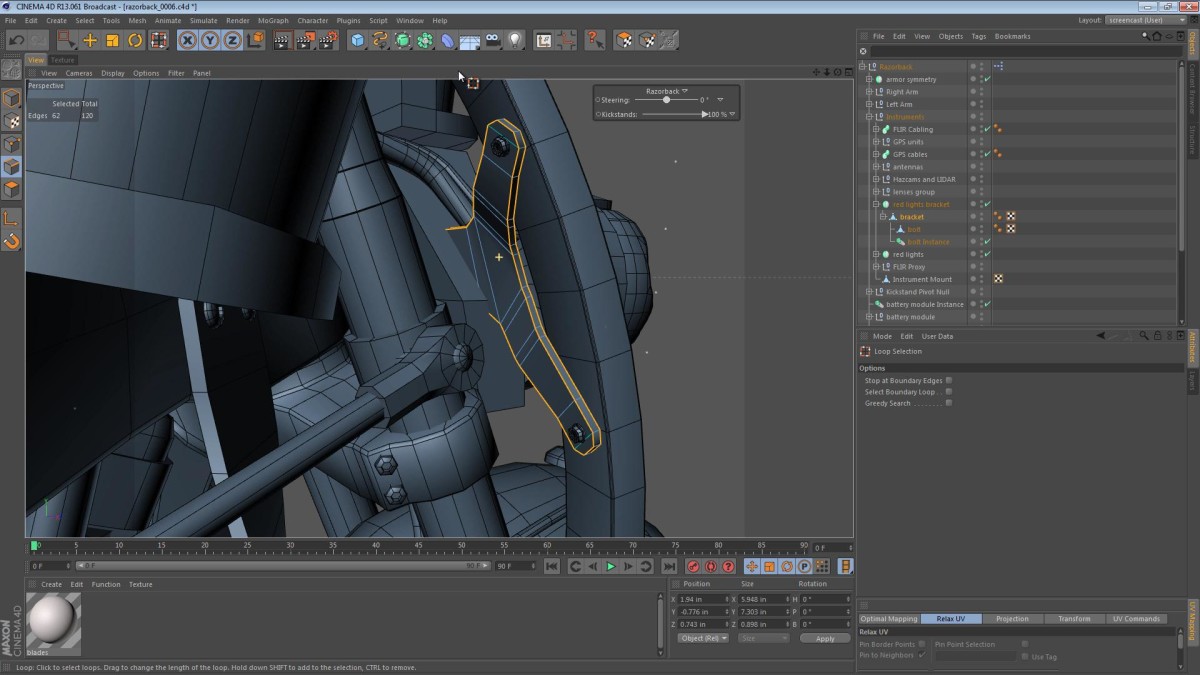
In this part of the Razorback series, we finally create brackets for the Infrared arrays that sit near the front of the machine. These have been floating in space since they were modeled, so it’s about time that they got official mounting hardware. The video is below, and I hope you enjoy it.
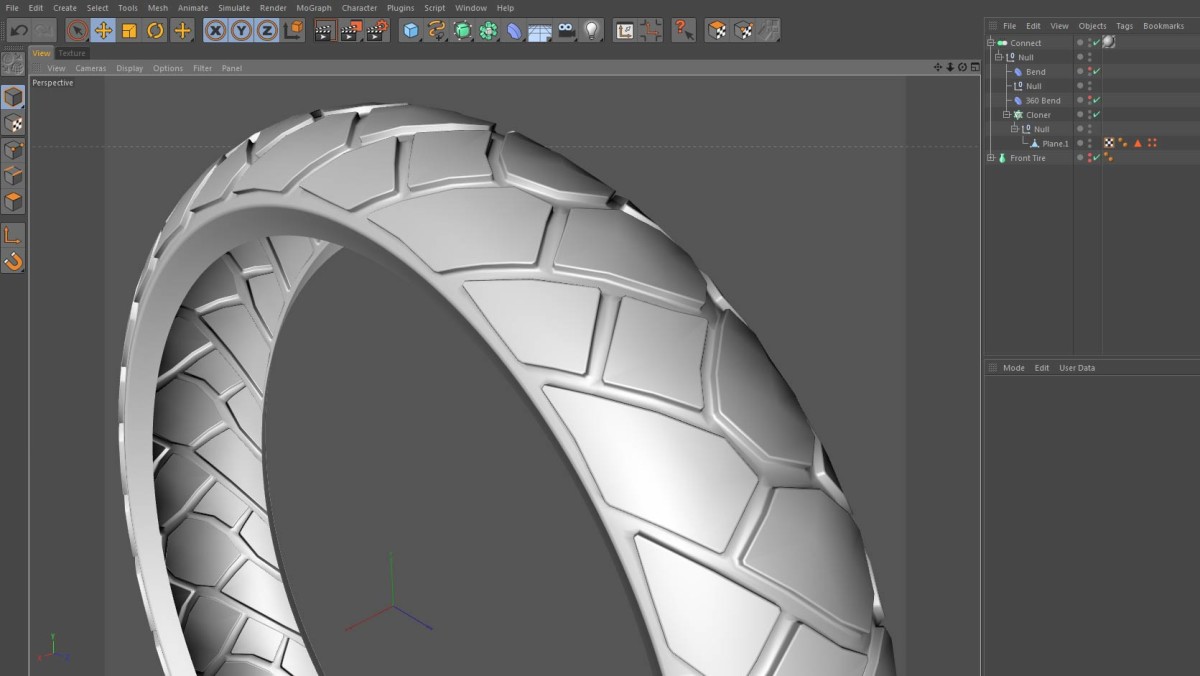
Instead of a Five Minute Tip this week, I thought I’d produce something a little different. One of the more challenging tasks that I face when modeling a motorcycle (something I’ve become quite practiced at) is the creation of the tires. Below is a screencast walking you through the process I’ve recently used. I’ve also included the downloadable project files for you to play with.
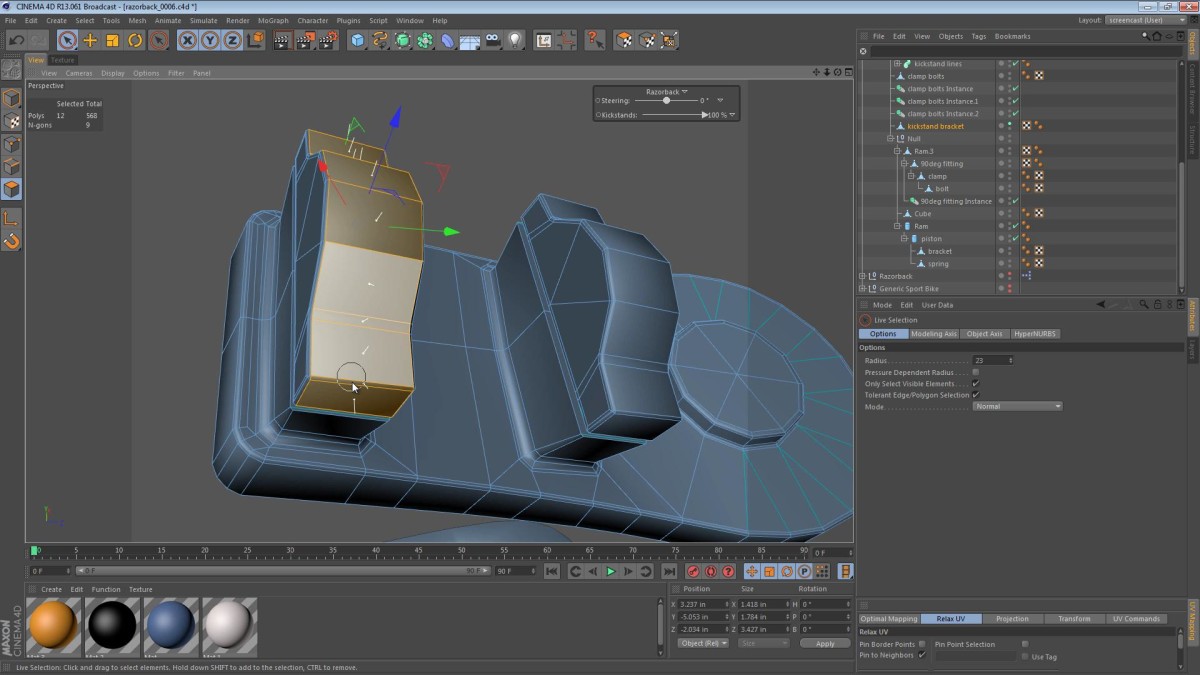
In this part of the Razorback series, we tackle the issue of our low-poly kickstand brackets. This continues along with the theme of making a low-poly or placeholder item look more polished before texturing and rendering. See the rest of the post for the video and related items.
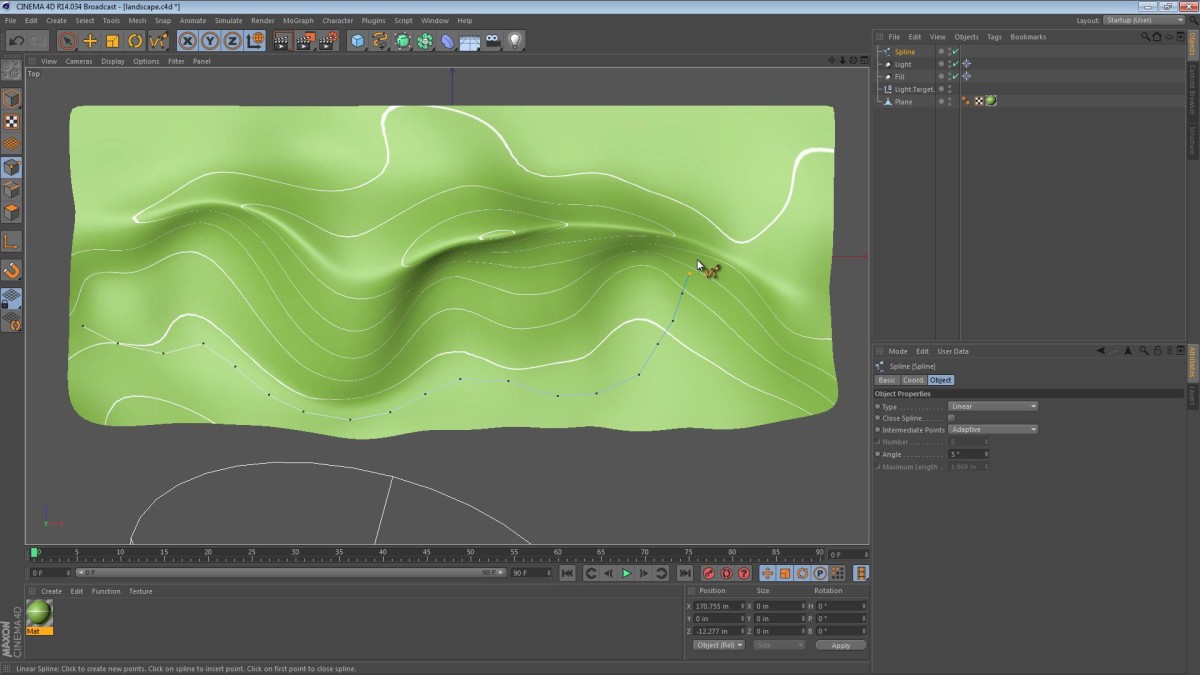
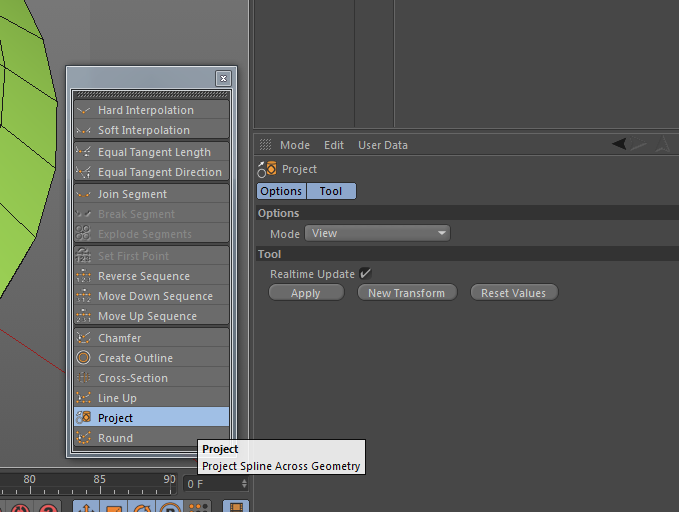
Many of my Five Minute Tips come from a place of exploration; sometimes I find a tool (or remember a tool that I used once) and think to myself, “Wow, that would make a good Five Minute Tip video!”. The Project tool Five Minute Tip is just that kind of tip. I used to use this tool a lot when working at my last job where I would need to enhance architectural models with extra features… but I digress. This week’s tip focuses on this “Project” tool and how it can be used.
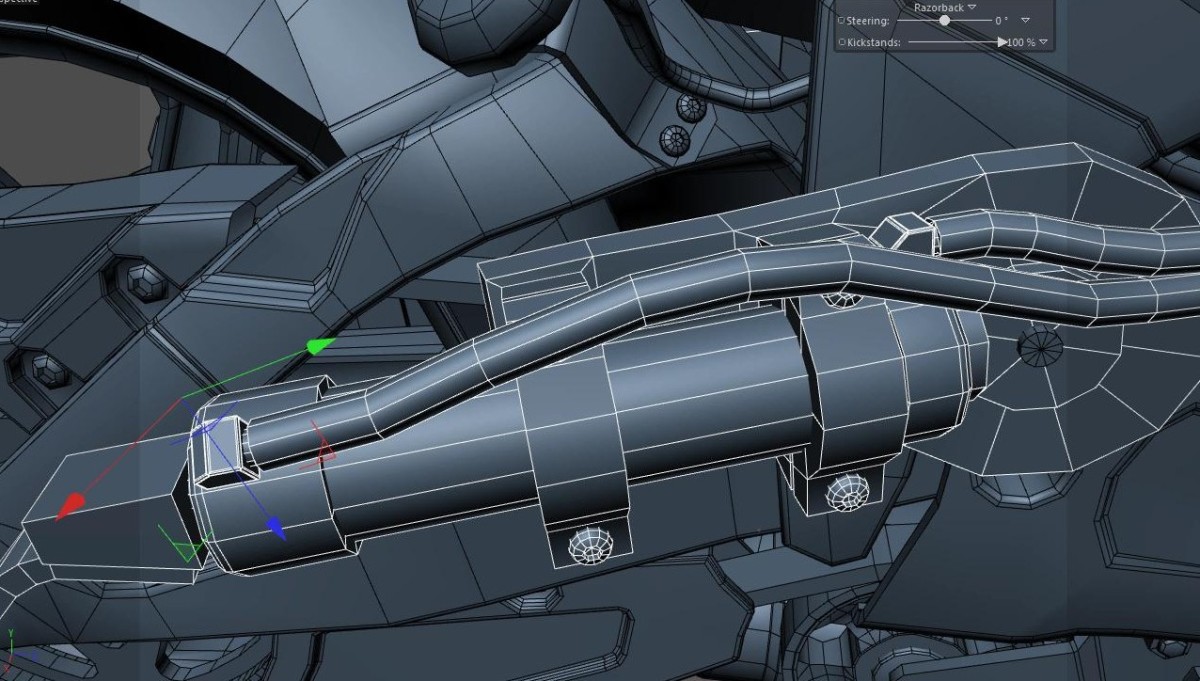
This installment of the Razorback Screencast looks at the little details on the kickstands. Our kickstands are automatic, hydraulic mechanisms that work in tandem to keep the bike upright when it slows or comes to a stop. From an engineering perspective; they will have a tough job and will likely be replaced regularly.
