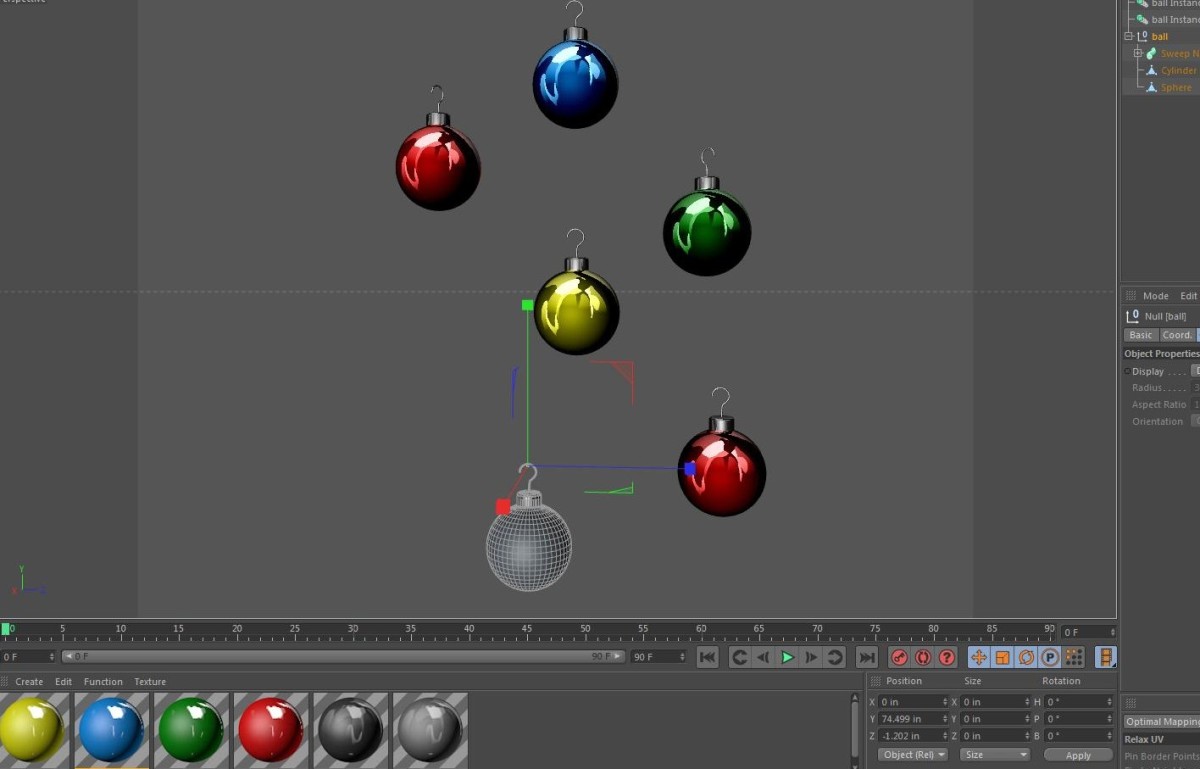
Instances are powerful objects in Cinema 4D. They allow you to copy or “clone” an object while maintaining a link to the original. This works out well for perfect copies of objects, but what do you do if there’s variation in the materials of these instances?
Years ago while I was placing 3D cars in parking lots for architectural work, I stumbled into this technique. It turns out that if any objects in the hierarchy of the original object are un-textured, texturing the instance causes the material to cascade down onto those objects. Check out the video below for a demonstration.

Scott Daris
December 19, 2014 — 10:03 am
Thanks 🙂 How do you get your viewport preview to display a rough version
(yet nice and accurate) of your applied object materials, like you have
here with all the reflections in the christmas bulbs? No matter what I try
I can’t get accurate viewport previews. I have OpenGL enabled, I’ve tried
all the Display options (Gouraud, Quick Shading, etc) yet my objects look
oversimplified and show no reflectivity or texturing.
ThePresD
October 19, 2014 — 9:18 am
Very helpful! Thanks!
Francois Gauthier
October 14, 2014 — 4:14 am
Also, to hide the original, you can assign it to a layer, then inside the
layer manager uncheck render icon!
Nick Peelman
January 15, 2014 — 3:03 pm
A 100.000 units? Why not 430 light-years?
illd
May 3, 2013 — 3:27 pm
Great tip – just what I need for the next project. Great site btw.!
Jamie Hamel-Smith
May 3, 2013 — 4:10 pm
Thanks! And I’m glad you like the site 🙂
minion
April 12, 2013 — 5:40 am
Nice tip! Thanks Jamie.
As an alternative to moving the original object out of the scene, I parented my source object to a null and then used the traffic lights to hide the null – same effect, but keeps the original nearby.
Jamie Hamel-Smith
April 12, 2013 — 7:20 am
Great idea! That sounds nice and convenient.
Jason Armstrong
February 26, 2013 — 7:01 pm
Thanks for the tip Jamie. Perfecting timing, as I was just working on a project that required instances with different base colours. Stumbled upon your fuel tank UV mapping tute on YouTube which led me here to your website. Heading back now to my project to try out this tip. 🙂
Jamie Hamel-Smith
February 26, 2013 — 7:37 pm
Brilliant! I was a bit afraid that no one would find this tip particularly useful. It was just an old trick I used to use, and I decided to share it. I’m glad it might be of some use to you.
Sean O'Skea
February 15, 2013 — 8:15 pm
Hi Jamie: I’ve been enjoying your series on sweep NURBS and various cable/tube stuff. I’m working on a project where I want to create some corrugated drain pipe—you know the black stuff with ribs. I manually made a short straight segment with a tube and fillet edged rings. Looks perfect but now I want to sweep that along a long curving path. There must be a simple way to do this? Can you help?
Jamie Hamel-Smith
February 16, 2013 — 3:51 am
Hi Sean,
I’m glad you’ve been enjoying the videos. I really appreciate the feedback. If I understand your idea correctly, it sounds like you need a simple polygon object + a cloner + a spline wrap deformer. I’ve just put a quick example together and I think it could make a good Five Minute Tip topic. YouTube doesn’t allow links in comments, so I’ll try to send the file to you on Google+
NightHawk Italo
February 15, 2013 — 9:50 am
Thanks for great tip my friend 😉