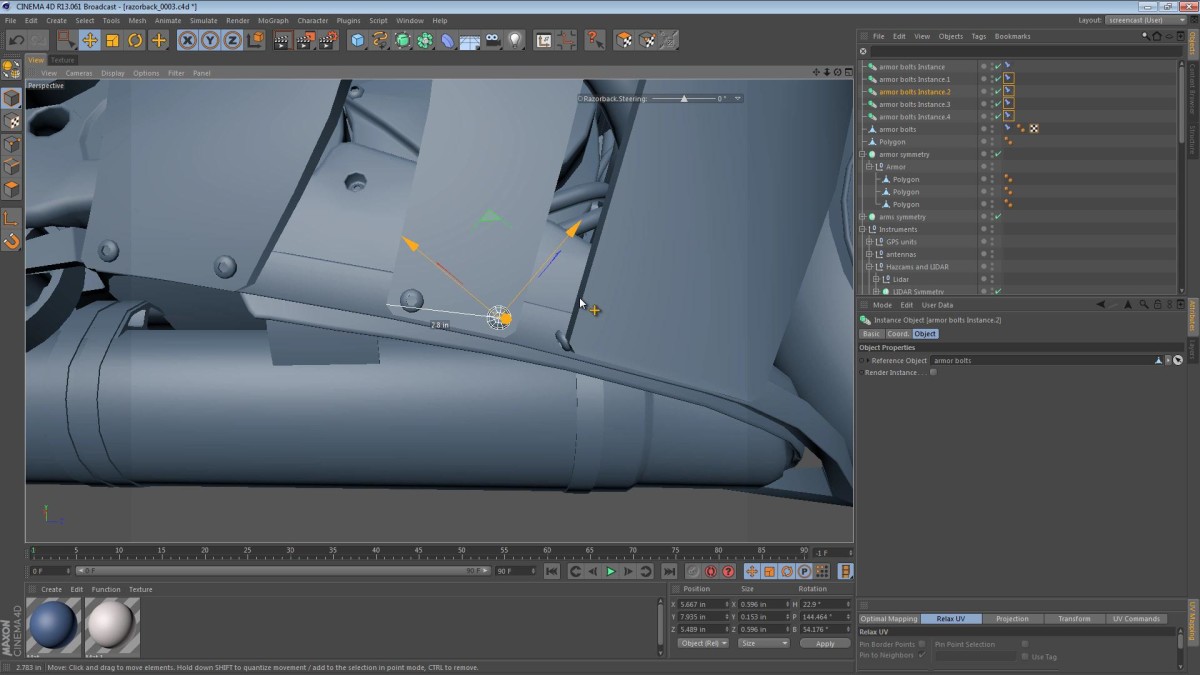
In this part of the Razorback video series, we tackle the armor plating and consider just how thick it should be, as well as deciding how it bolts to the underlying machine.
This video takes us through the examination of the lower armor bracket, and then examines the (relatively simple) process of extruding the armor plating to exactly half an inch. Once that’s taken care of we create a pair of simple brackets for the armor to bolt to, and use some heavy duty Allen bolts to hold the replaceable plates in place.

Steve Langley
December 19, 2012 — 1:53 pm
Nice work. Really starting to come together now.
Jamie Hamel-Smith
December 20, 2012 — 5:48 am
Thanks! I’m glad you’ve been following along 🙂