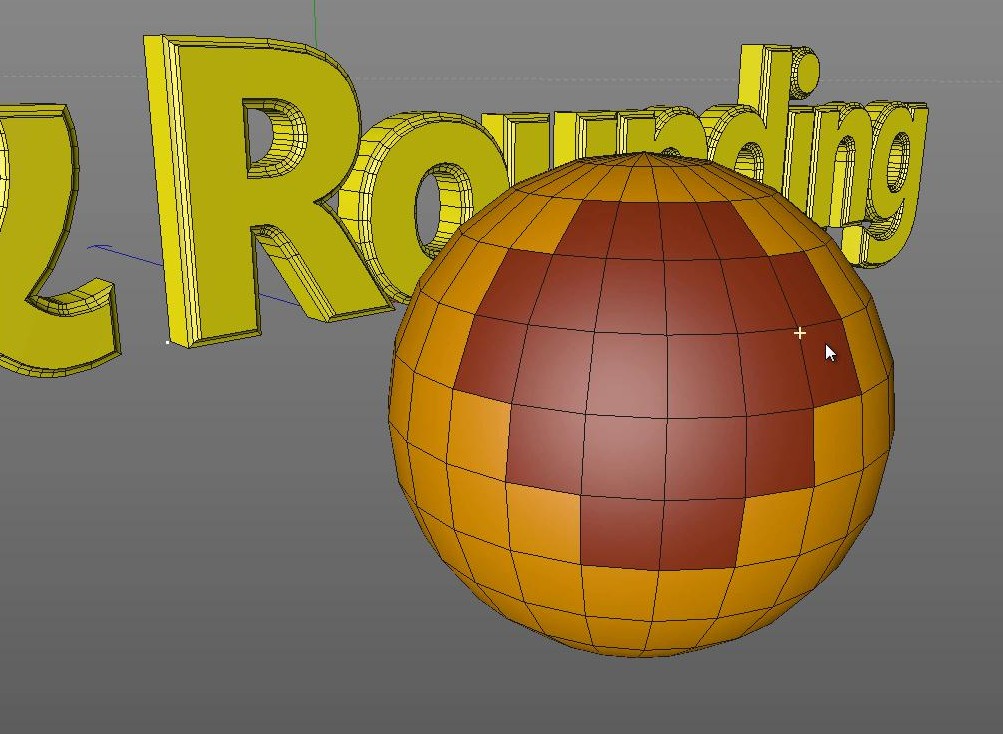
This tip focuses on the hidden polygon selections that exist on most of Cinema 4D’s NURBS objects. Even the MoGraph Text object.
Some of the generated objects in Cinema 4D have hidden selections that are automatically generated in real-time. These selections can be used to apply materials to individual classes of surfaces.
For instance, you can apply a red material to the hull (overall surface) of an object, and then apply an orange material to the caps. This material can be textured, transparent, have displacement, etc. Check out the video below for a full breakdown and explanation.
If you like this tip, then you should share my five minute tips section with your fellow 3D nerds!


PenguinCave360
December 31, 2013 — 1:34 am
An easy way to remember what the selection should be I remember by c stands
for caps and r stands for rounding and 1 is front and 2 is back i love all
of your tutorials I’m going through all of your playlist
Top Quark
October 26, 2013 — 11:51 am
Spend the last hour going through these five minute candies. Keep on keeping on man! I used spend time on GSG style through tuts, but I kinda outgrew them and stopped watching tuts for the most part. No matter how much experienced one gets, you’re bound oversee some things or be not aware their tricky bits, I wish the scene moves more towards these kinds of tuts. Everything fundamental is already out there by heaps and bounds.
Jamie Hamel-Smith
October 28, 2013 — 2:28 am
Thanks so much for the feedback! It’s always nice to hear about how the videos are received on the other end 🙂
Rob Gagnon
June 2, 2013 — 10:07 am
Thanks again. Your tuts rock! My main issue is texturing. Texture tool, filters, layers, and so on. Keeping my fingers crossed for a texturing tut. ALL your tuts are super! Thanks for your help in everything.
DanishVideoArt
February 7, 2013 — 8:49 pm
Thx, usefull!! 😉
NightHawkItalo
December 14, 2012 — 3:55 pm
very nice and useful my friend,thank you very much 😉