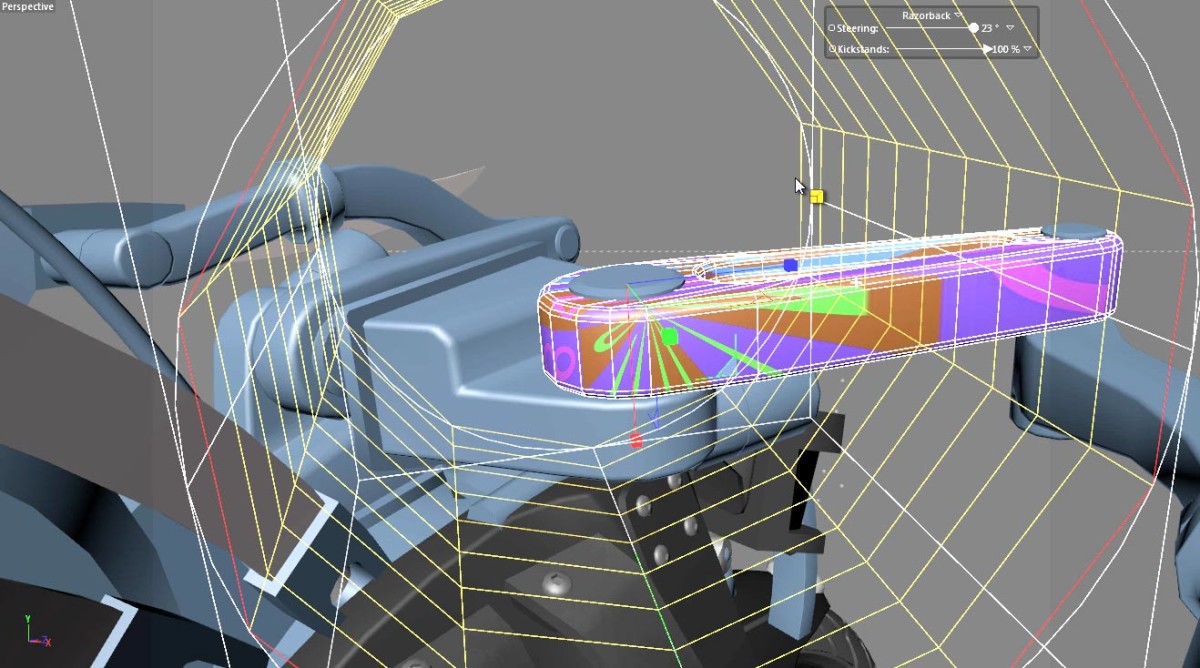
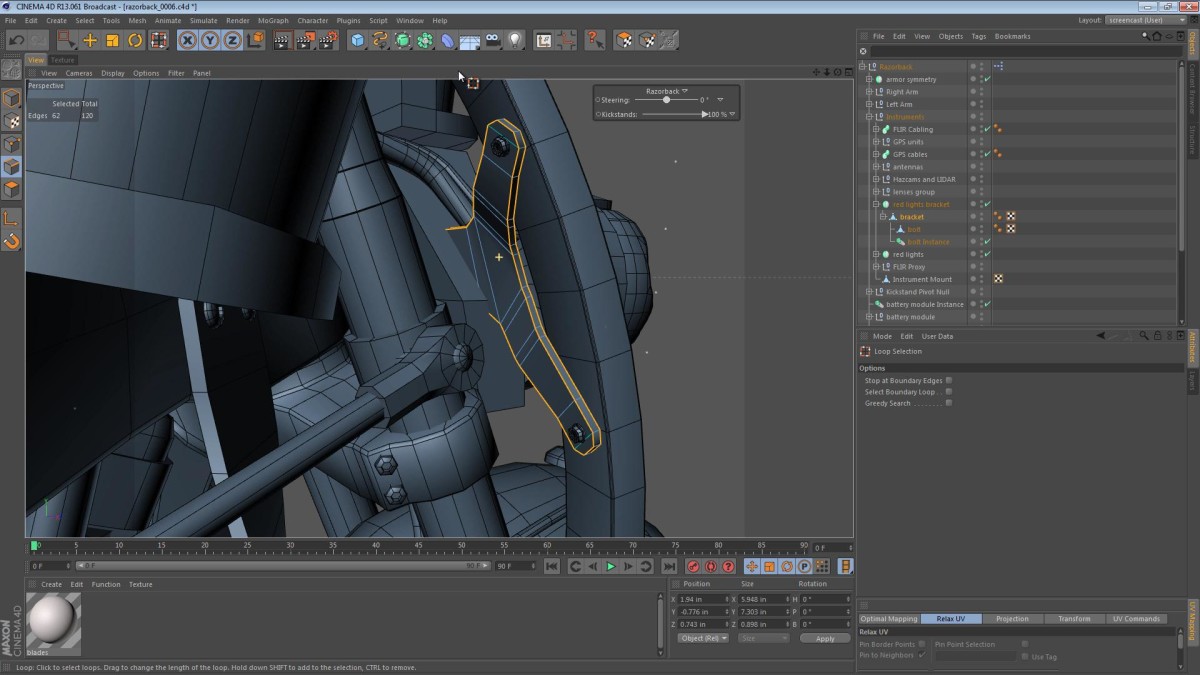
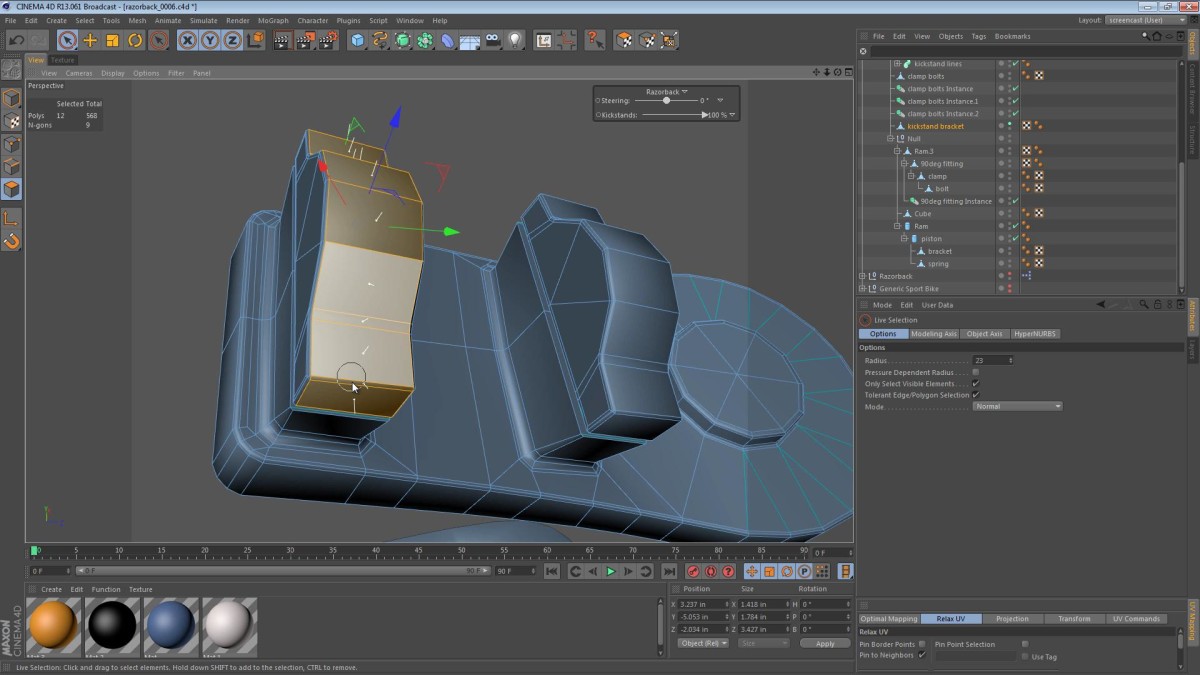
In this episode we tackle UV mapping another one of the objects we’re likely to want to paint. The large arm objects have a few tricky areas, and I take a brief look at how we can create a (not so seamless) relaxed UV map for this part.
Tag: long video

In this episode (it seems crazy that we’re at episode 40 already!) we will be looking at the actual painting of the armor plates. We’ll go for a worn and slightly damaged look; this should help reinforce the realism when we create some renderings. Read More
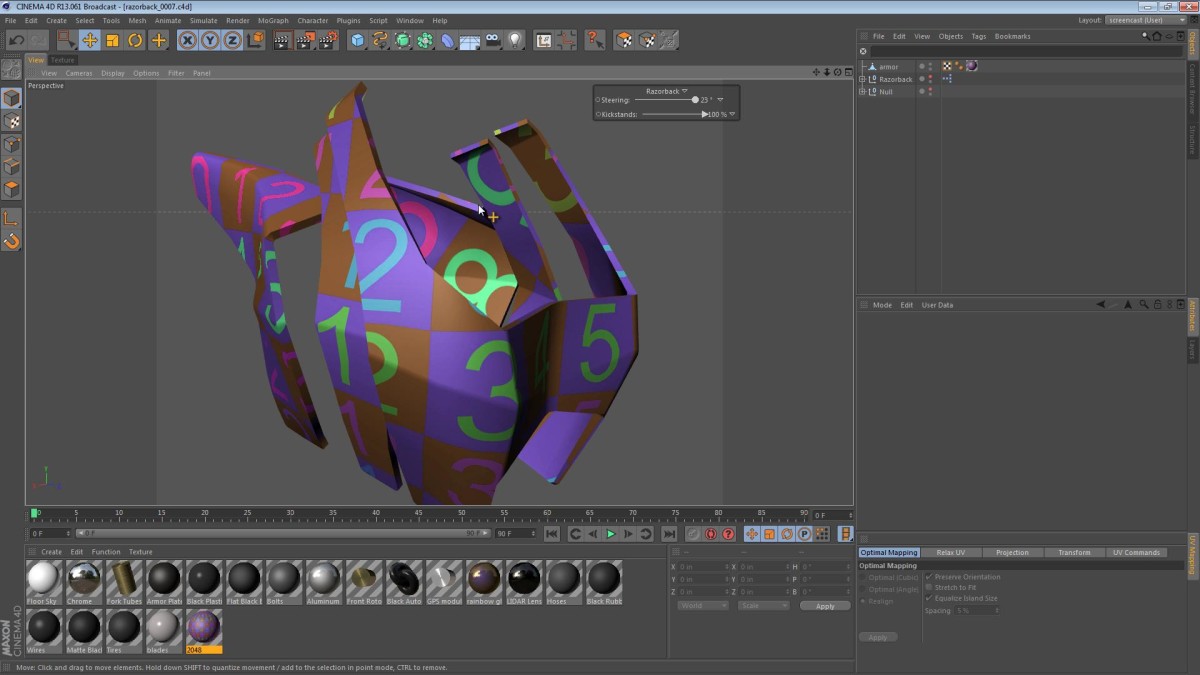
In this part of the Razorback saga, we’re coming up on number 40 in the series. This is a pretty relevant part of the series as we’re starting to get into UV mapping and texturing. The video below is a little similar to my previous UV Mapping tutorial. If you enjoyed the Fuel Tank UV Mapping tutorial, then grab a cup of coffee/tea, sit back, and check out the following video.
In this part of the Razorback series, we tackle more materials and texturing. Along with a simple set of black materials for some miscellaneous brackets and bolts, we also take a look at the metal materials for the fork tubes and brake rotors.
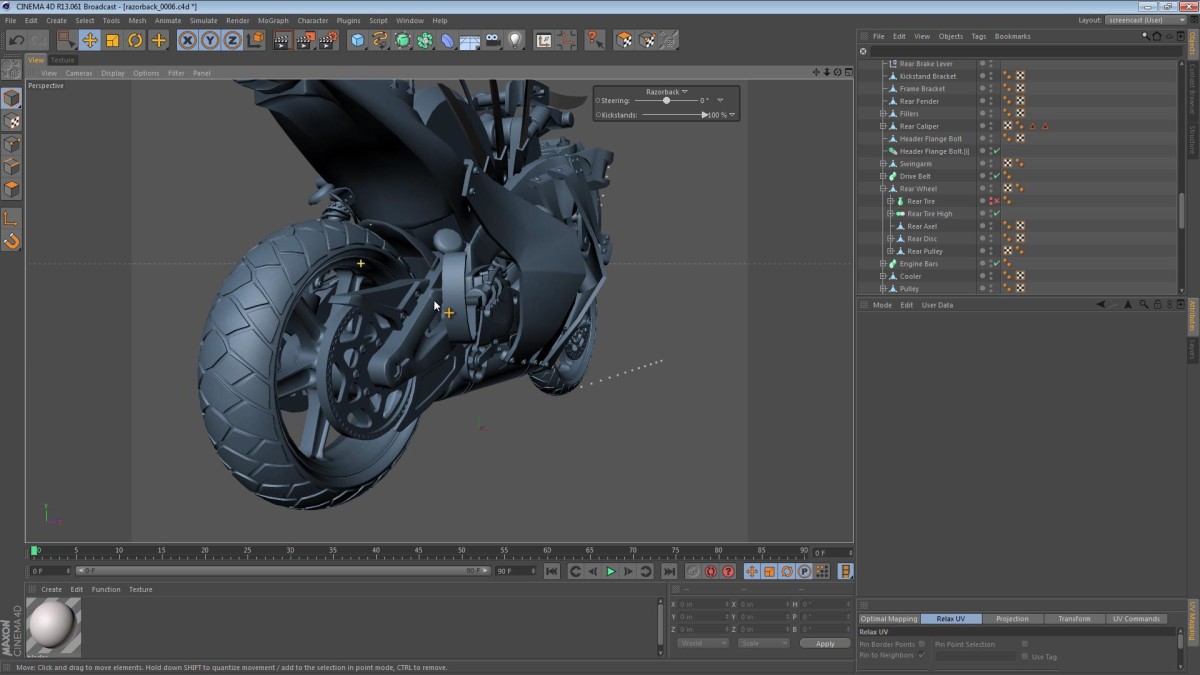
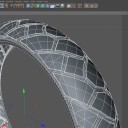
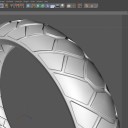
In this part of the Razorback series, we are wrapping up the modeling phase (for now). This video shows a little peek at how the tires were modeled, and then moves onto a little bit of material-making and texturing. If you’d like to see more on how the tires were modeled, then you should check out my motorcycle tire modeling tutorial. It’s long, but a good video I think. Grab a hot beverage and kick back while watching it.
In this part of the Razorback series, we finally create brackets for the Infrared arrays that sit near the front of the machine. These have been floating in space since they were modeled, so it’s about time that they got official mounting hardware. The video is below, and I hope you enjoy it.
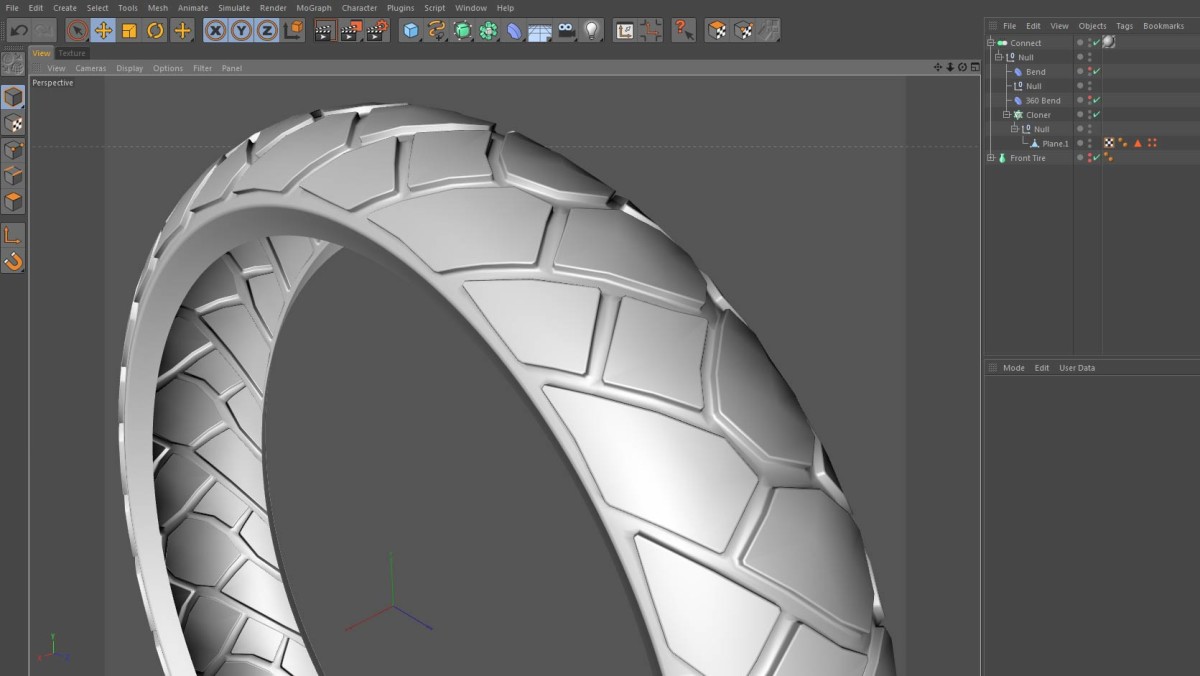
Instead of a Five Minute Tip this week, I thought I’d produce something a little different. One of the more challenging tasks that I face when modeling a motorcycle (something I’ve become quite practiced at) is the creation of the tires. Below is a screencast walking you through the process I’ve recently used. I’ve also included the downloadable project files for you to play with.
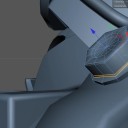
In this part of the Razorback series, we tackle the issue of our low-poly kickstand brackets. This continues along with the theme of making a low-poly or placeholder item look more polished before texturing and rendering. See the rest of the post for the video and related items.

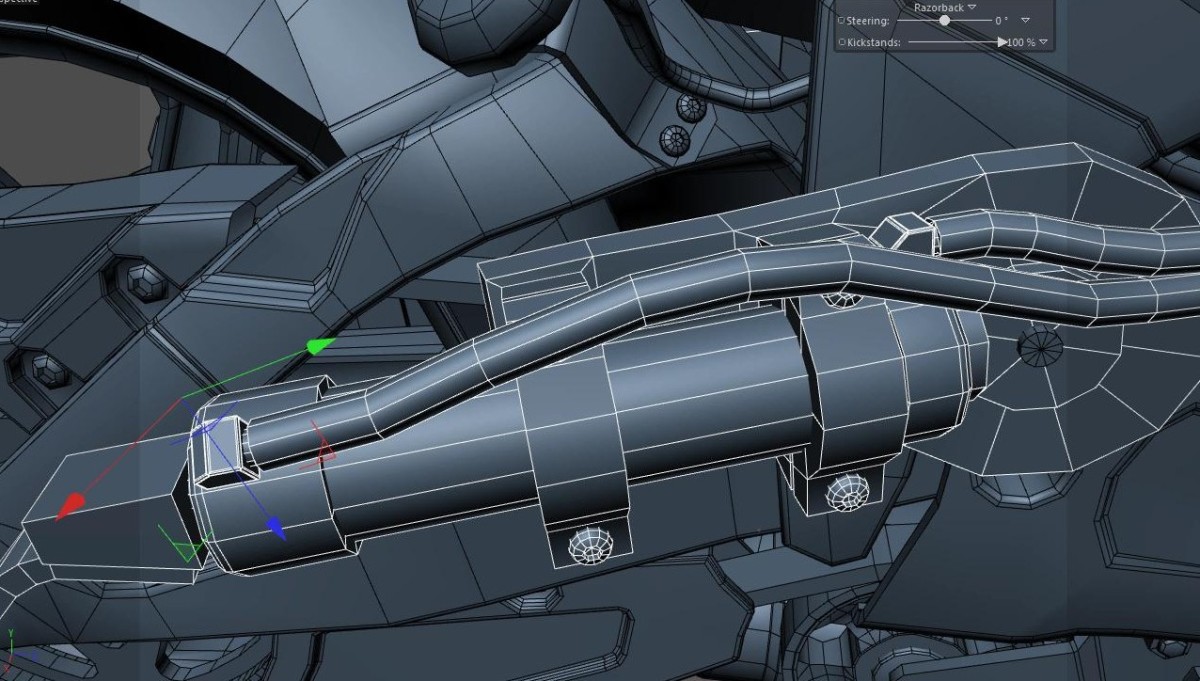
This installment of the Razorback Screencast looks at the little details on the kickstands. Our kickstands are automatic, hydraulic mechanisms that work in tandem to keep the bike upright when it slows or comes to a stop. From an engineering perspective; they will have a tough job and will likely be replaced regularly.
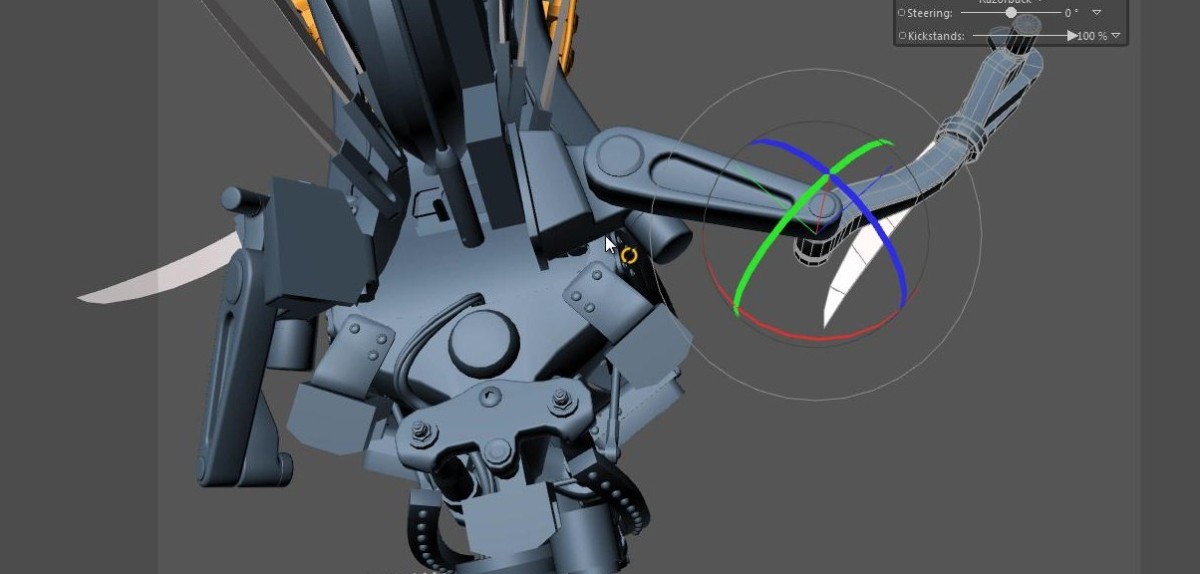
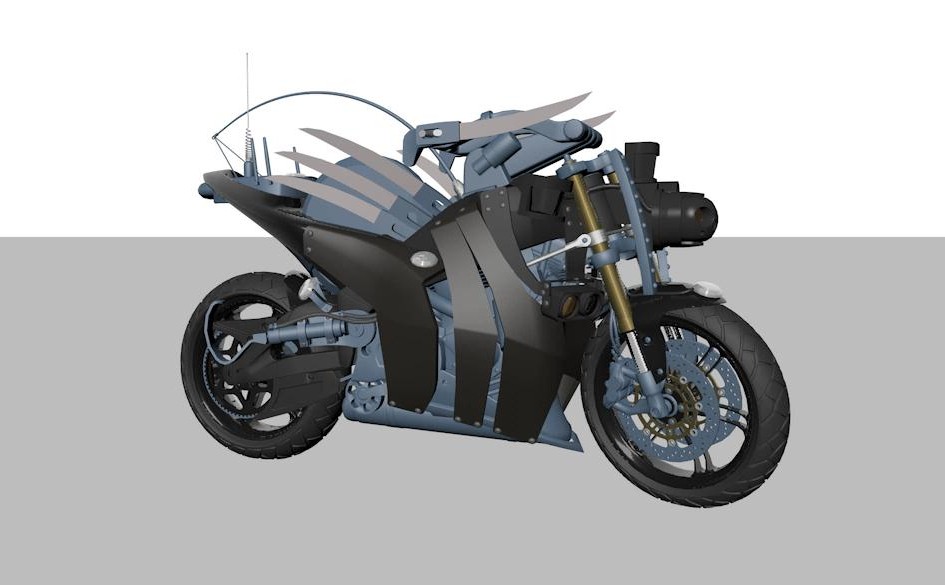
The robotic arms of the Razorback give it a lot of personality, while serving as its main focal point when regarding the high-tech sci-fi look of the machine. Read More
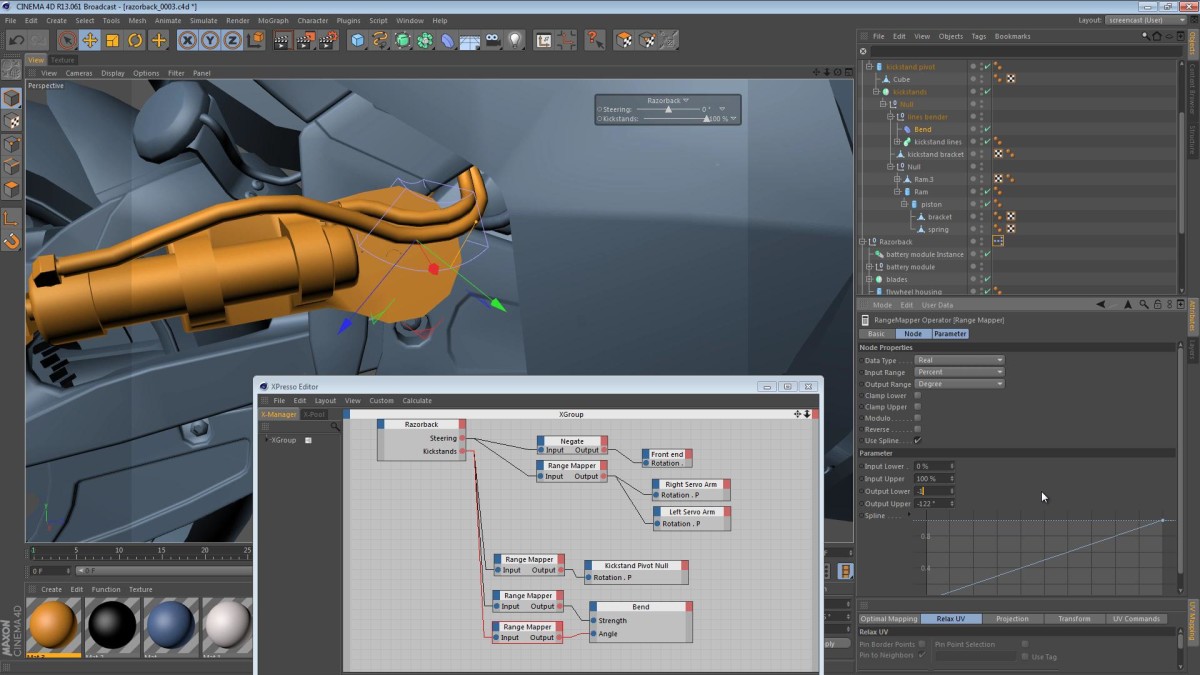
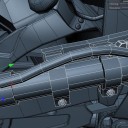
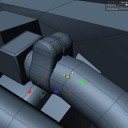
As the overall modeling of the Razorback project nears maturity, we’re starting to focus on some of the more detailed and nuanced areas of the model. For instance, let’s consider the kickstands. We know that they will be Pneumatic/Hydraulic, and we know that actuated stuff in sci-fi renditions must have hoses leading from the mechanism into the depths of the robot… it’s just cooler that way.
Having said all that, we need a way for the hoses to move and flex with the machine, and Read More
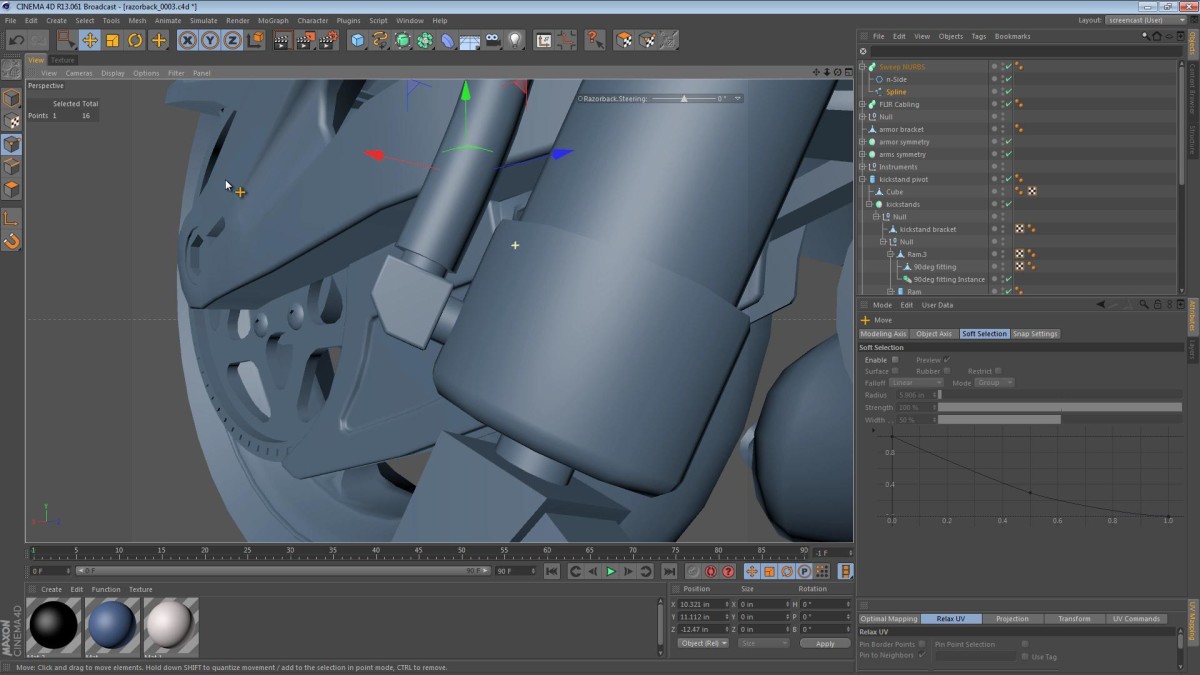
In this part of the Razorback video series, we tackle the kickstands and the hardware/hoses that connect them to the machine’s central systems. The hoses provide a challenge to us that we’ve not seen since the steering mechanisms.