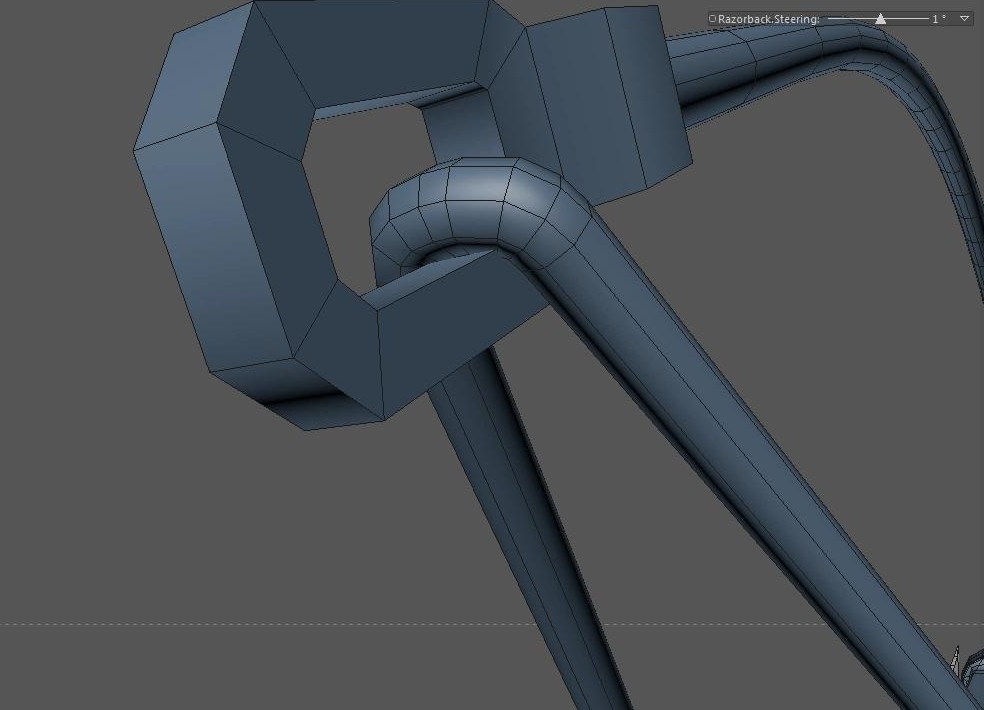
In this part of the Razorback video series, we create a few cables for some of the instruments. In particular, we focus on the GPS antennas and the FLIR turret’s cabling.
Tag: long video
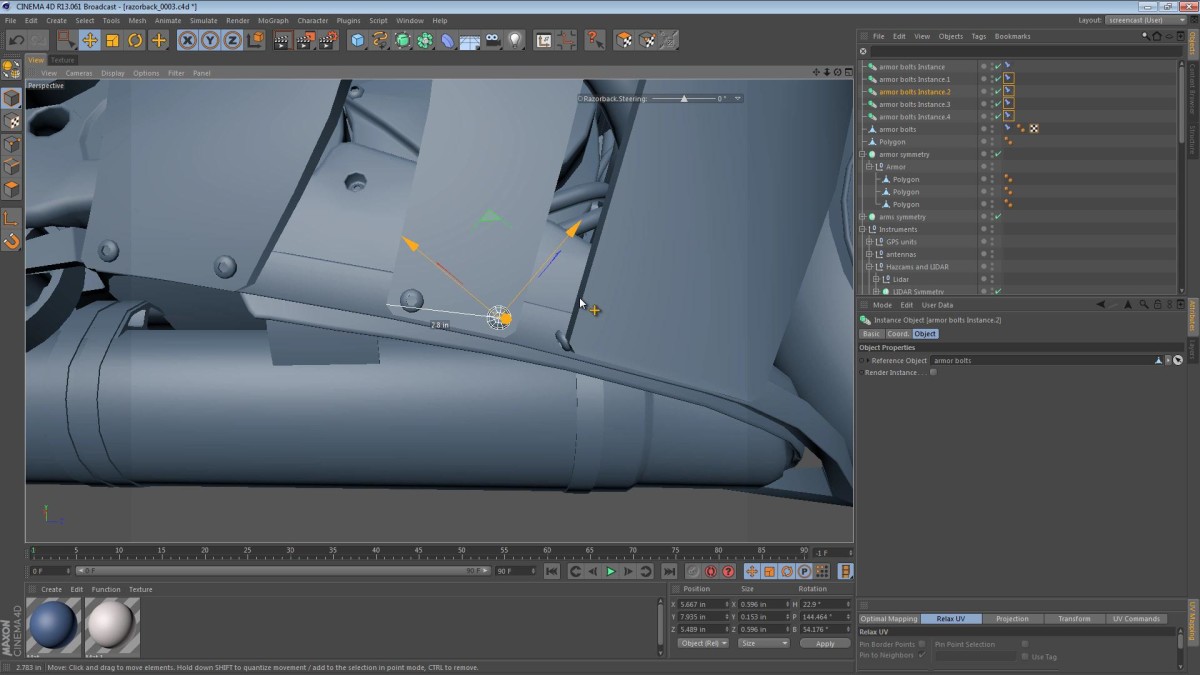
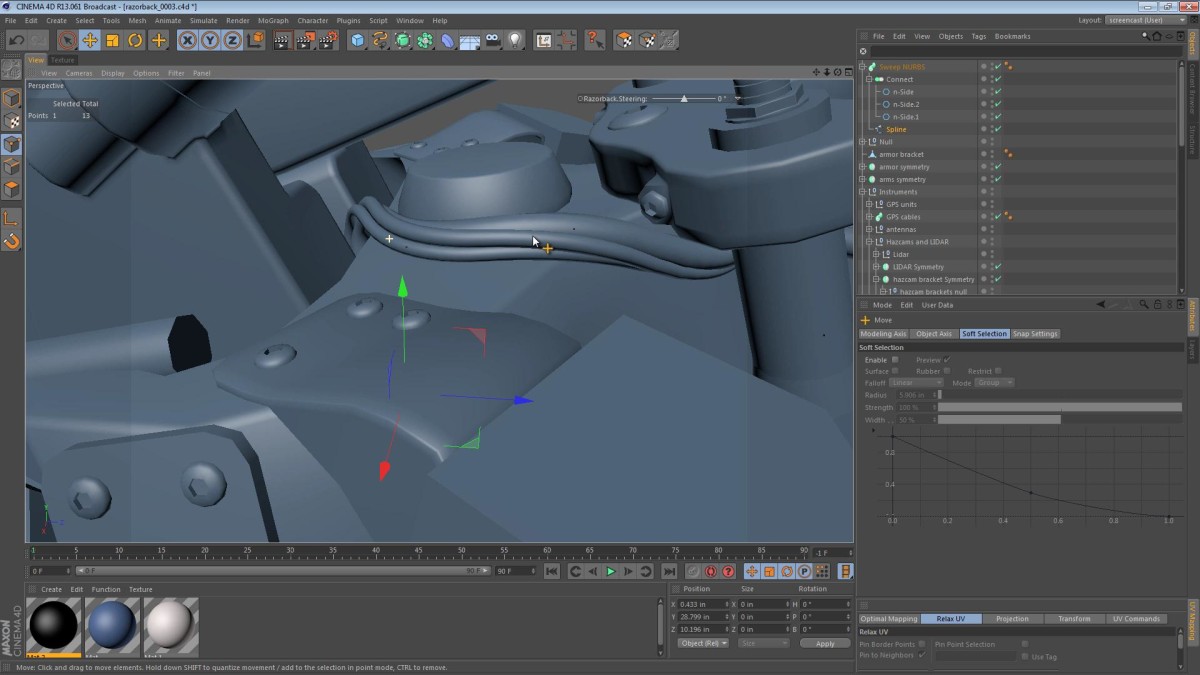
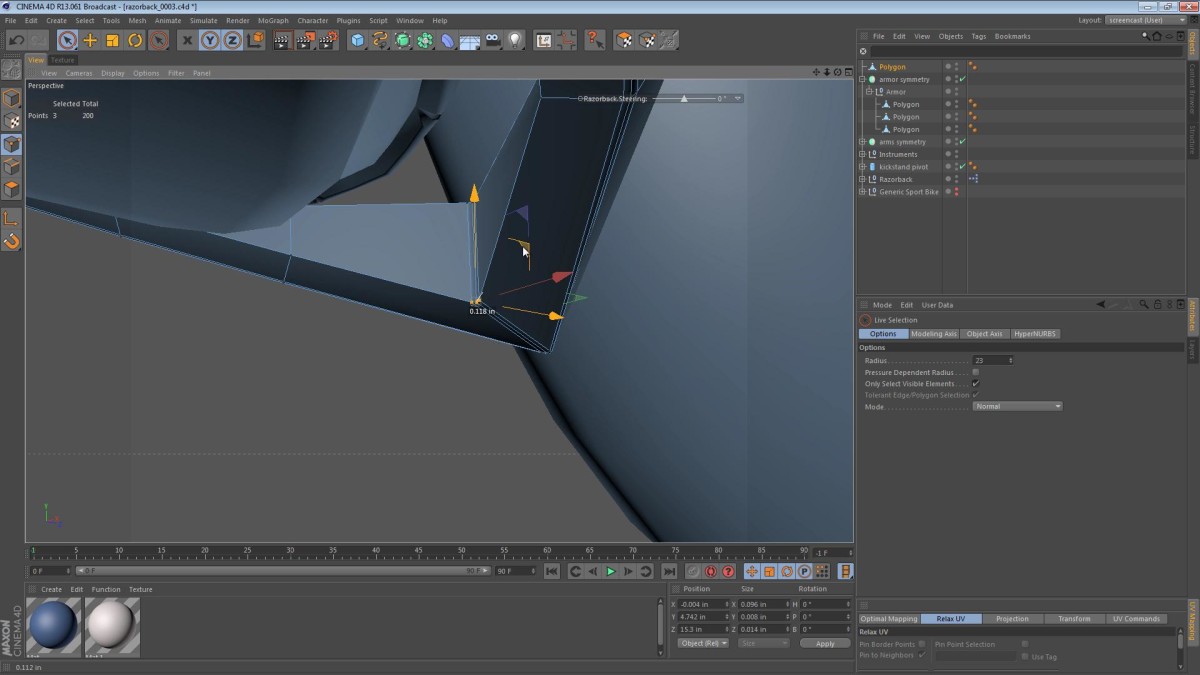
In this part of the Razorback video series, we tackle the armor plating and consider just how thick it should be, as well as deciding how it bolts to the underlying machine.
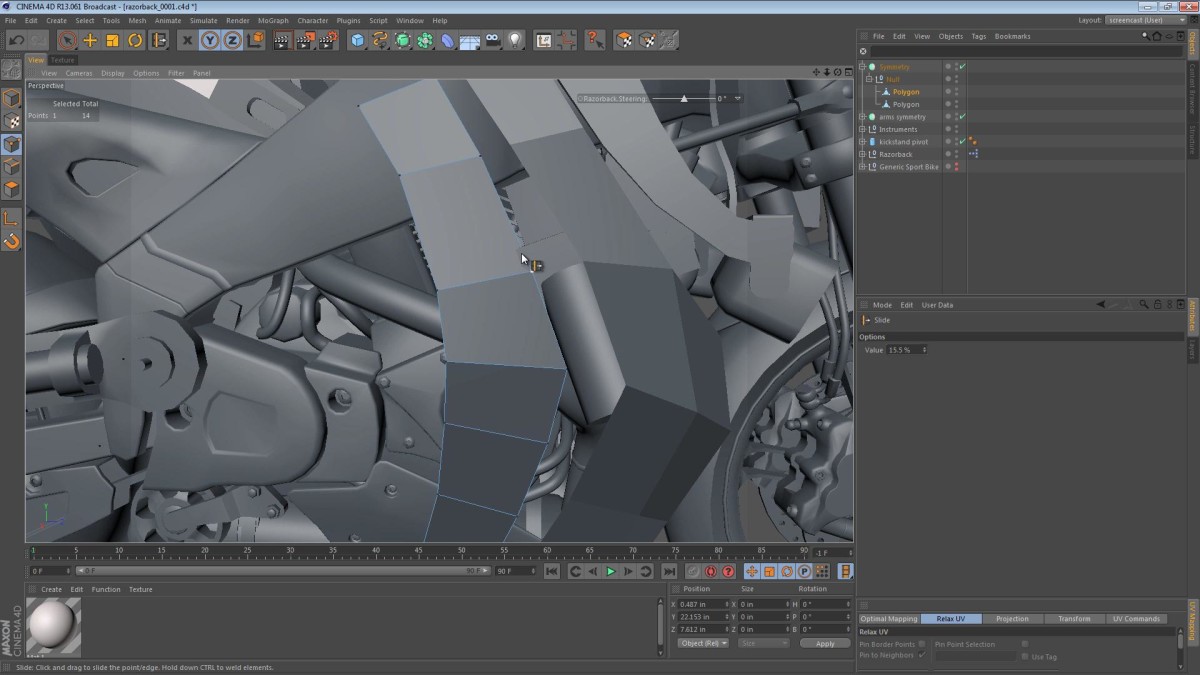
In this part of the Razorback video series, we add a simple metal bracket that will support the removable armor plates.
In this part of the Razorback video series, we add some bolts to the LIDAR and Hazcam brackets.
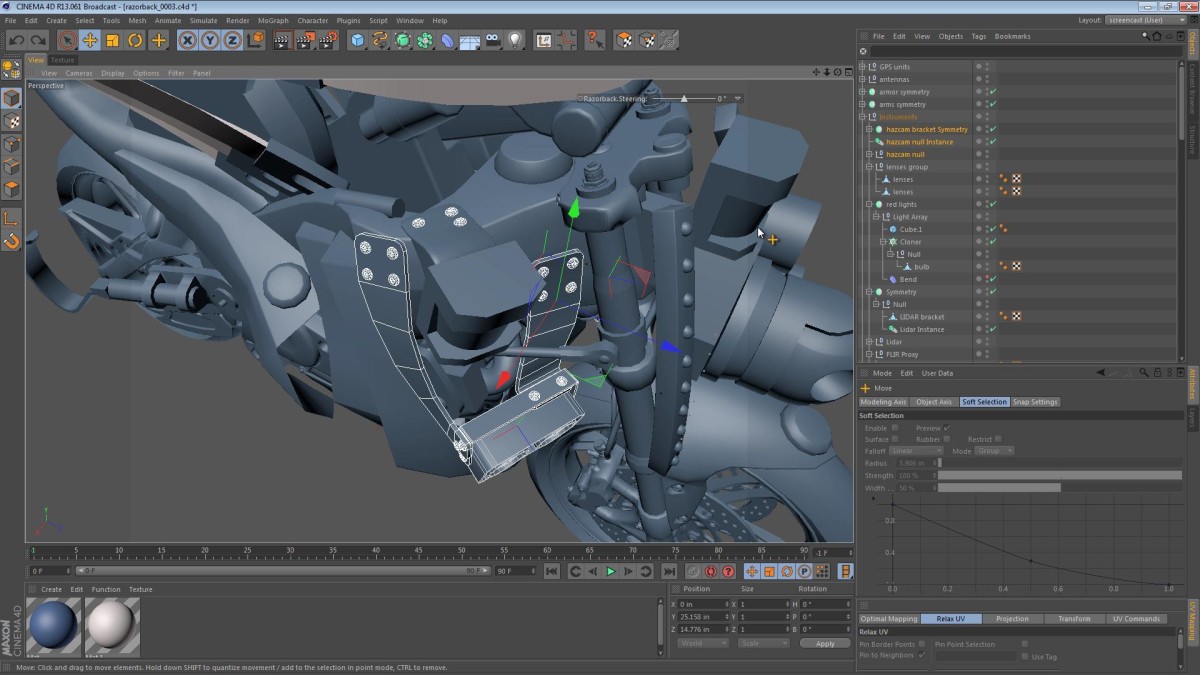
In this part of the Razorback video series, we finally add some much needed detail to the FLIR turret. (Although it’s not a turret in the traditional sense of the word, these FLIR rotating mounts are sometimes referred to as turrets)
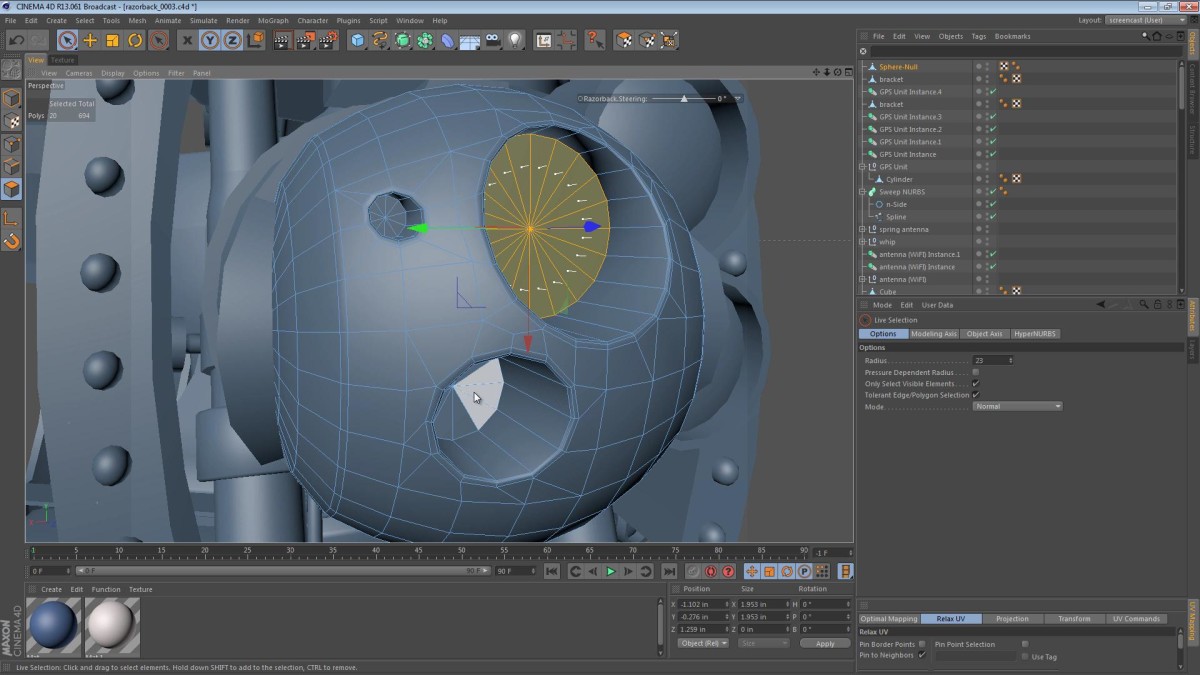
In this part of the Razorback video series, we add a few GPS antennas/receivers. In Daemon, the Razorbacks use an array of sensors including GPS to navigate. The idea of having multiple GPS antennas comes from both the novel itself, and real world implementations where redundancy is necessary.
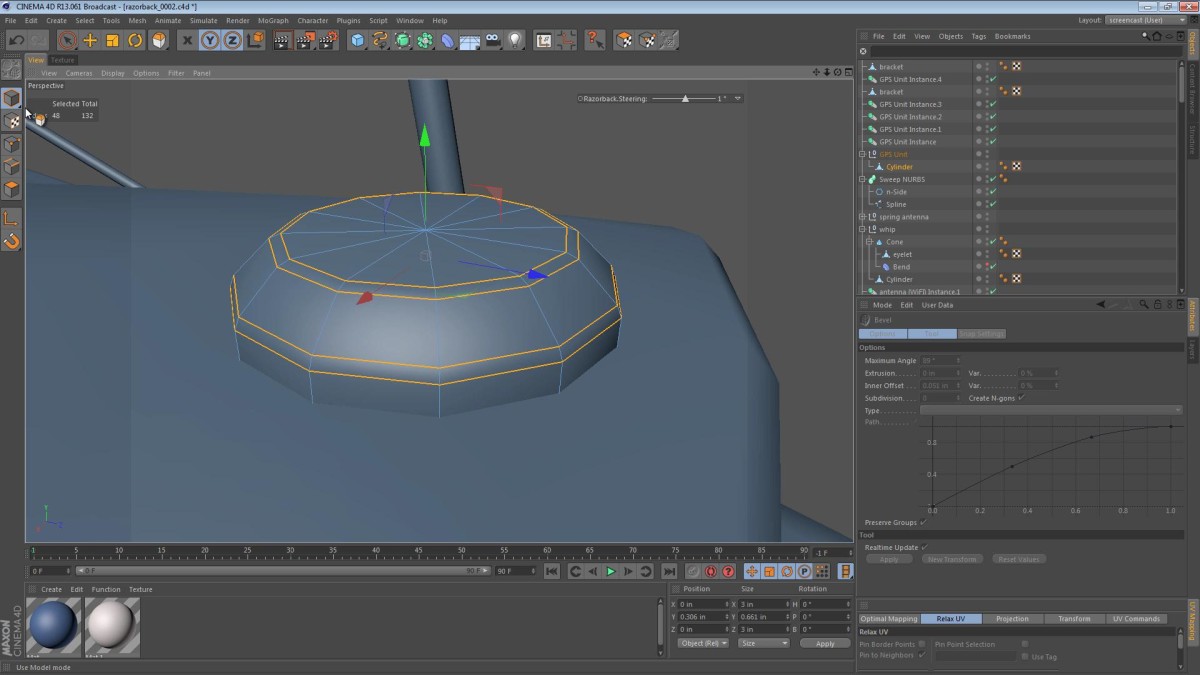
In this part of the Razorback series, I mess up the recording, then I say incorrect things about antenna technology (before checking my facts), and I even do some modeling. We focus on some of the tech-looking antennas the machine will undoubtedly have, and below are a list of the points covered (as well as the embedded video).
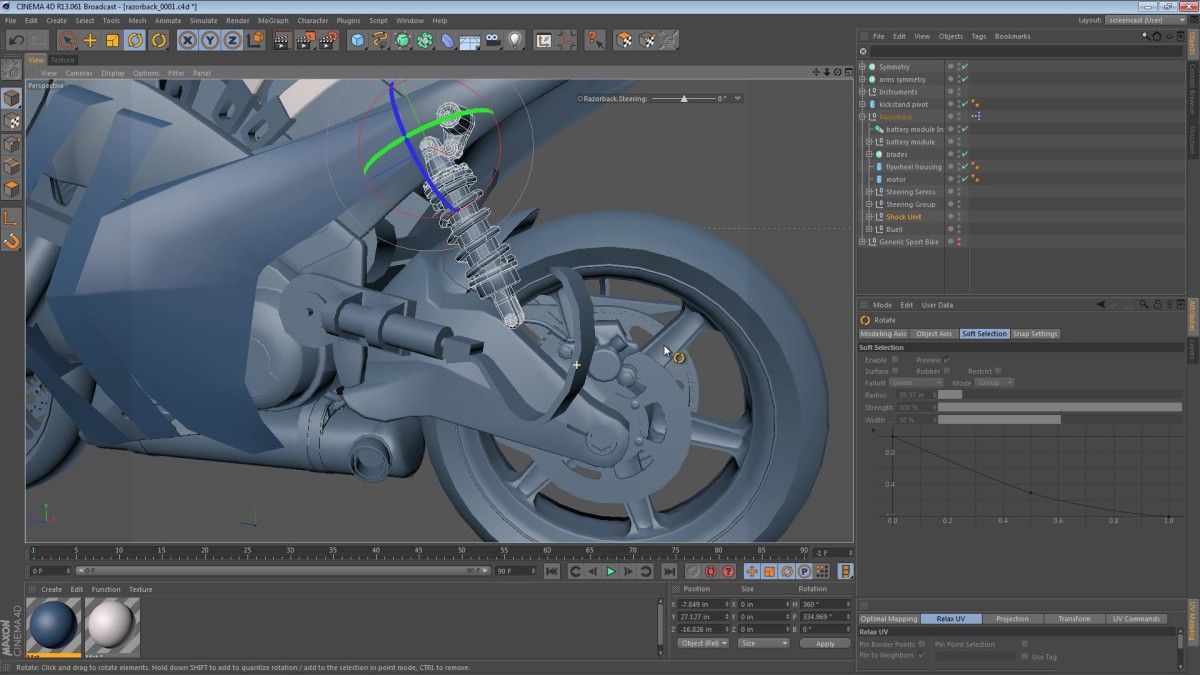
When first chopping up the Buell street bike that is the platform of the Razorback, we neglected to properly relocate the rear shock unit. The space that it used to occupy is now taken by the flywheel, hybrid drive system, and spare batteries.
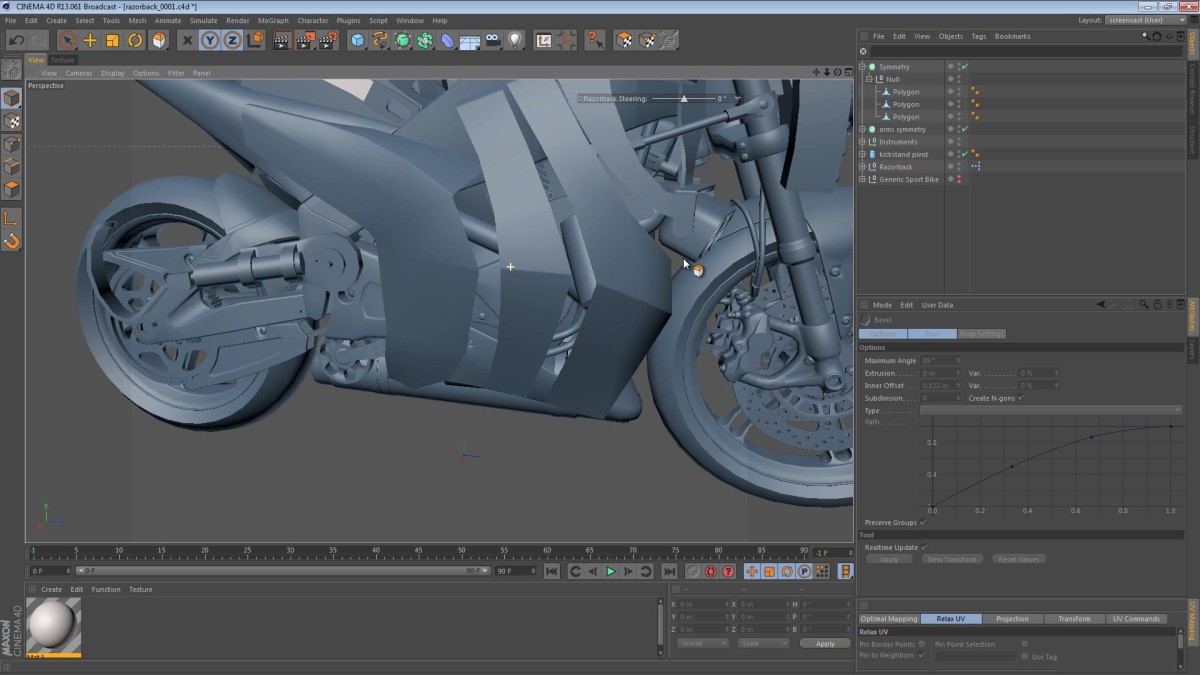
In this part of the Razorback creation series, we button up some of the armor near the front of the machine, and then evaluate the rest of the bike.
In this video, we take a look at the hurdles involved in armor plating this autonomous vehicle.
The armor of the machine can’t cover the instruments, as this would look bad and would be a waste of time. We really want the armor to encase the vital components, protecting them from various angles, leaving them accessible from vital ones.
Read More
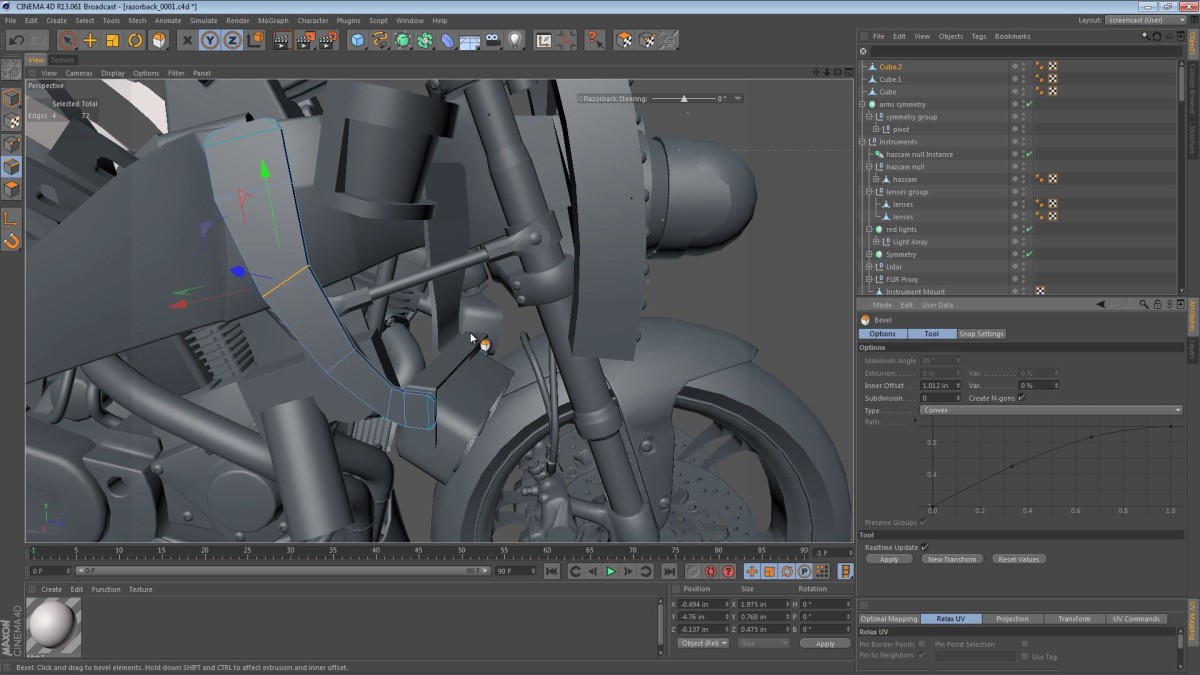
The term Hazcam is taken from the cameras on the front of the NASA/JPL Mars rovers. It stands for Hazard Avoidance Cameras. I think the instrument density is at a good level. We’ve still got to include an antenna array and several GPS sensors as described in the book.
Read More
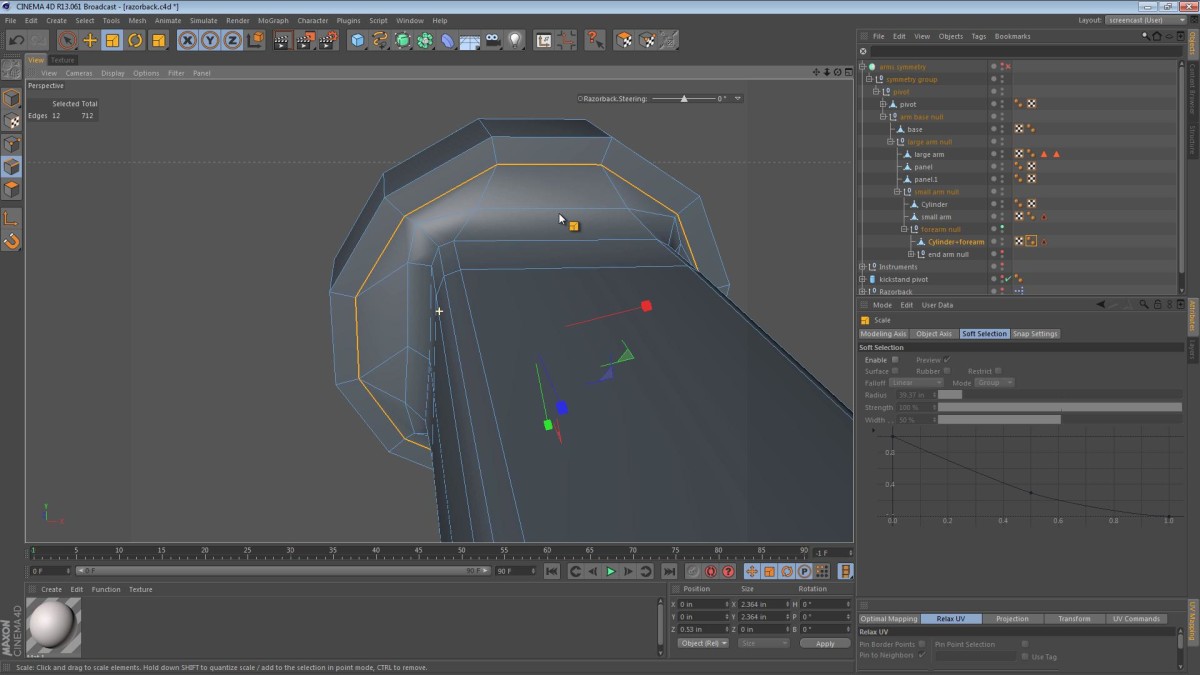
In part 19 of the Razorback screencast series, we use a Boolean operation to join now separate components of the upper arm to the rotating disc/bearing area that we’ve been calling the wrist. Keeping with the visual trend of the robotic arm up until this point, I blend the cylindrical part into the rectangular part of the arm. We’ve used this approach Read More