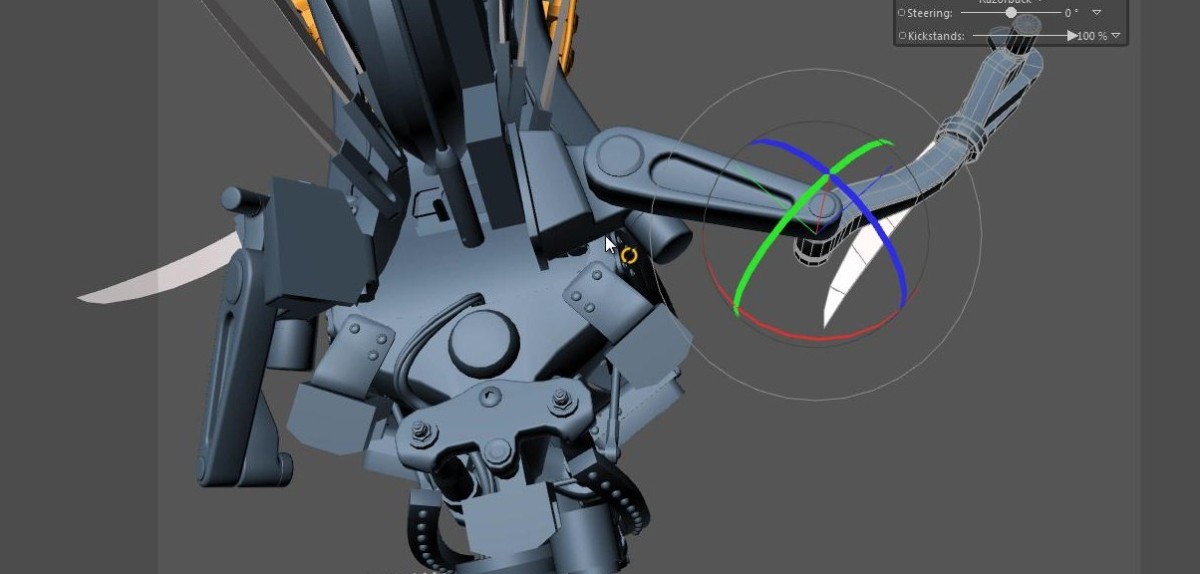
The robotic arms of the Razorback give it a lot of personality, while serving as its main focal point when regarding the high-tech sci-fi look of the machine. Read More
I’m a big fan of NASA and space exploration in general. The Mars Curiosity video from JPL explaining the EDL sequence is one of my favorite videos ever. I’ve watched it about a dozen times and showed it to everyone I know. It has some great looking 3D animation and a top notch production value. I’ve embedded it below:
More recently I saw another video, apparently produced by a YouTube channel called SpaceRip. This video chronicles the Curiosity Space Rover’s construction, testing, shipment, and launch. If you have not seen this behind the scenes look at Curiosity’s journey, I suggest you grab a cup of your favorite drink, sit back and enjoy.
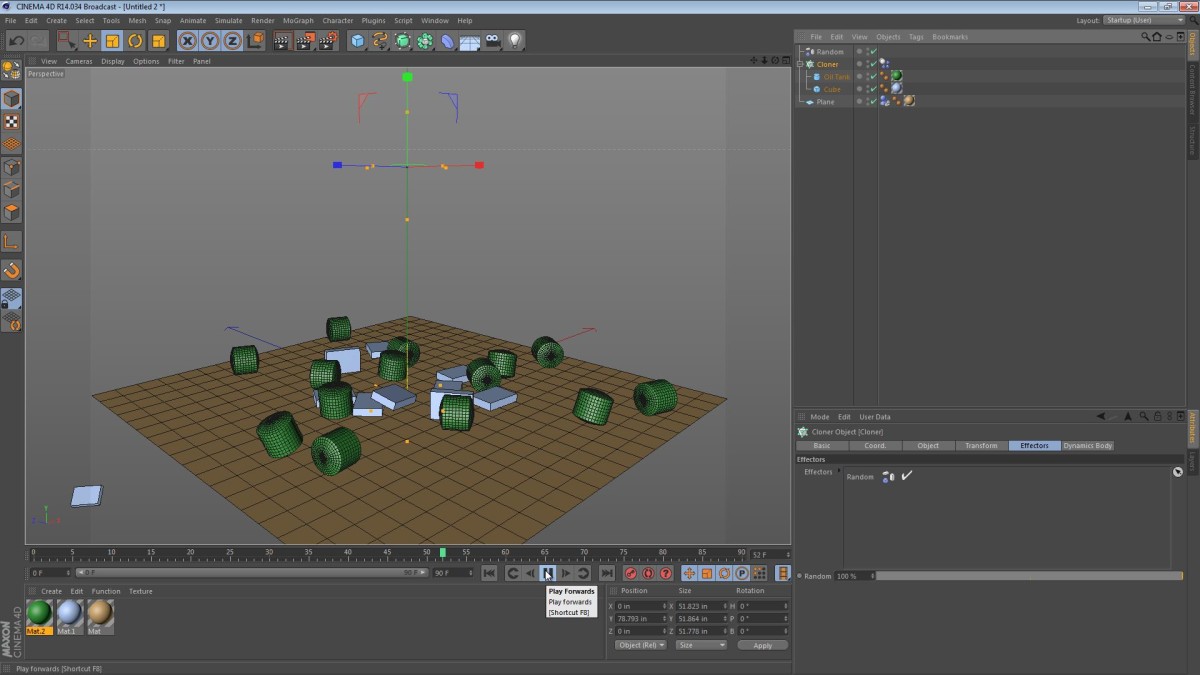
This tip focuses on the fact that simple rigid body dynamics can be used in the Broadcast Edition of Cinema 4D with some simple techniques. The Broadcast Edition of Cinema 4D includes rigid body dynamics tags but curiously, they don’t work with regular polygonal objects. So why are they there and what can we use them for?
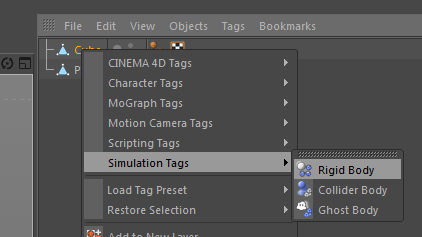
Check out the rest of the post for more info, some still images and the short video tutorial.
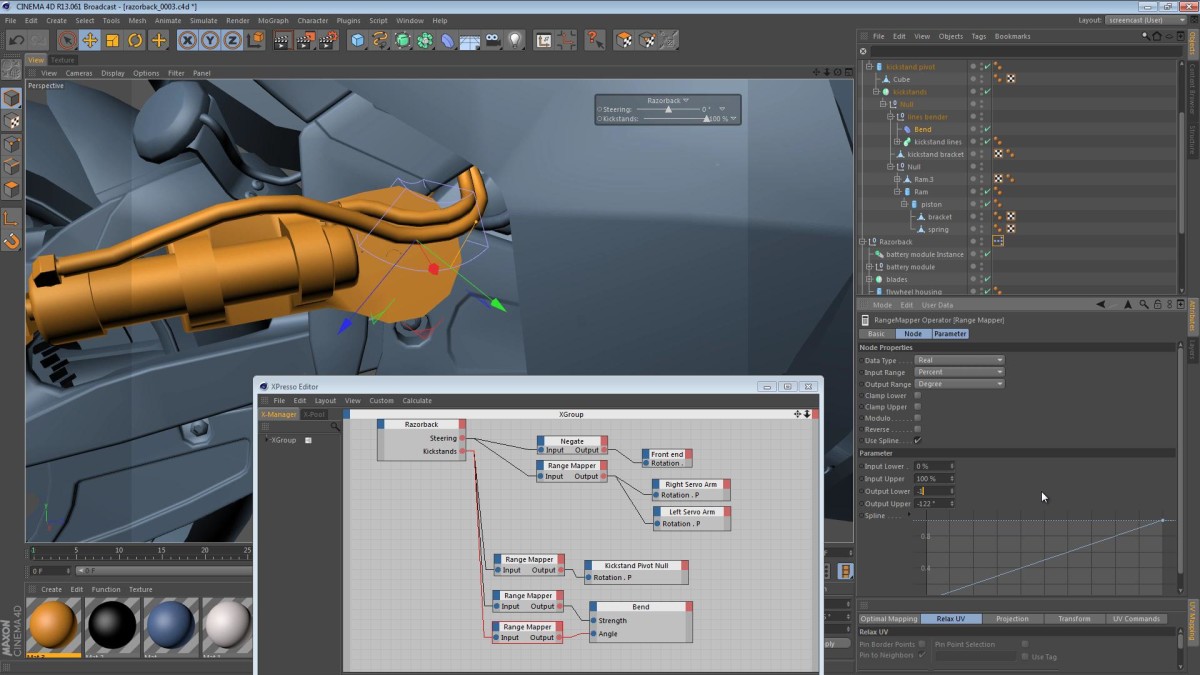
As the overall modeling of the Razorback project nears maturity, we’re starting to focus on some of the more detailed and nuanced areas of the model. For instance, let’s consider the kickstands. We know that they will be Pneumatic/Hydraulic, and we know that actuated stuff in sci-fi renditions must have hoses leading from the mechanism into the depths of the robot… it’s just cooler that way.
Having said all that, we need a way for the hoses to move and flex with the machine, and Read More
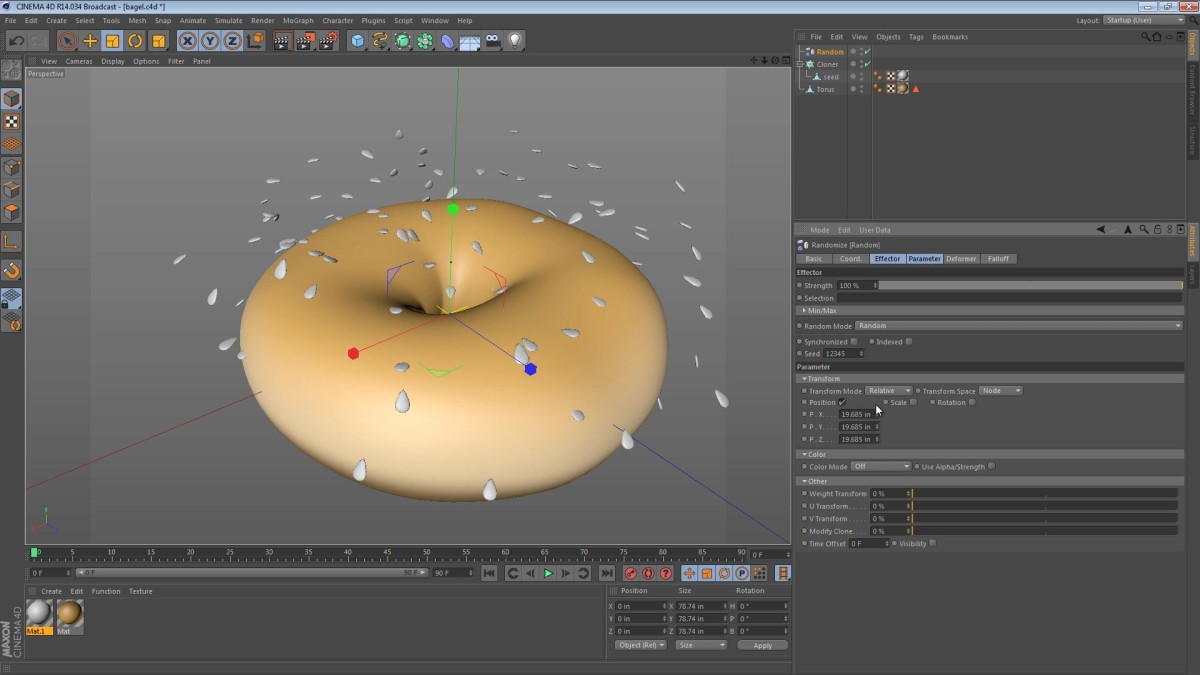
This tip focuses on the placement of sesame seeds on a baked treat.
One of my readers commented on my Constraining Objects to a Surface tip and mentioned that he’d found it particularly useful. He also referenced placing sesame seeds on a burger bun and I immediately thought of achieving that effect using the MoGraph Cloner. Granted, there are many circumstances under which the subsequent tip won’t be ideal but I think it could be a real time-saver.
Check out the rest of the post for some still images and the short video tutorial.
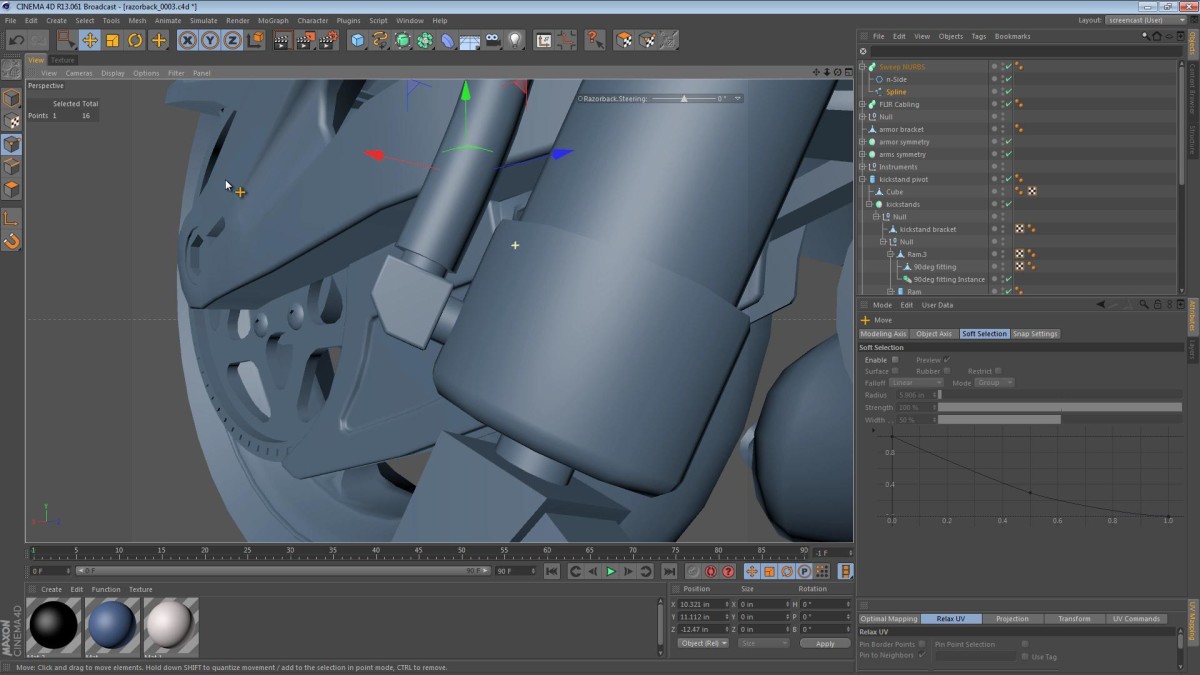
In this part of the Razorback video series, we tackle the kickstands and the hardware/hoses that connect them to the machine’s central systems. The hoses provide a challenge to us that we’ve not seen since the steering mechanisms.
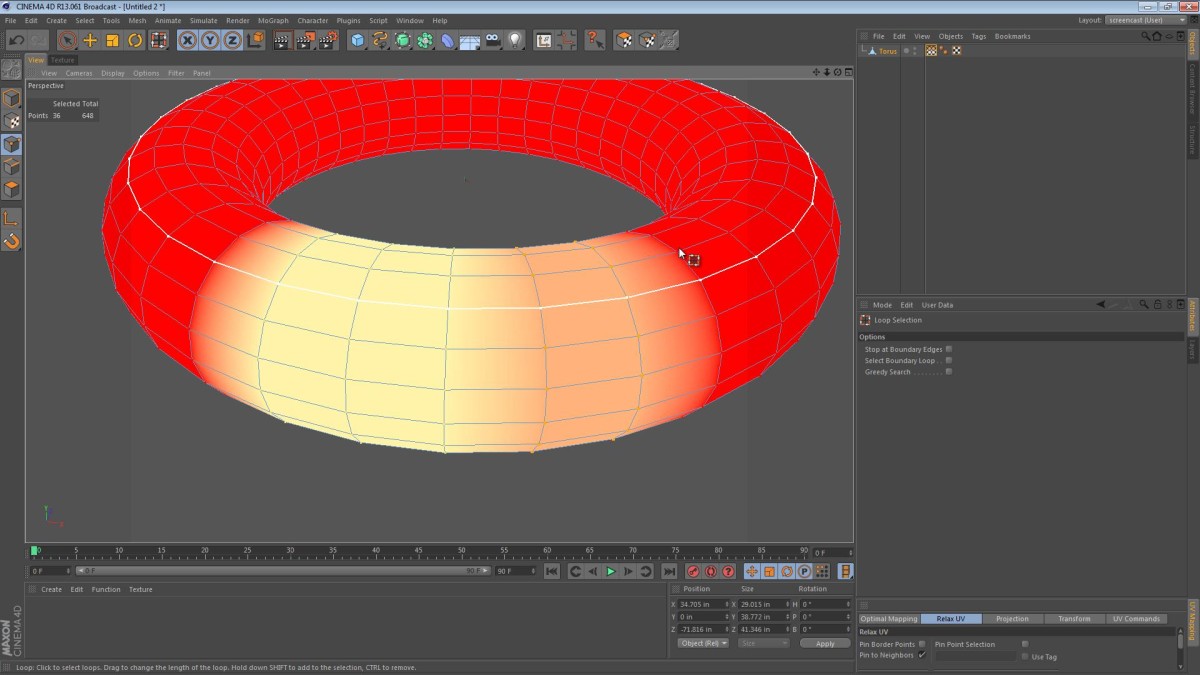
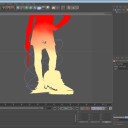
A quick tip that shows how to use a Vertex Weight Map to restrict the influence of a Cinema 4D deformer.
When applying a deformer in 3D software, the limitations of the deformer are considered in the decision to use it. For instance, if we wanted to bend an object we would obviously use a bend deformer. This gets more complicated as we look for ways to influence only part of an object (typically we want to bend the entire object). In Cinema 4D, we can use the Vertex Weight tag/a Vertex Map to define the area of influence that a deformer can affect.
The general idea of this tip is: We want to twist the lower half of David, while leaving the sword in his hand straight. The Vertex Weight Map and a restriction tag can help us in this case.
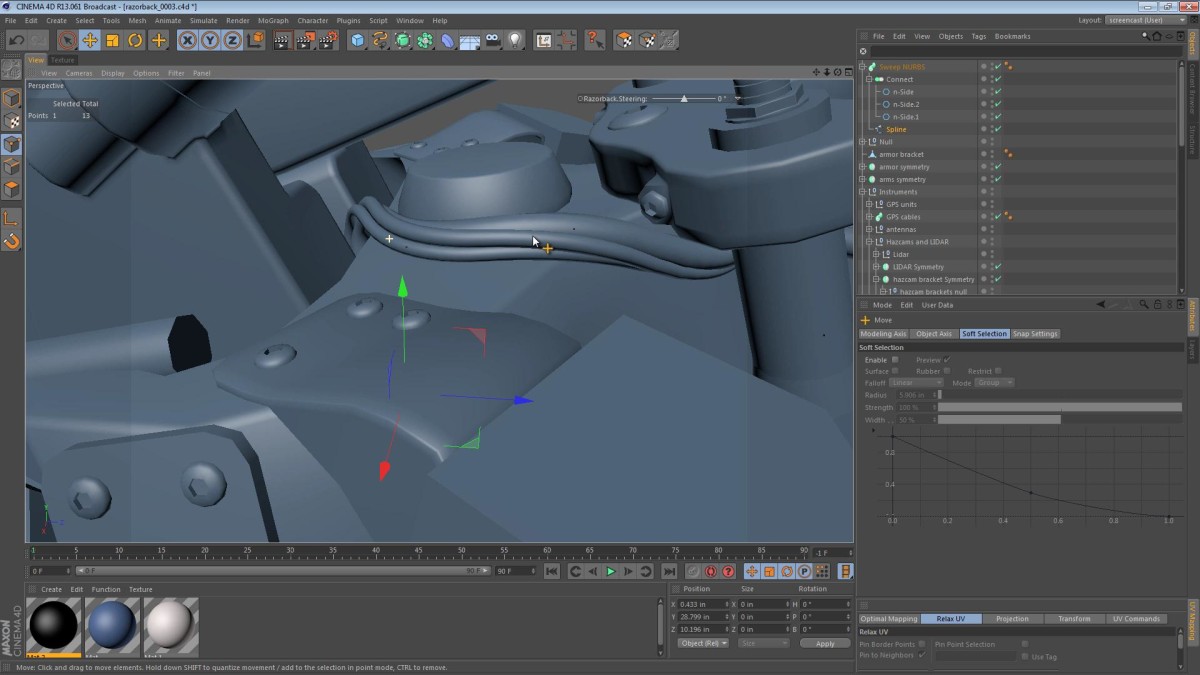
In this part of the Razorback video series, we create a few cables for some of the instruments. In particular, we focus on the GPS antennas and the FLIR turret’s cabling.
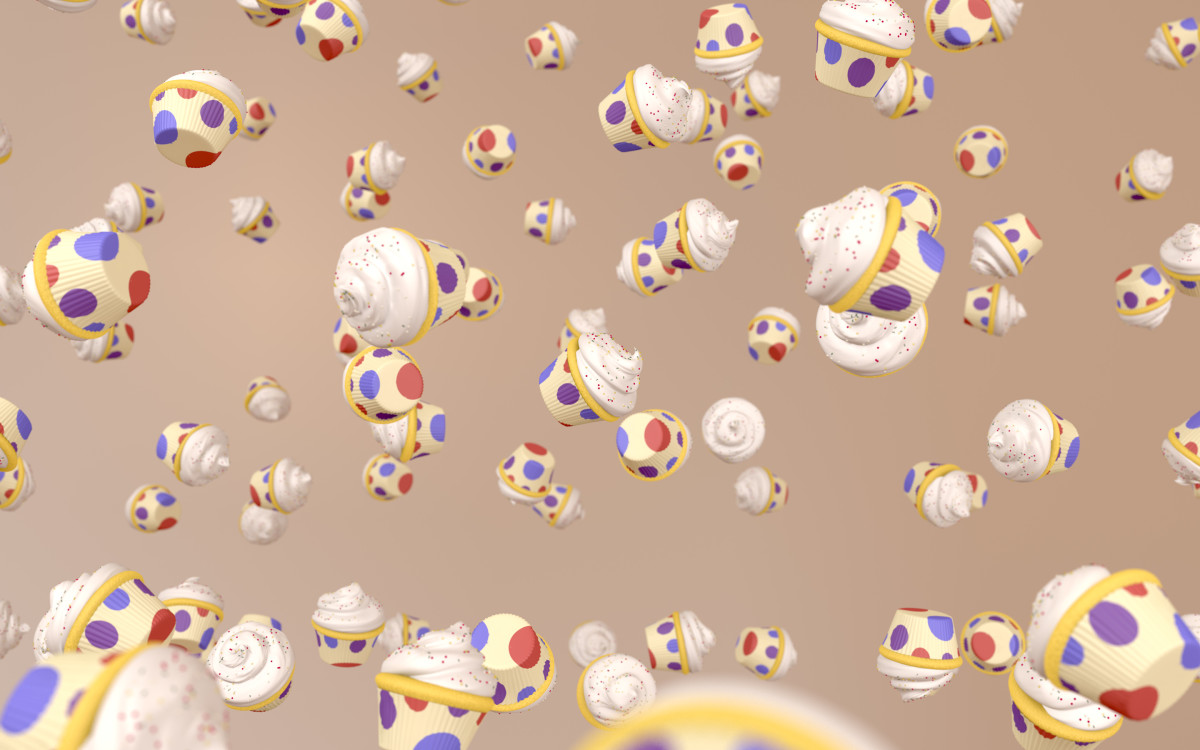
This wallpaper was inspired by some of the Windows 7 wallpapers and was quite fun to create. It uses the new-ish Physical Renderer in Cinema 4D R14 for the depth-of-field effect. There are sizes for various desktops, the iPad 1 and 2 (1024×1024), the iPad 3 (2048×2048), and the Macbook Pro Retina (2880×1800).
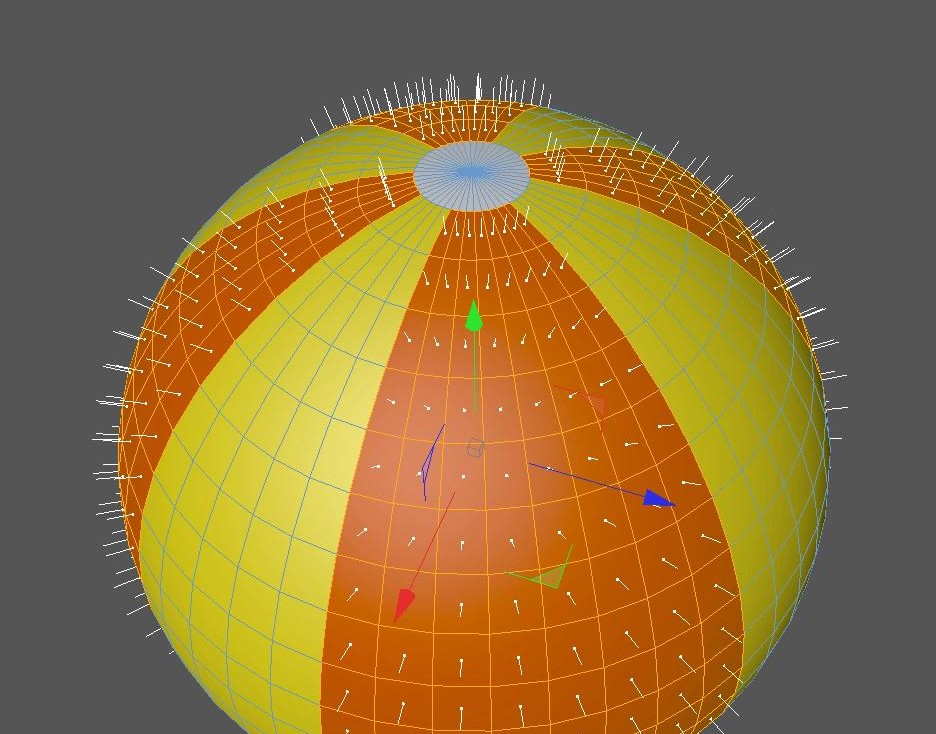
This tip focuses on the simple yet powerful Set Selection command in Cinema 4D and suggests a few practical uses for it. We also look at how Cinema 4D automatically creates one of these selections for you if you apply a texture in a particular way.
Read More
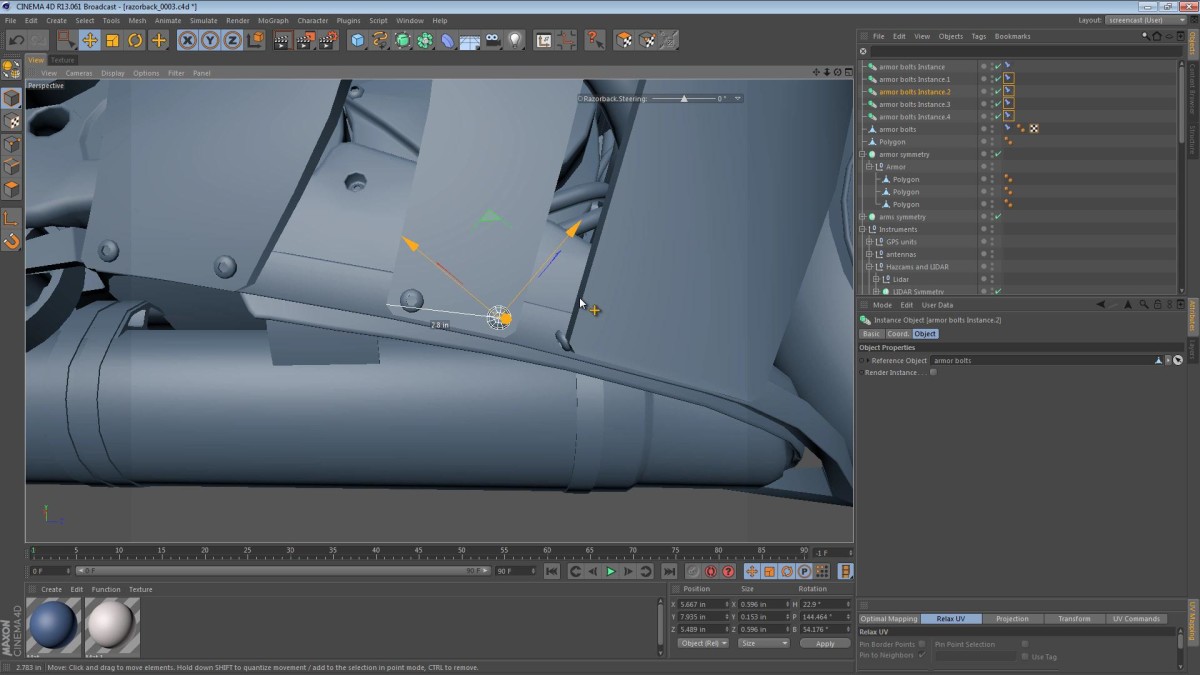
In this part of the Razorback video series, we tackle the armor plating and consider just how thick it should be, as well as deciding how it bolts to the underlying machine.
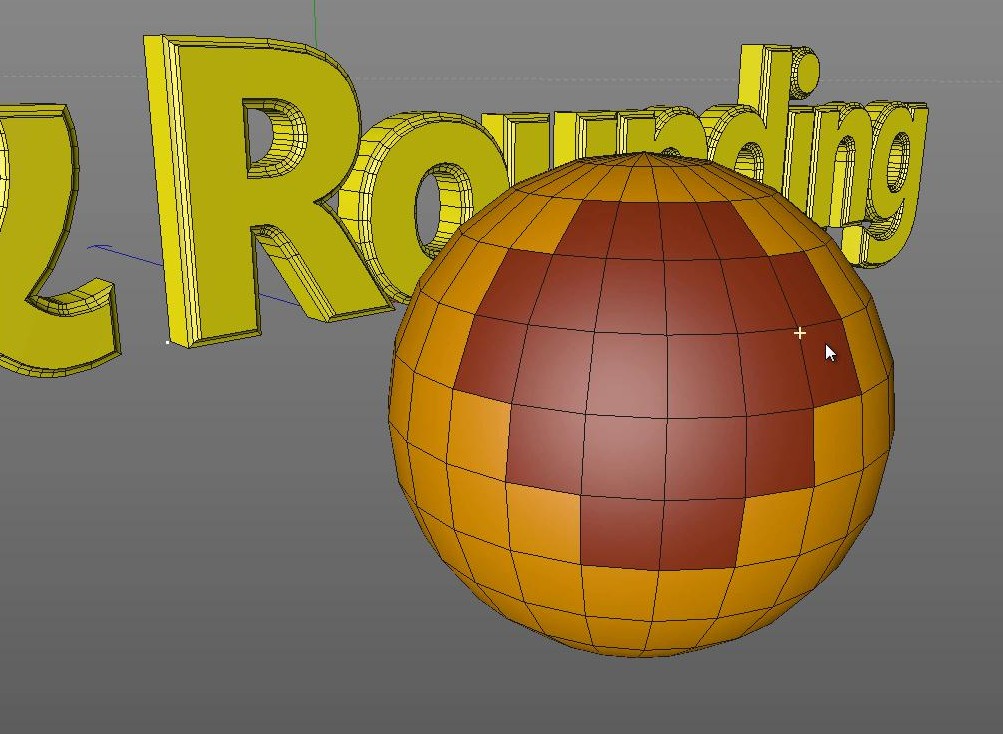
This tip focuses on the hidden polygon selections that exist on most of Cinema 4D’s NURBS objects. Even the MoGraph Text object.
Some of the generated objects in Cinema 4D have hidden selections that are automatically generated in real-time. These selections can be used to apply materials to individual classes of surfaces.
Read More
