In this part of the Razorback video series, we create a few cables for some of the instruments. In particular, we focus on the GPS antennas and the FLIR turret’s cabling.
Tag: modeling
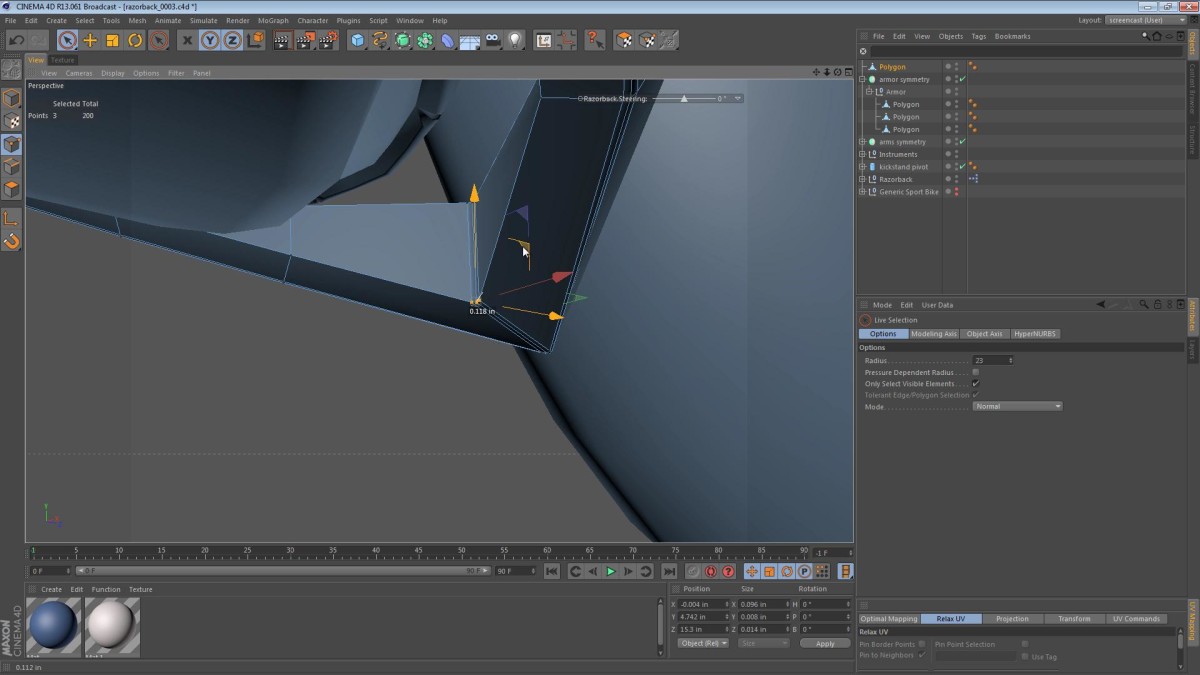
In this part of the Razorback video series, we tackle the armor plating and consider just how thick it should be, as well as deciding how it bolts to the underlying machine.
In this part of the Razorback video series, we add a simple metal bracket that will support the removable armor plates.
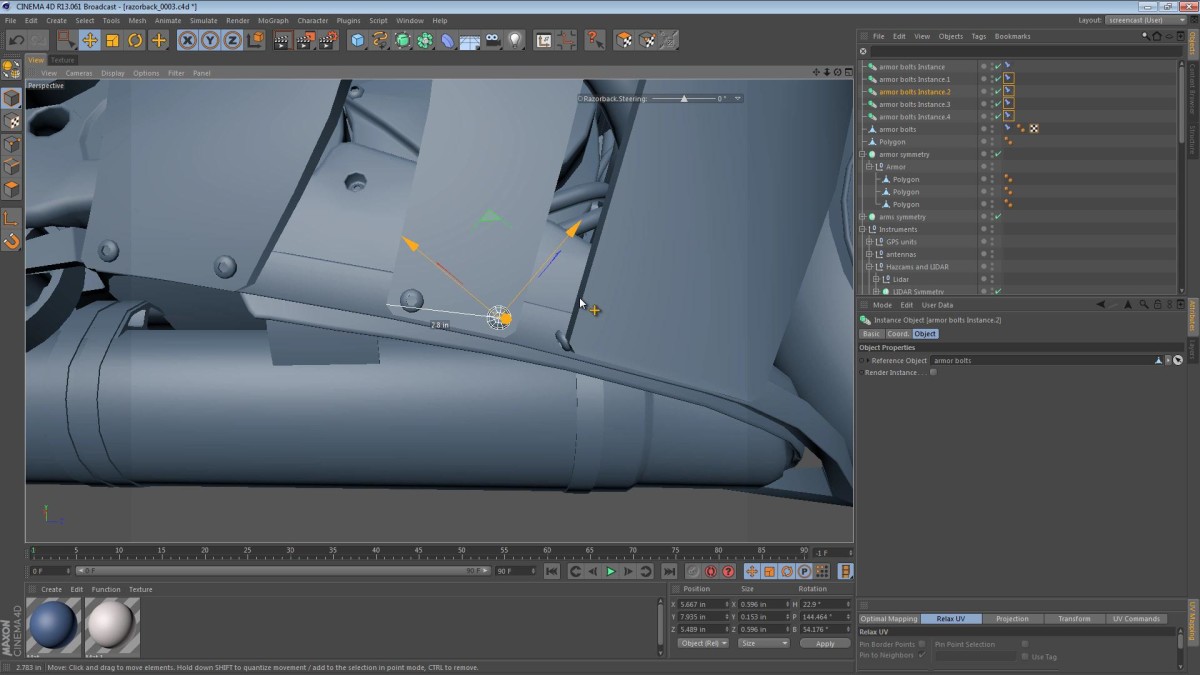
In this part of the Razorback video series, we add some bolts to the LIDAR and Hazcam brackets.
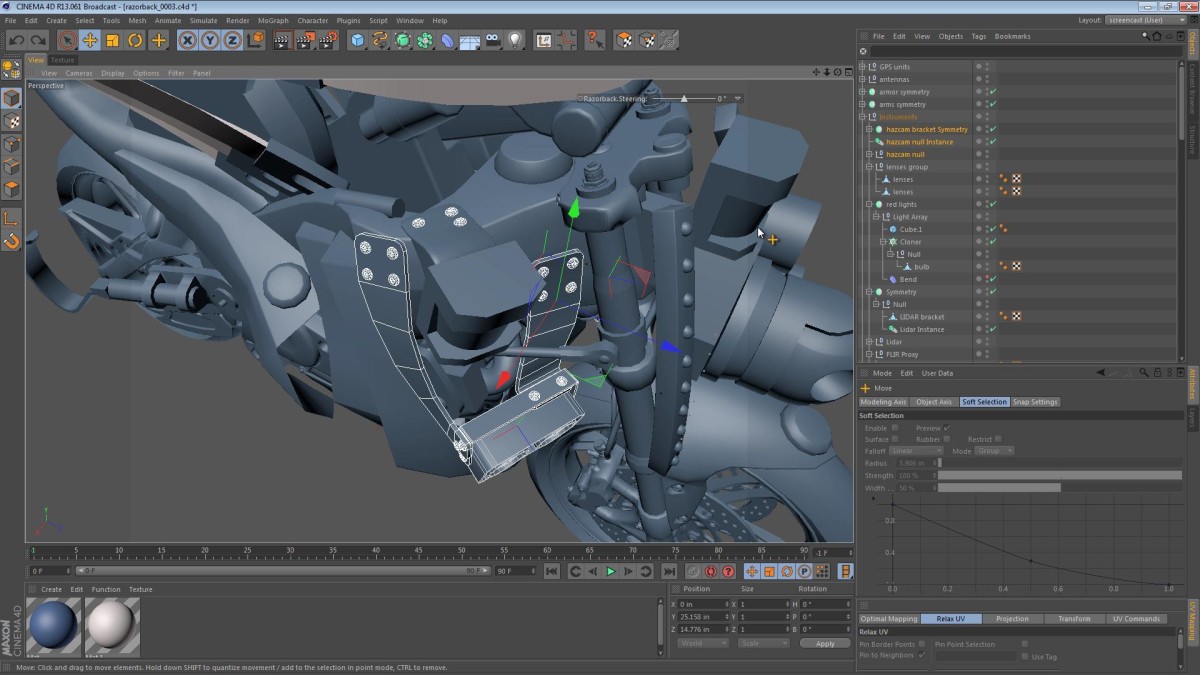
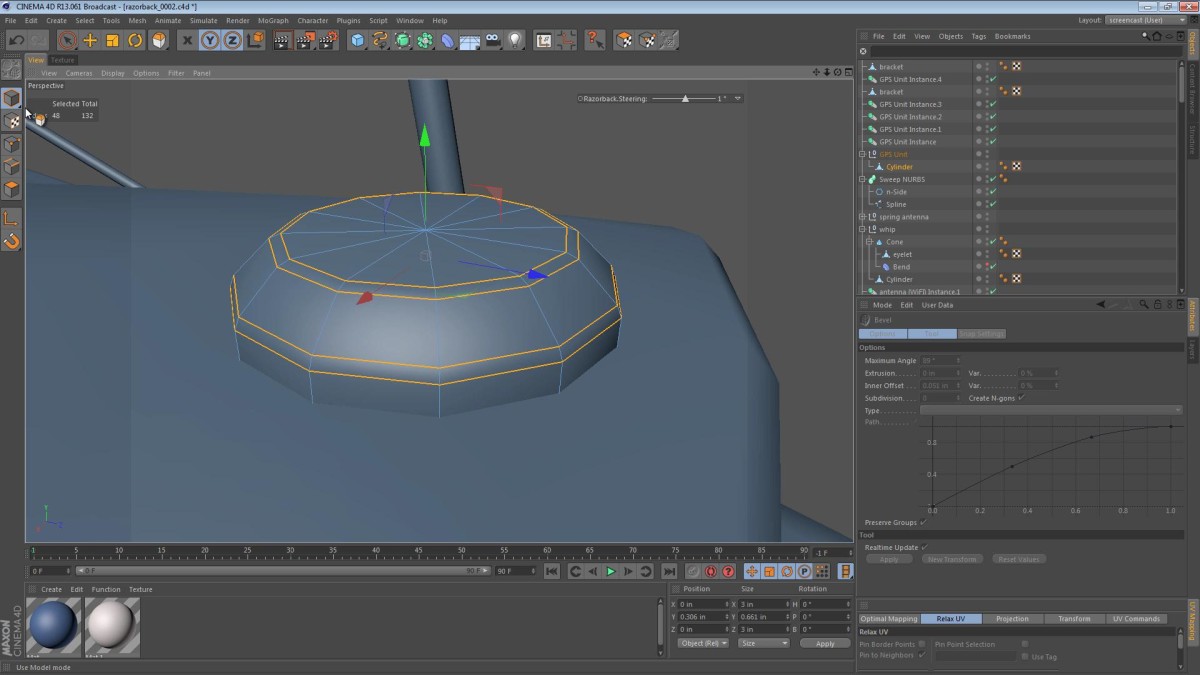
In this part of the Razorback video series, we finally add some much needed detail to the FLIR turret. (Although it’s not a turret in the traditional sense of the word, these FLIR rotating mounts are sometimes referred to as turrets)
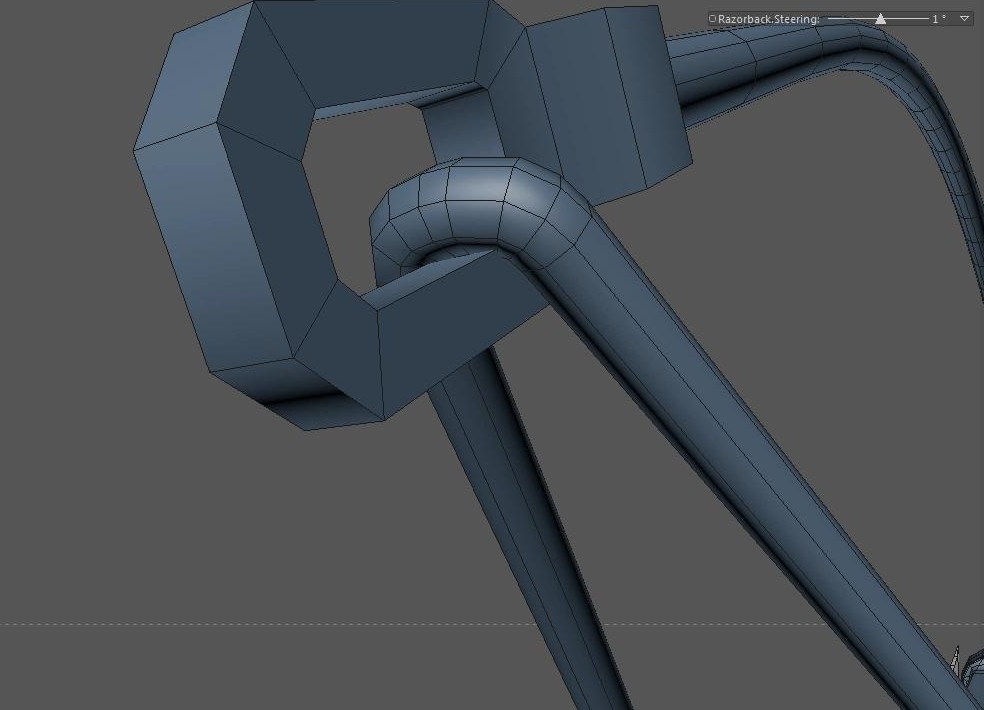
In this part of the Razorback video series, we add a few GPS antennas/receivers. In Daemon, the Razorbacks use an array of sensors including GPS to navigate. The idea of having multiple GPS antennas comes from both the novel itself, and real world implementations where redundancy is necessary.
In this part of the Razorback series, I mess up the recording, then I say incorrect things about antenna technology (before checking my facts), and I even do some modeling. We focus on some of the tech-looking antennas the machine will undoubtedly have, and below are a list of the points covered (as well as the embedded video).
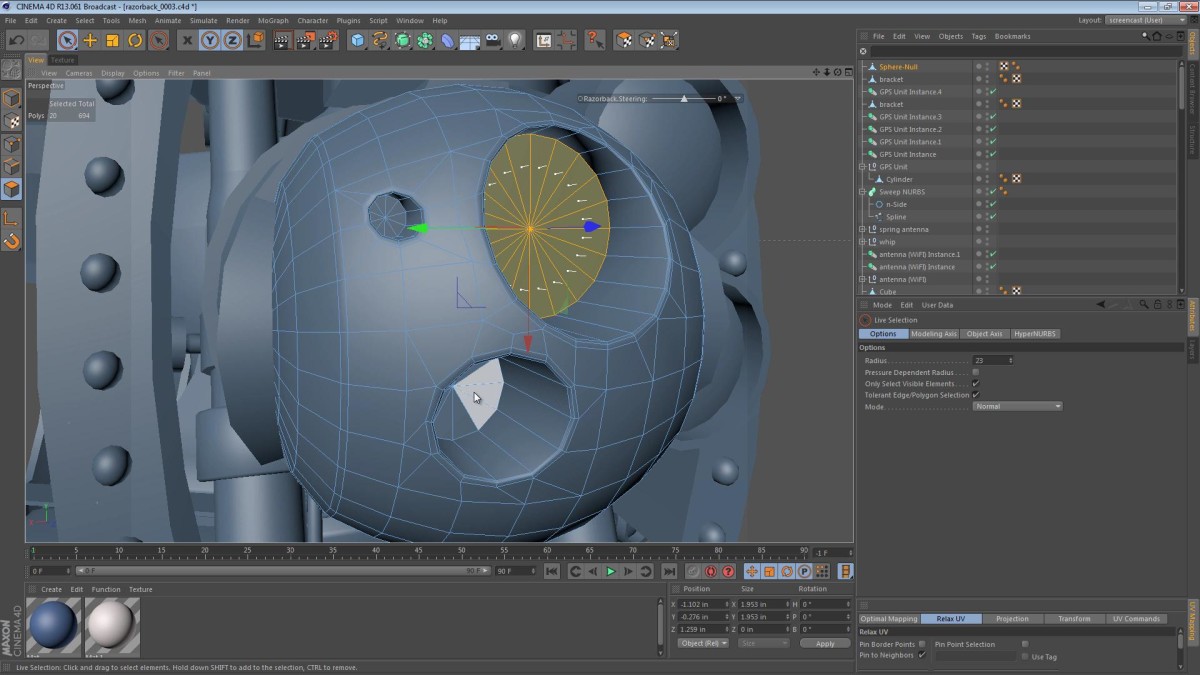
This tip is a quick review of a new feature in Maxon’s Cinema 4D R14 (release fourteen). The Live Selection tool, and the Brush Tool (even in absence of the sculpting tool-set) have been tweaked so they have fully interactive radius and intensity (for the Brush tool) adjustments. This tip is much easier to show than explain, so please check out the video below.
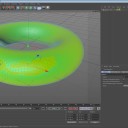
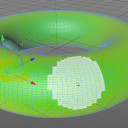
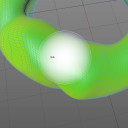
Here are some stills from the Screencast
Read More
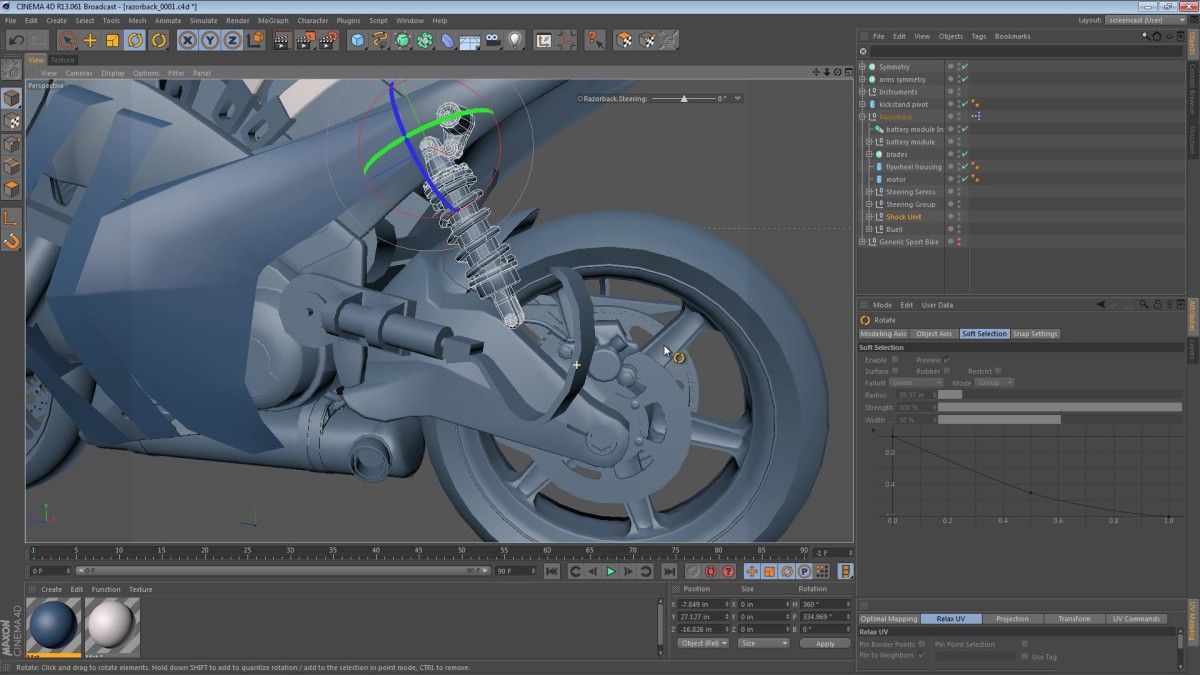
When first chopping up the Buell street bike that is the platform of the Razorback, we neglected to properly relocate the rear shock unit. The space that it used to occupy is now taken by the flywheel, hybrid drive system, and spare batteries.
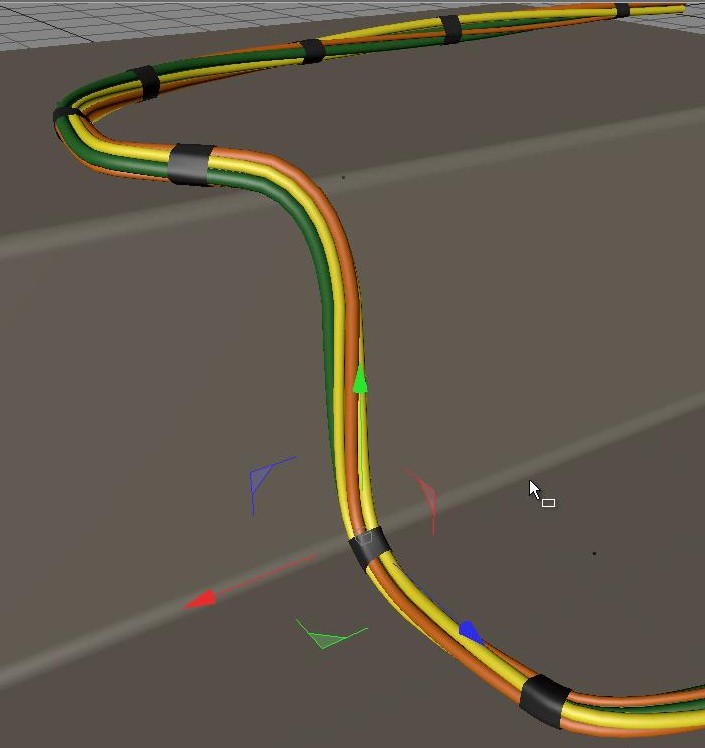
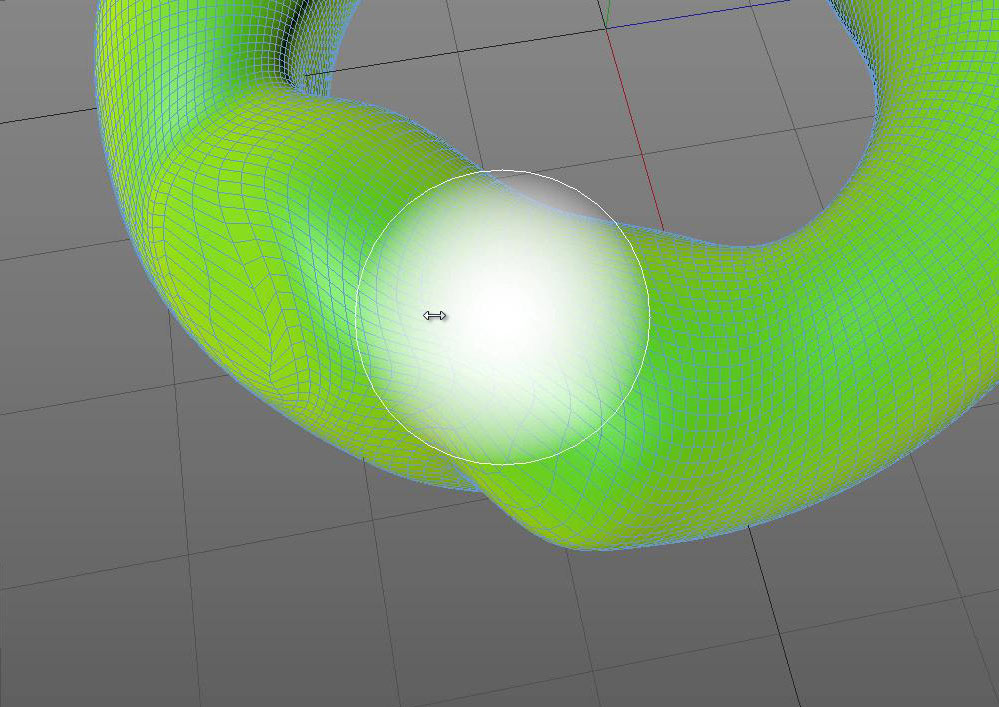
This tip demonstrates a technique for taping wires/cables together. It uses the Collision deformer as an aid, making sure the tape is snugly applied to the wires.
The use of the Collision deformer in this tip was inspired by Mike Udin’s tutorial on the Collision deformer. I found his tutorial useful even though it seems to be entirely in Russian. I discovered his tutorial in the C4D Weekly newsletter; issue #17. I suggest you check out the C4D Weekly archive, and subscribe to their great weekly email.
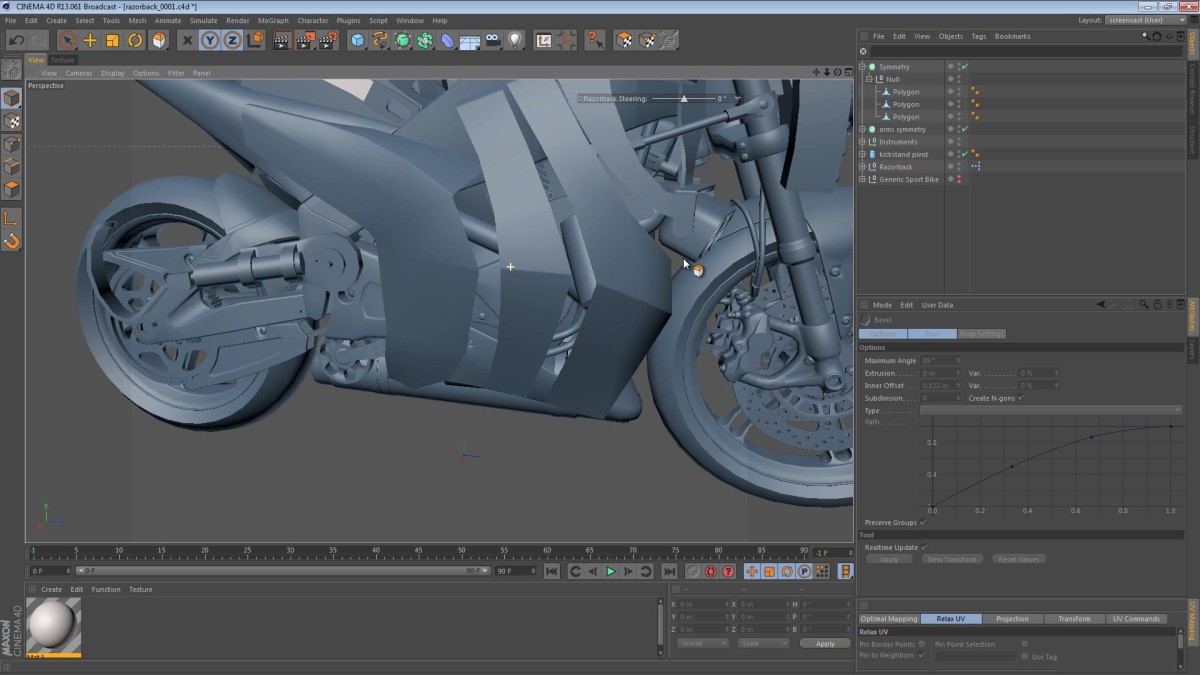
In this part of the Razorback creation series, we button up some of the armor near the front of the machine, and then evaluate the rest of the bike.
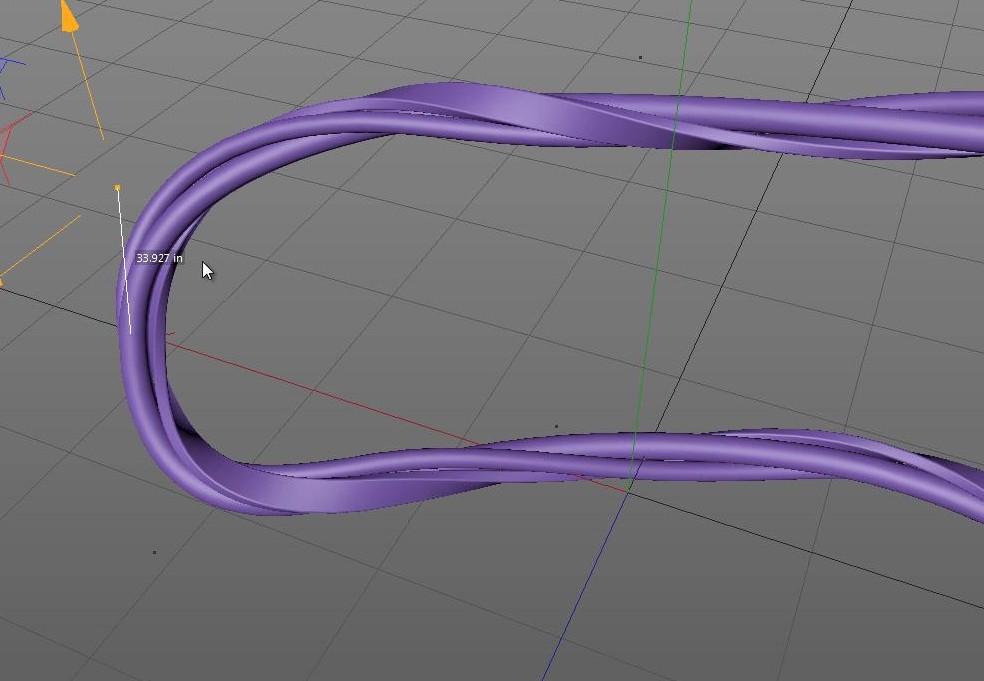
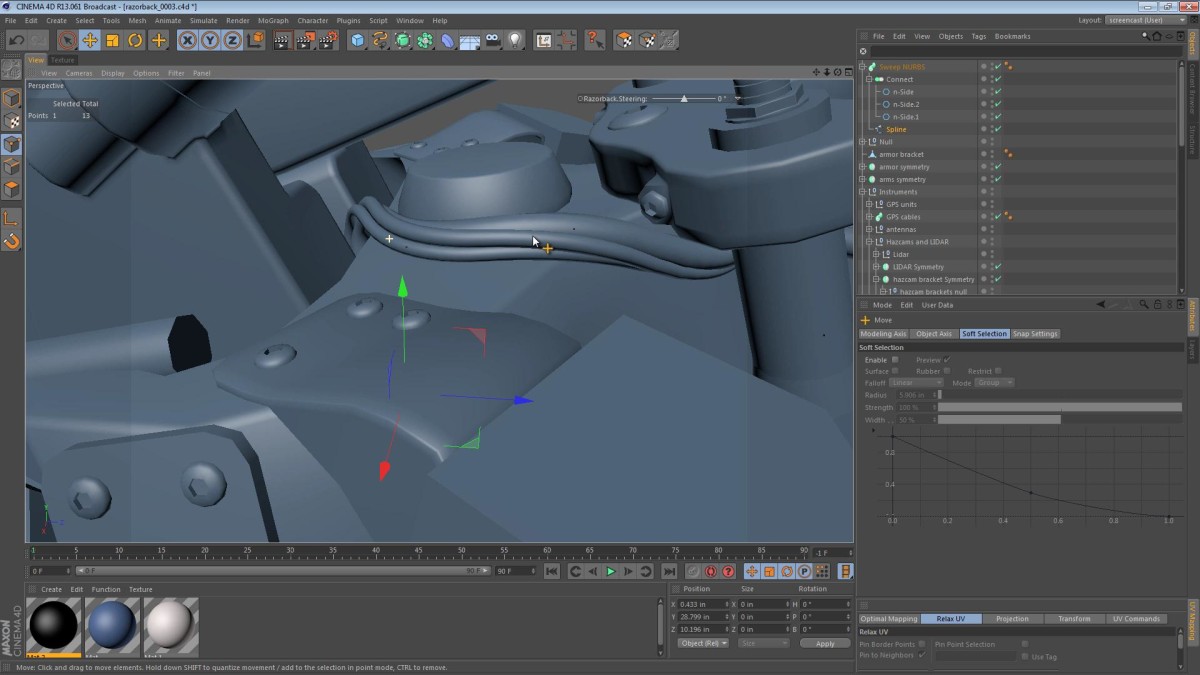
In this tip, we quickly explore a method for sweeping multiple cross-sections of wire along a Spline. Using a SweepNURBS object, we adjust the End rotation parameter and end up with a twisted structure.