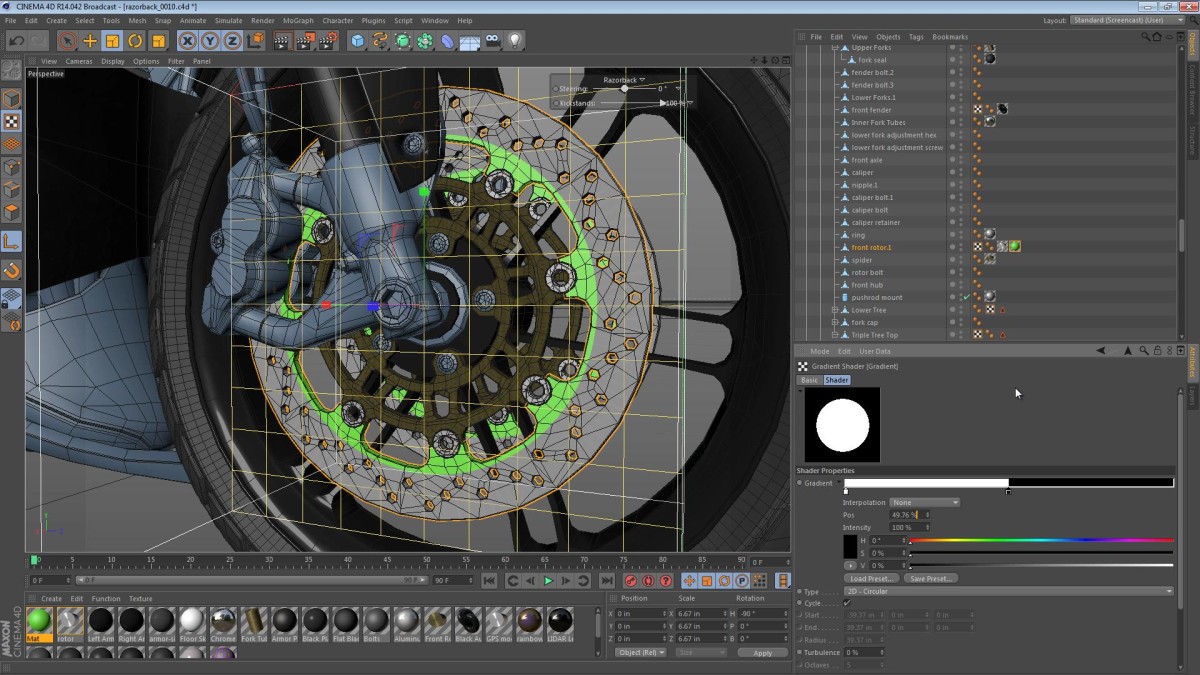
In part 48, we take a look at mirroring our UV map work, and duplicating one of the texture maps for the arms. We then move on to a more procedural method of texturing the front brake rotors.
Tag: uv mapping
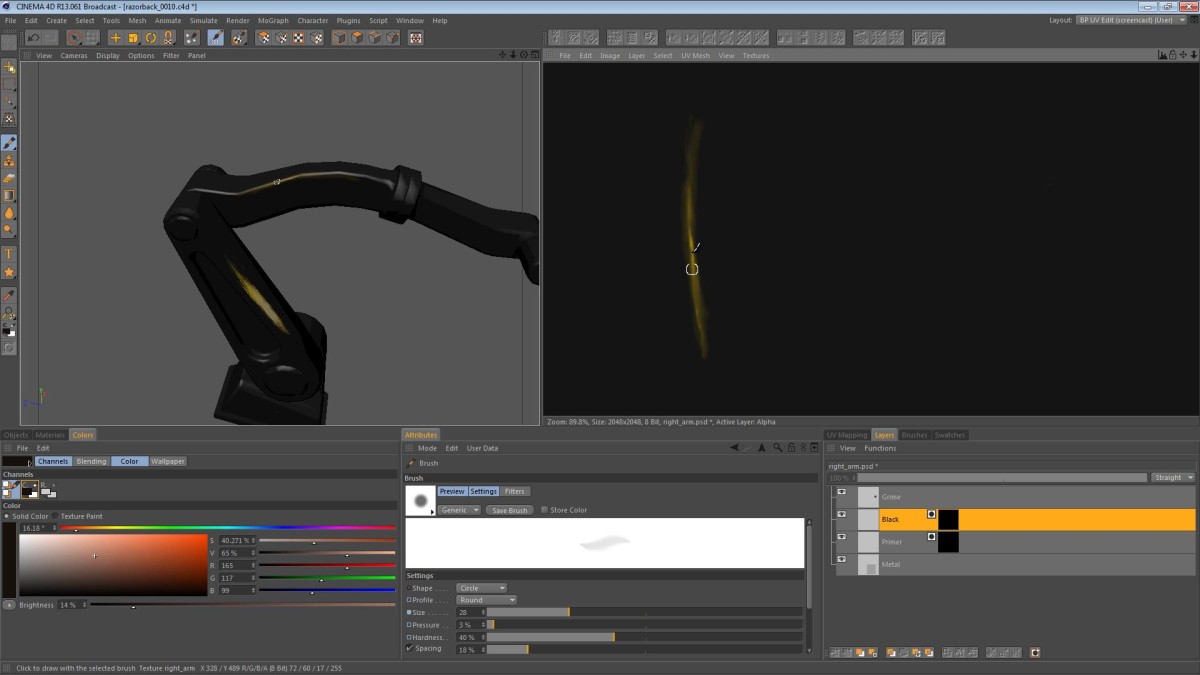
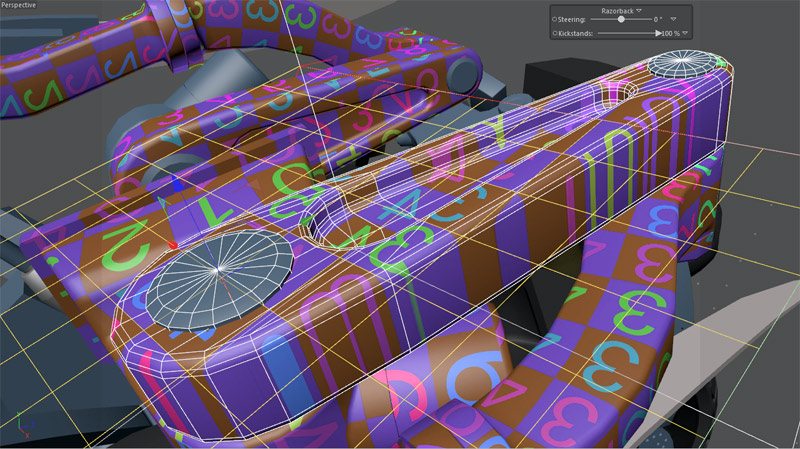
This part of the Razorback series focuses on painting the fully UV mapped arm. It’s a simple video, but hopefully, there will be more interesting parts in the near future.
This episode takes a quick look at the concepts involved in joining geometry for the simplification of UV texture files.
Read More
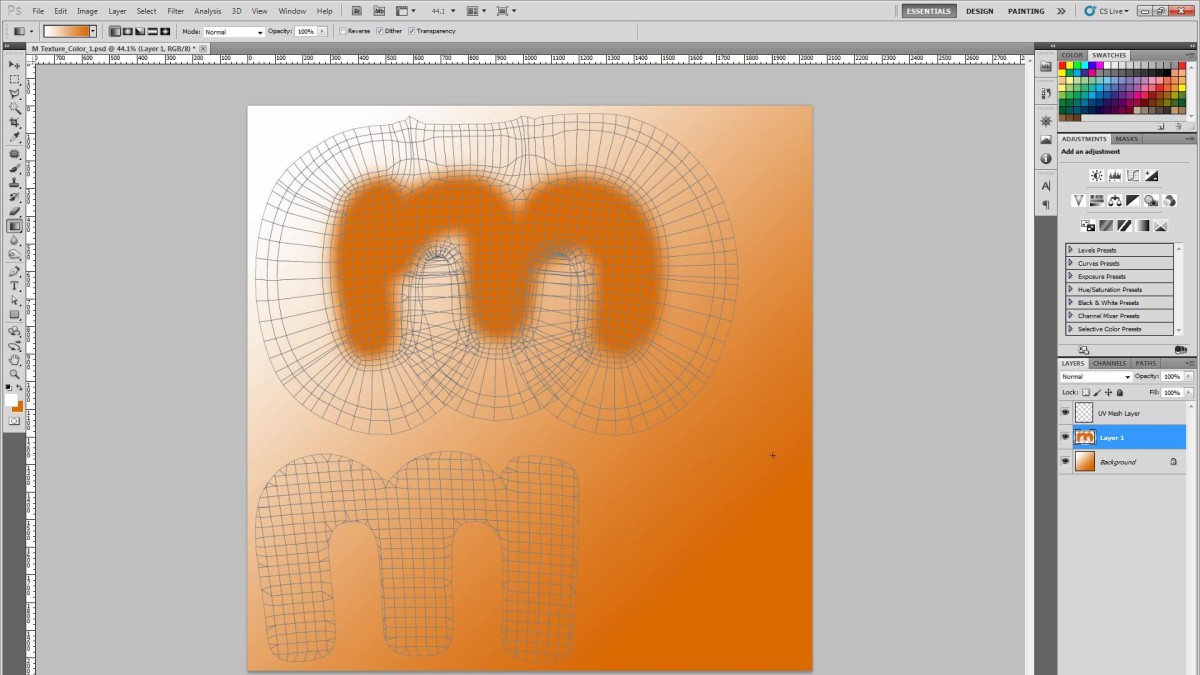
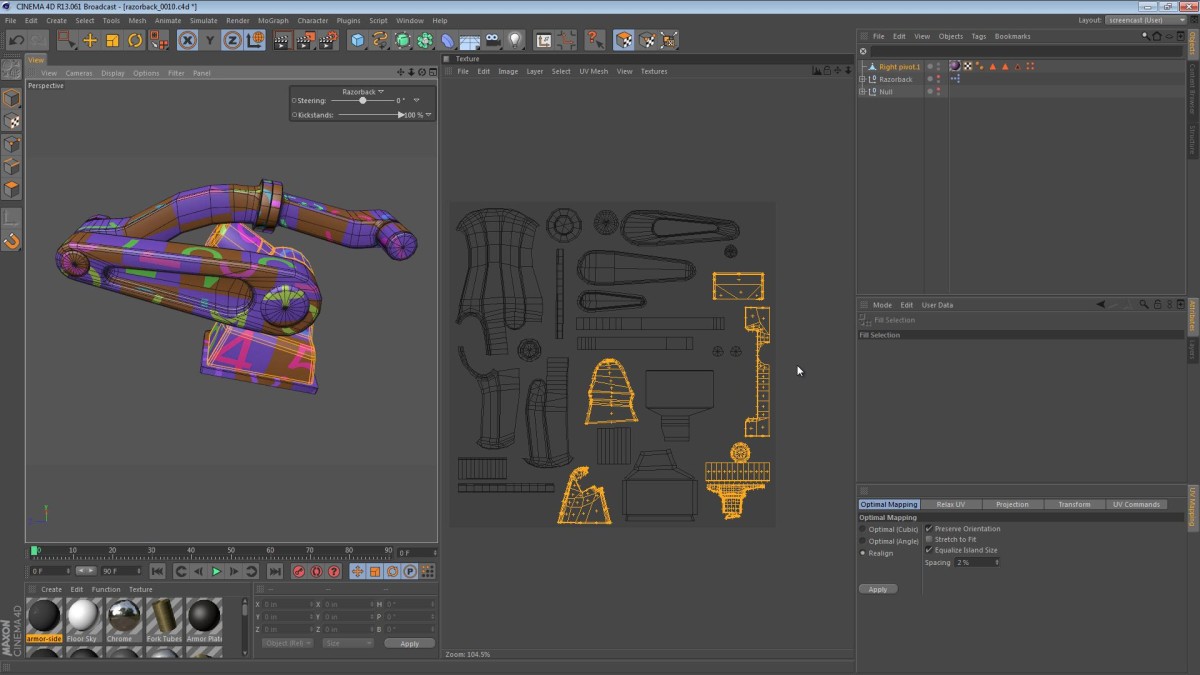
This tip takes a quick look at one of my favorite Cinema 4D texturing features; the Create UV Mesh command. Creating a UV mesh layer is primarily useful for taking your UV mapped object into another painting package for additional texturing work. BodyPaint 3D provides a comprehensive toolset for painting and editing textures, but Photoshop is the standard, and a lot of texture artists prefer it. Read More
In this part of the Razorback Screencast, we take a look at the last component that is considered a part of the arm, and we tackle the UV mapping of this part. In addition to UV mapping the aforementioned component, we briefly talk about the difference between using one texture map for all of the parts versus using one texture map per part.
Read More

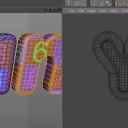
More UV mapping for the Razorback’s robotic arms. This time we focus on the base of the arms (an arguably complex shape) and we see how easy it can be to map an object that has some crazy angles. Later on in the video, we even move a UV seam so it appears in a more out of the way region.
If you’re interested in UV mapping, then be sure to check out my three part UV mapping series.
- UV Mapping Series – Part 1 – Intro and basics
- UV Mapping Series – Part 2 – Mapping a basic object
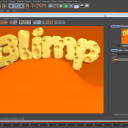
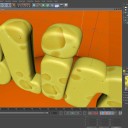
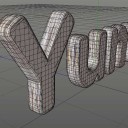
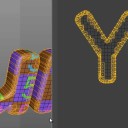
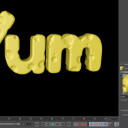
- UV Mapping Series – Part 3 – Mapping some cheesy text
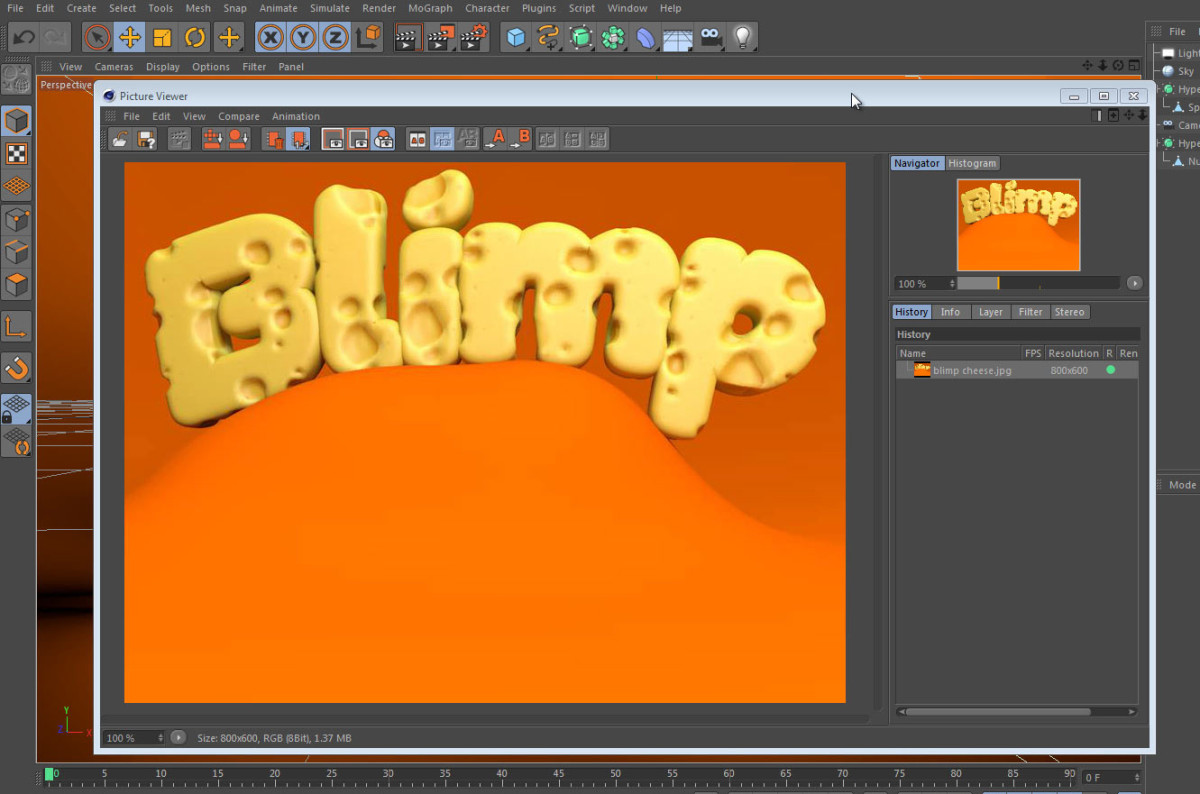
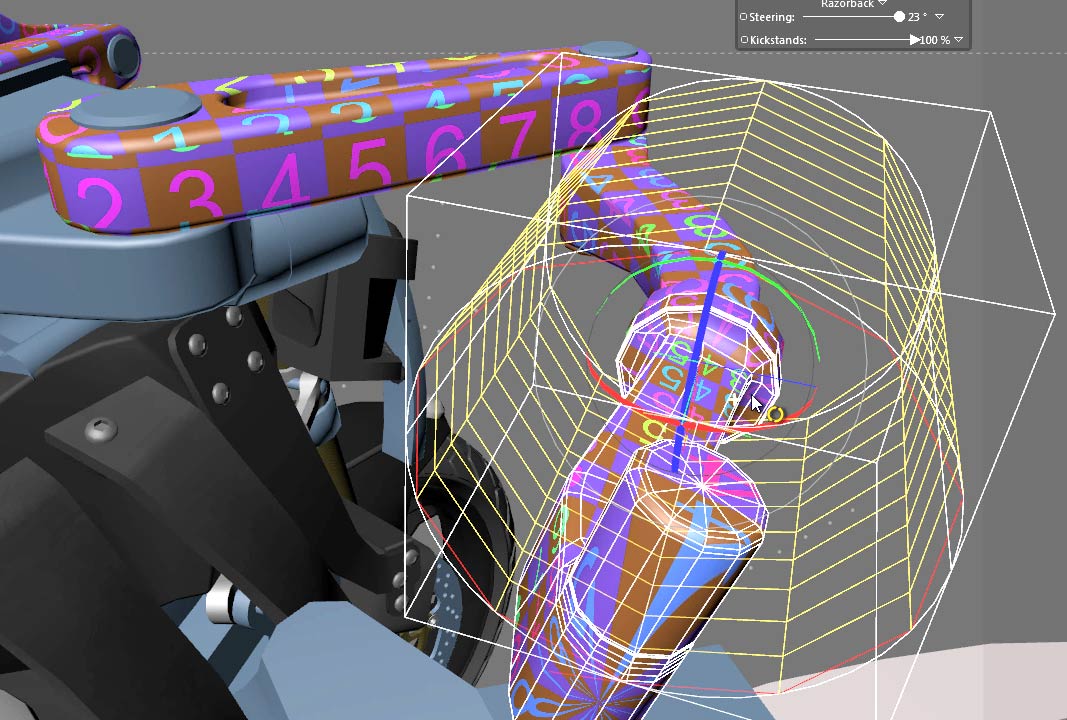
In this final part of the UV mapping series, we take a look at a special request from one of my viewers. He pointed me to some 3D artwork that involved stylized text as cheese. The context of his question was UV mapping. I decided to see how close I could get to the effect while applying UV mapping as a primary technique.
The video below is essentially a re-creation of the technique involved in creating the cheesy text.
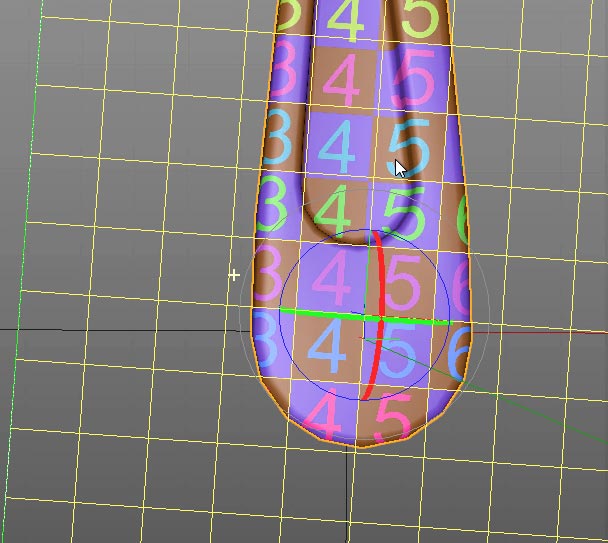
Part two of the UV Mapping series focuses on a practical example of how you would map an irregular object. There’s a bit of discussion about where it’s OK for seams to appear, and why it’s important to keep distortion under control. Of course, we touch on the topic of reducing distortion by creating cuts, moving seams, and breaking apart Islands or Shells.
Read More
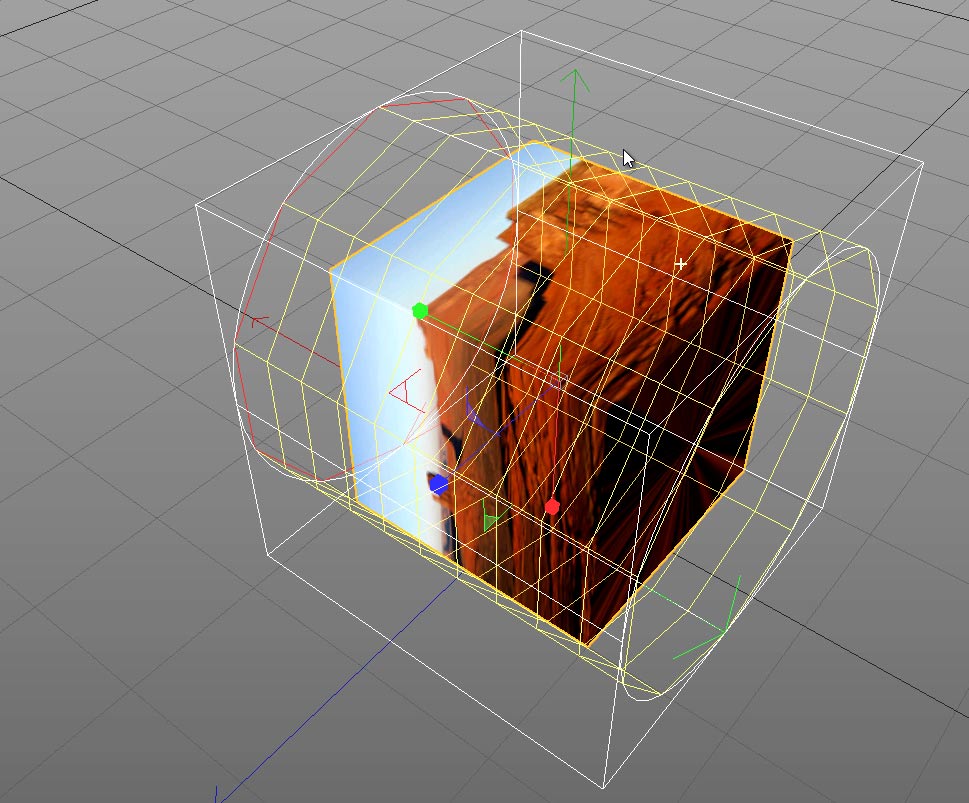
UV Mapping can sound like a complex, intimidating concept to a 3D newcomer. The truth is that it’s a powerful concept that only takes a little bit of introduction to grasp.
This initial post focuses on the very basics of UV mapping, and what it is at its core. We go into the concept of UV mapping, and instead of talking about the why and how, we just look at what you can accomplish with it.
Following the UV mapping of the Upper Small Arm, this part continues with the UV mapping by mapping the Lower Small Arm. If you’d like to see some UV mapping technique, then I’d suggest checking it out.
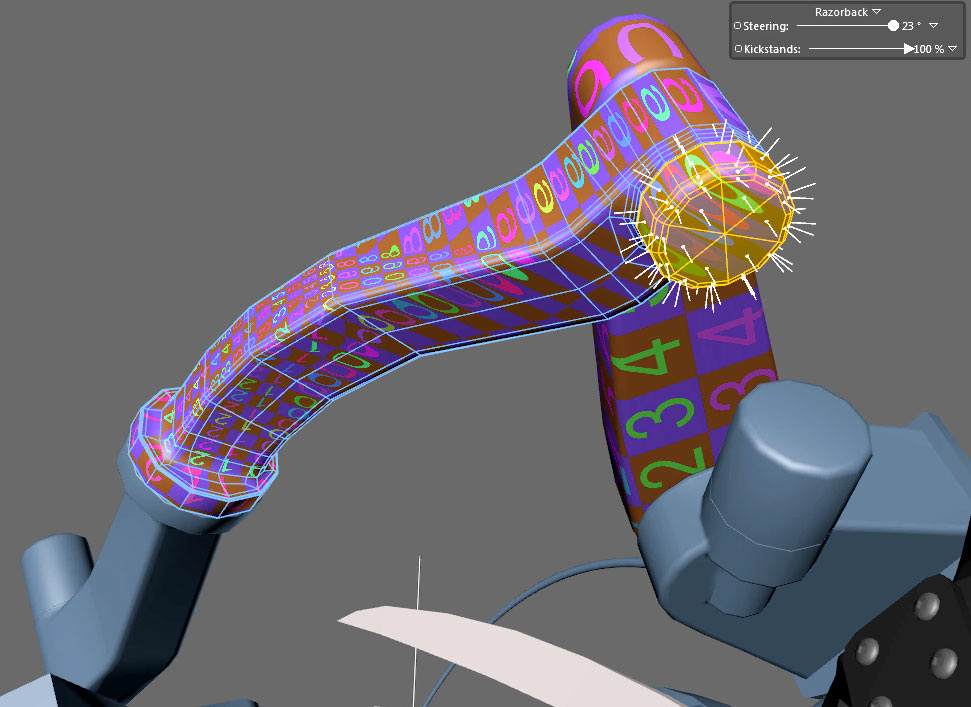
In this installment of the Razorback series (after a short break), we resume UV mapping of the robotic arms. The arms of the razorback contain a few organic profiles, and in this mapping exercise, I’ve decided to approach the mapping from a more organic perspective. Read More
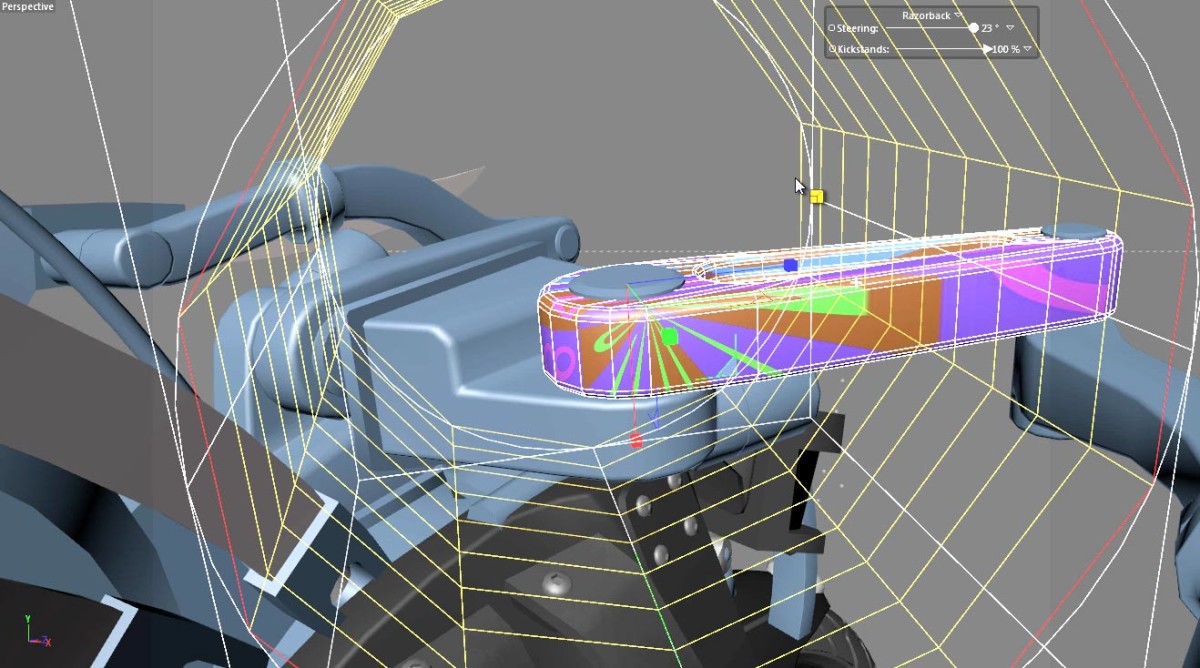
In this episode we tackle UV mapping another one of the objects we’re likely to want to paint. The large arm objects have a few tricky areas, and I take a brief look at how we can create a (not so seamless) relaxed UV map for this part.