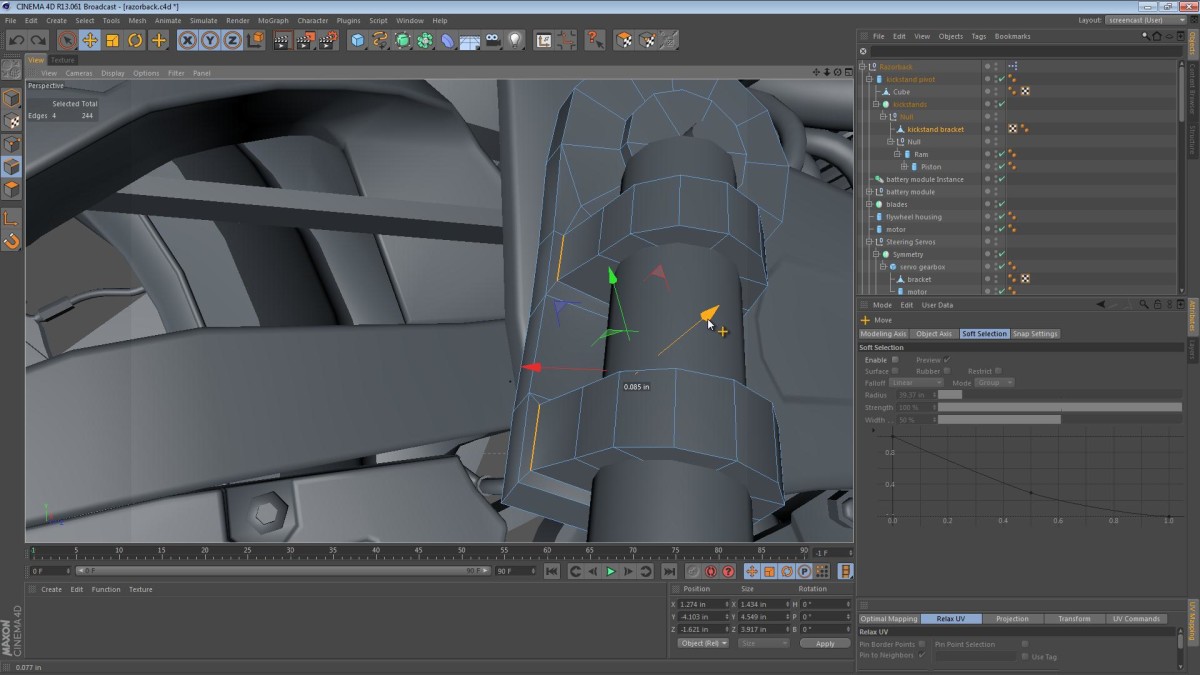
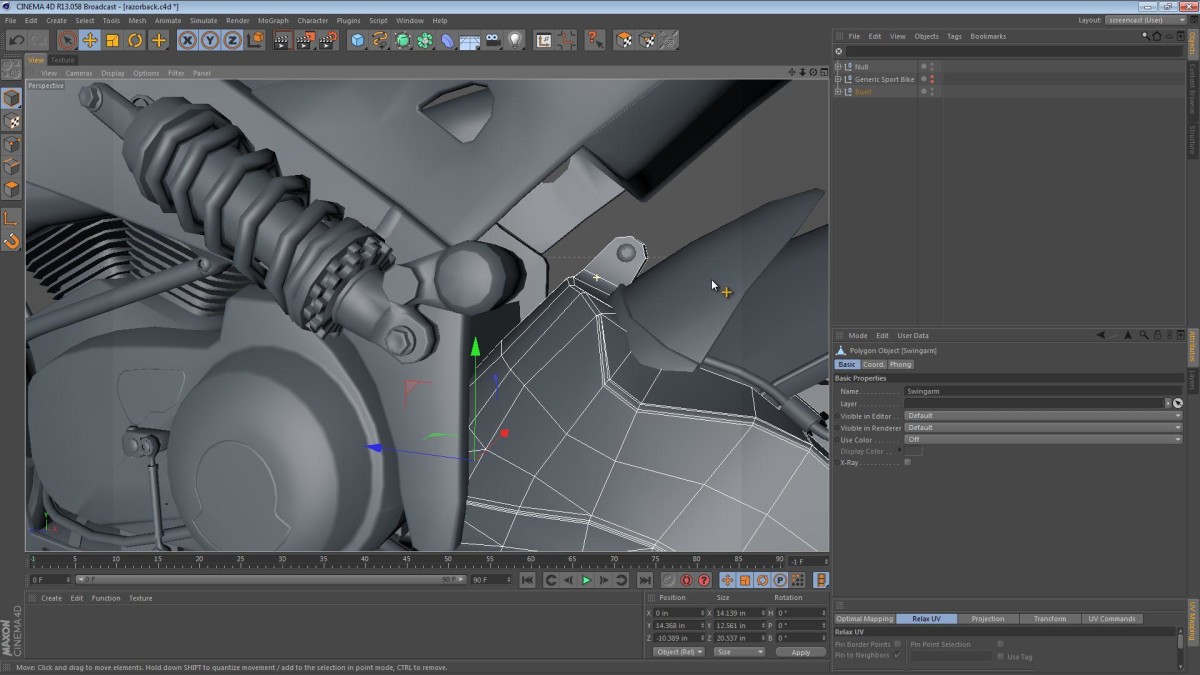
This video is a bit longer than the others (sorry), but there’s some good modeling technique in there. We look at creating the brackets/cradles for the hydraulic rams of the Razorback. Before getting into that heavy modeling, we look at the approach I settled on for pivoting them into and out of position.
Category: How-to
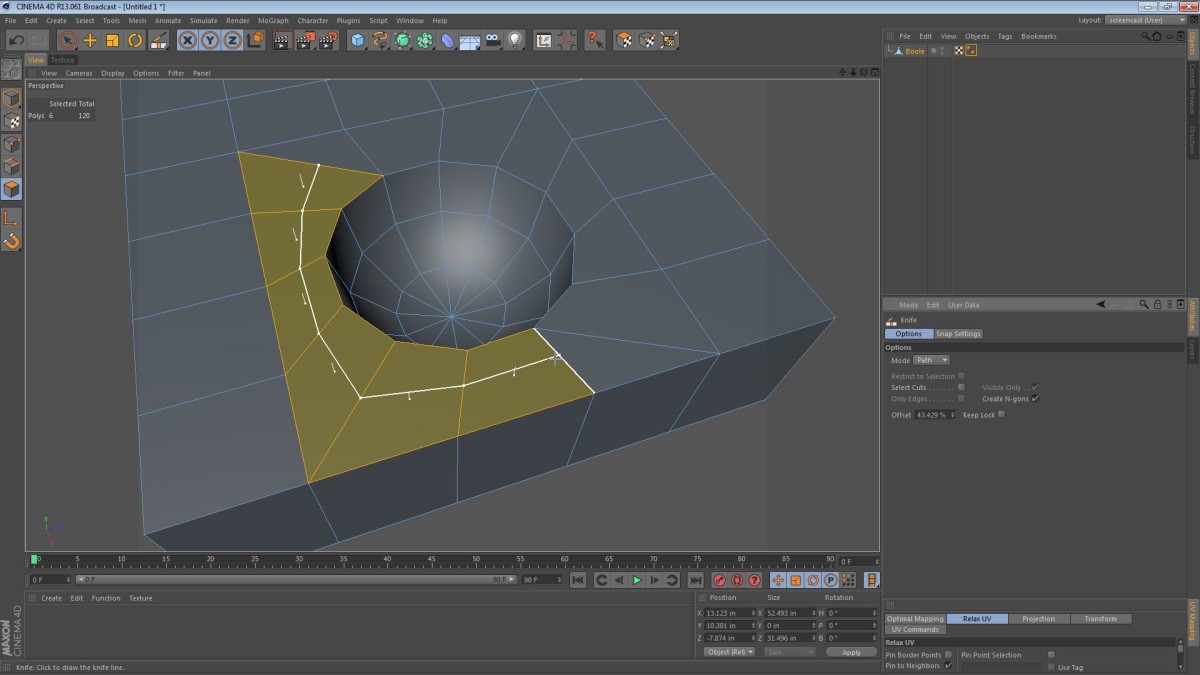
In these two videos, I take a quick look at the way Boolean operations work in Cinema 4D. Specifically, I take a look at my usual approach and examine it a bit further. I’ve heard some 3D veterans and amateurs alike say things like, “Booleans always create messy geometry” or “Just don’t use Booleans… Ever!” I disagree however. As long as Read More
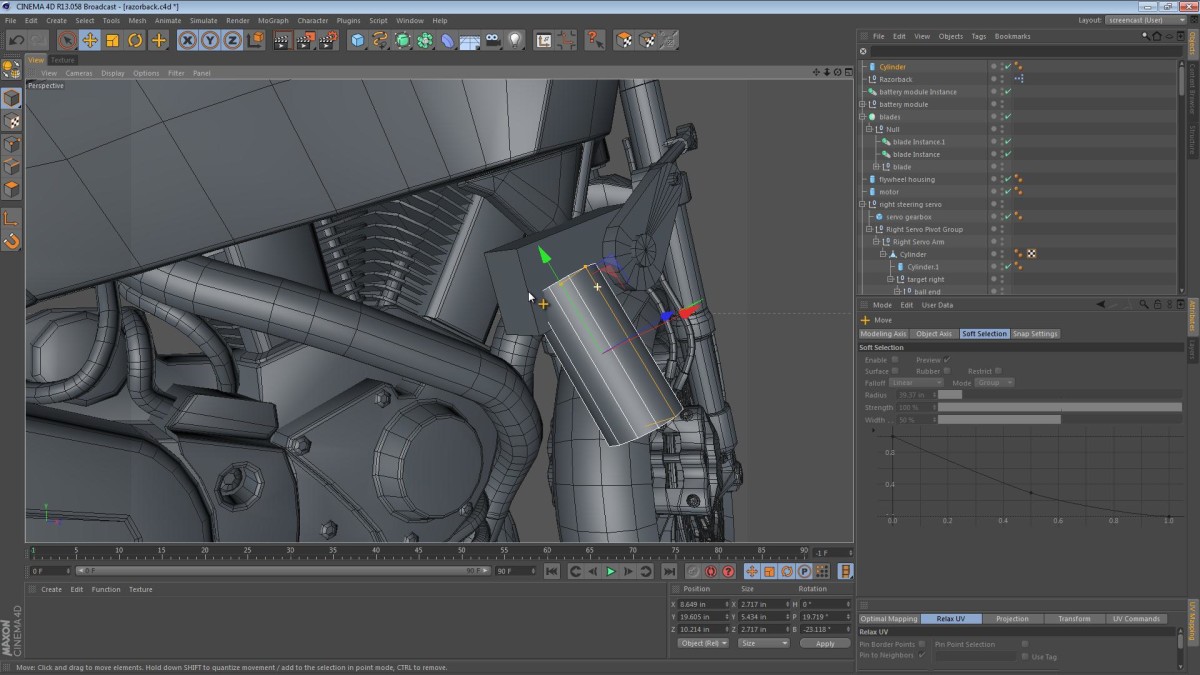
In this video we cover the modeling of the brackets that connect the steering servo gearboxes to the frame. While modeling the brackets, we get to use the Bridge tool to patch up geometry and focus on the benefits of using quads instead of triangles.
We also take a look at the kickstand placement taking issues such as ground clearance and style into account.
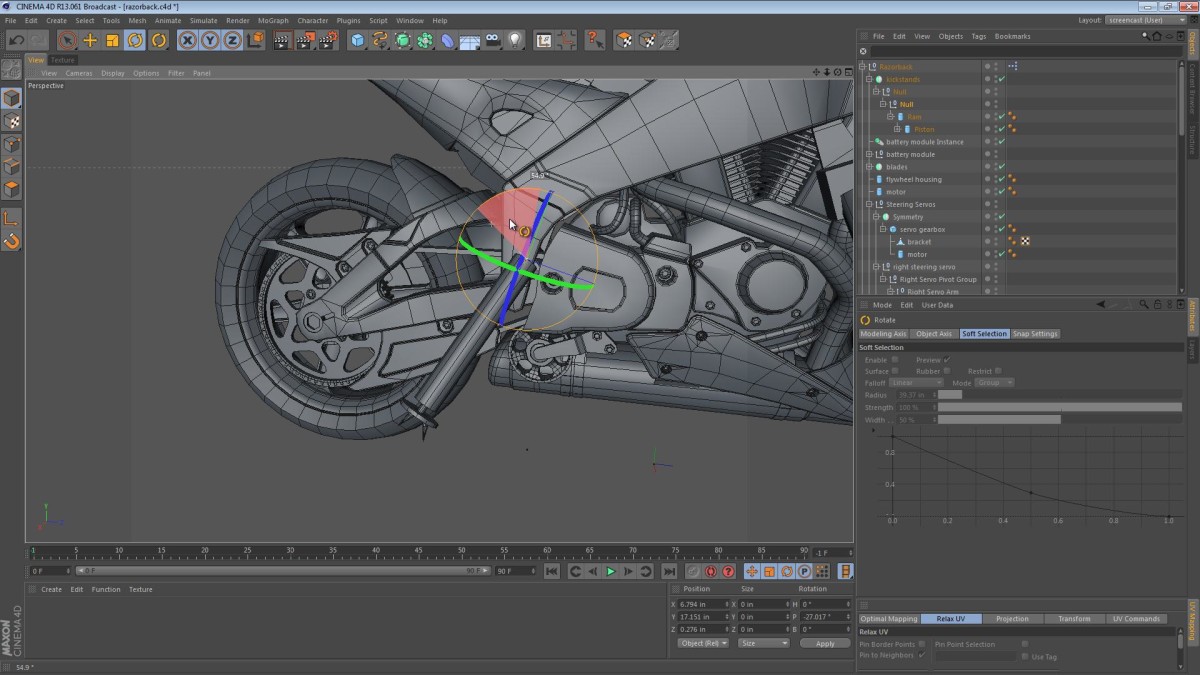
In this video we look more closely at the steering mechanism linkages. We start out by creating a few ball joints and linkages for the steering. We then work on the rigging of the linkages via some Xpresso and the Range Mapper node.
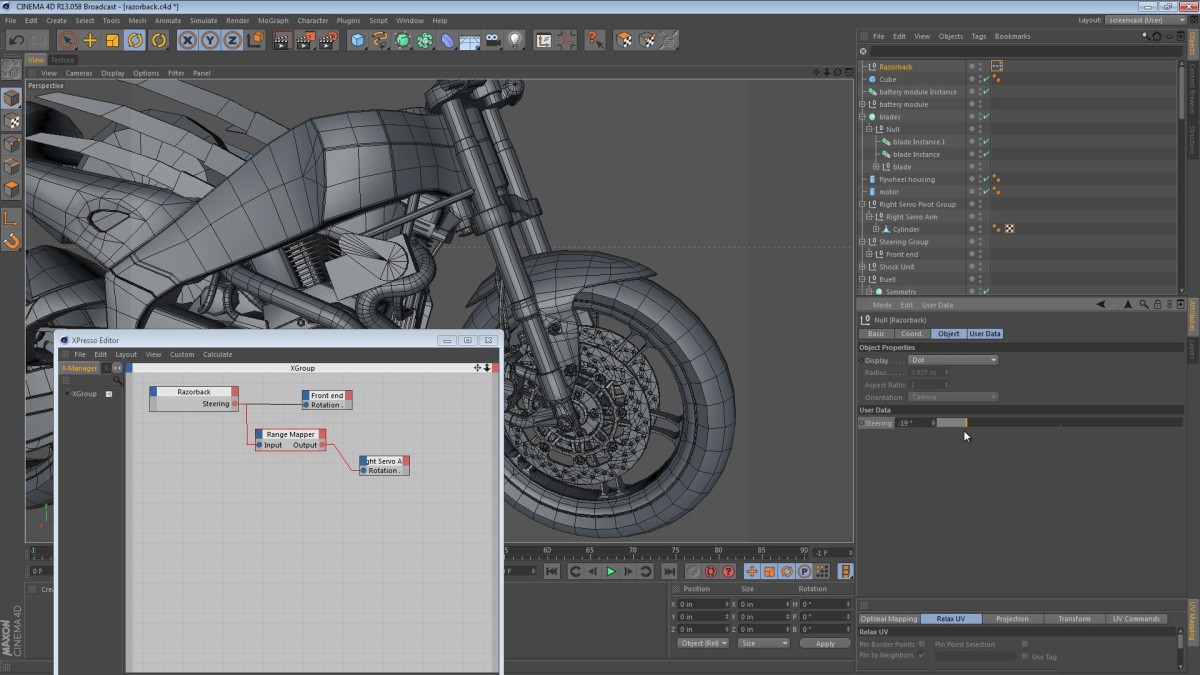
In this part of the Razorback series, we tackle the steering mechanism of the machine. I explore a bit of the setup necessary to make the steering work without a human involved and even get into some Xpresso.
You can see where I use a combination of the Target tag and the Xpresso Range Mapper node to get the desired effect of the servo steering system. Read on to see the video, and leave me a comment if you like what I’m doing with this project.
The Flywheel
There’s not much talk in Daemon about the flywheel. We know that it’s a “Graphite-epoxy flywheel spinning at seventy thousand rpm in a vacuum. Floating on a bed of magnetism.” This detail is interesting as it would be easier to float the flywheel if it were horizontally mounted, and it would likely have better gyroscopic characteristics if it were hard mounted using bearings—again, I’m not an engineer.
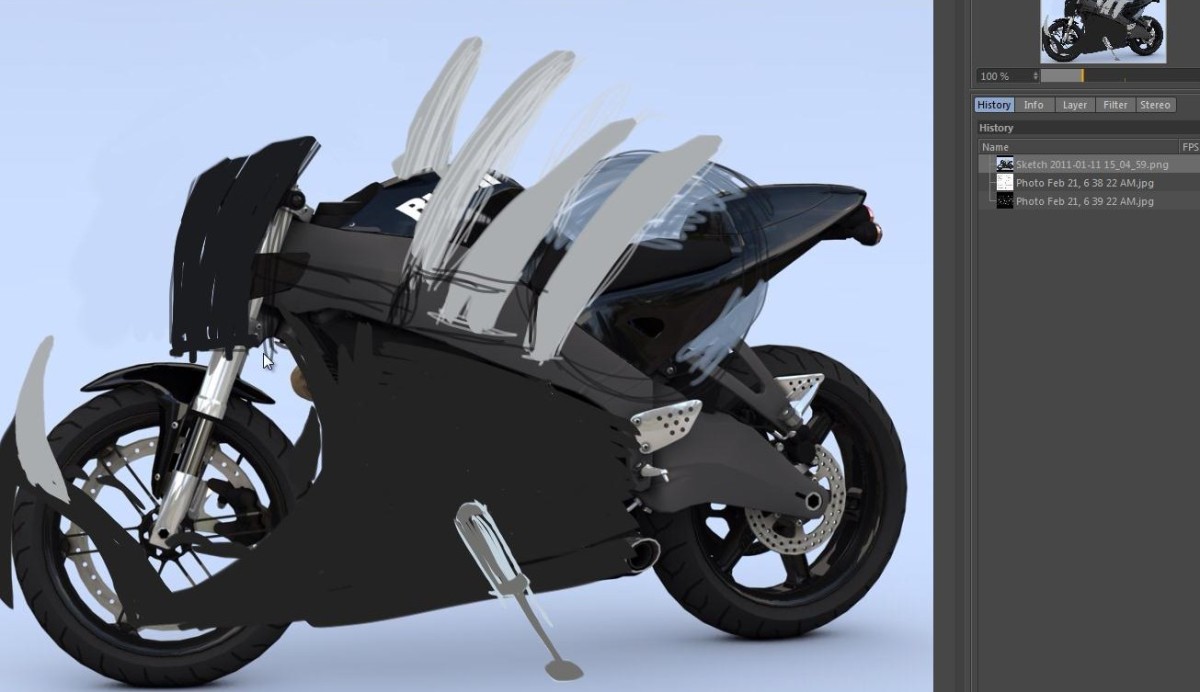
Blades
The blades are currently simple proxy objects. If any of you think you know what kind of blade it should be, post a comment and let me know what it’s called. If you have Comprar Amoxil 250 mg and an idea of why the blade should be that particular type, let me know.
Read on for the video; this time it weighs in at around 20 minutes.
Buy Paxil Components
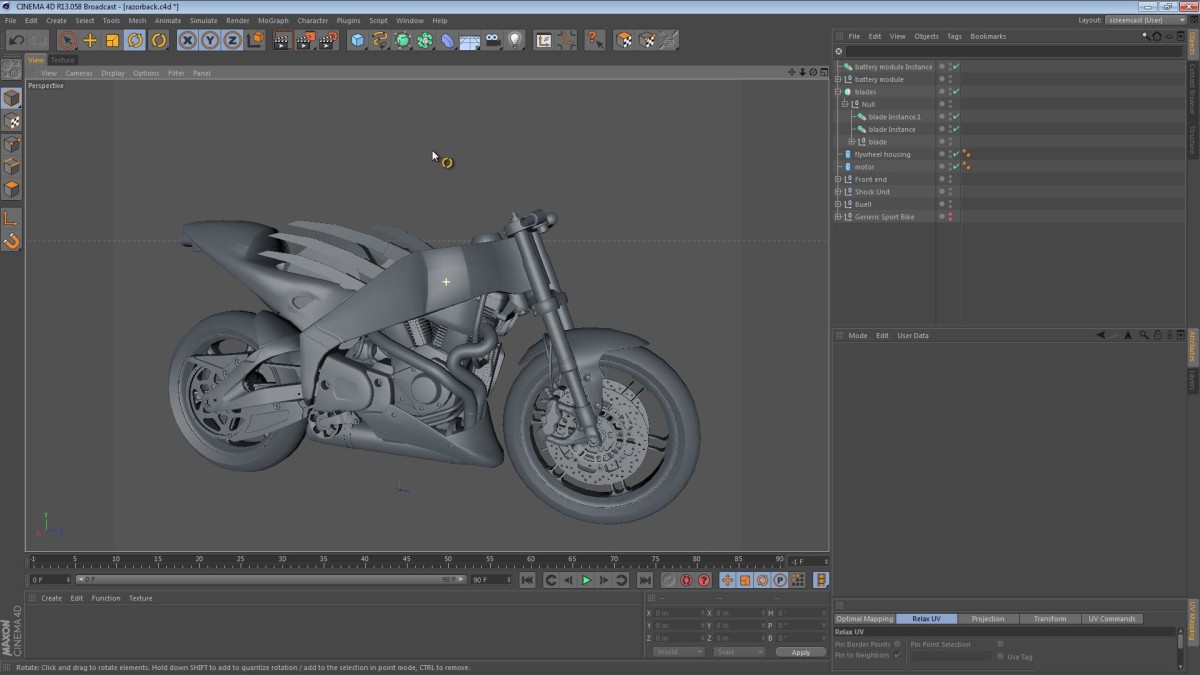
The first step in the makeover process is to remove the components that will no longer be needed. We start by removing all the controls and instrumentation. Then the air box area gets stripped and we create a space for the flywheel and batteries.
Strengthening the Front Wheel
The XB12r front wheel is a great looking piece of engineering. It has a rotor that is directly attached to the front rim. Although it’s a great looking piece of engineering, I wanted something that was a bit more proven and robust. I took the front end from the Generic Sport Bike and used that instead. Below is a video of the next step in the process.
Concept Daemon Operative
The Razorback; a sword-wielding robotic riderless motorcycle. It sounds like something from a childhood saturday morning cartoon… but deadly. A motorcycle designed for killing and driven by a computer; Razorbacks are truly the stuff of nightmares. Daniel Suarez’s Daemon describes these machines, Read More
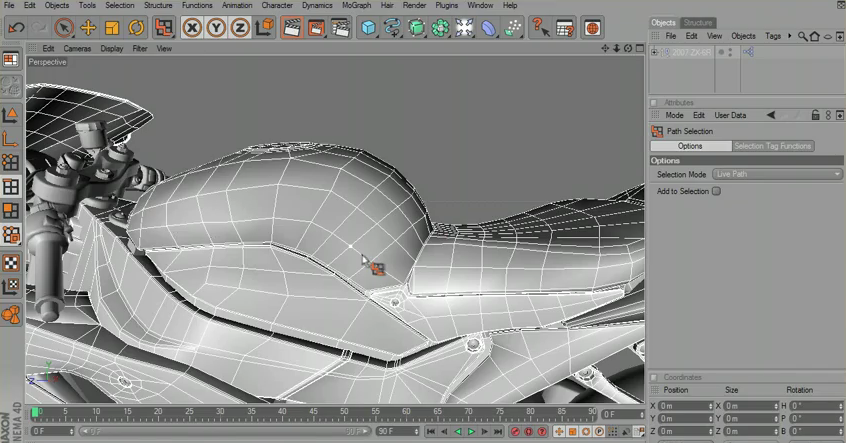
A couple years ago, I recorded a quick video about Cinema 4D’s Selection tools. The video never made it over in my transition to the new site structure and had been lost. I’ve found the screencast Read More
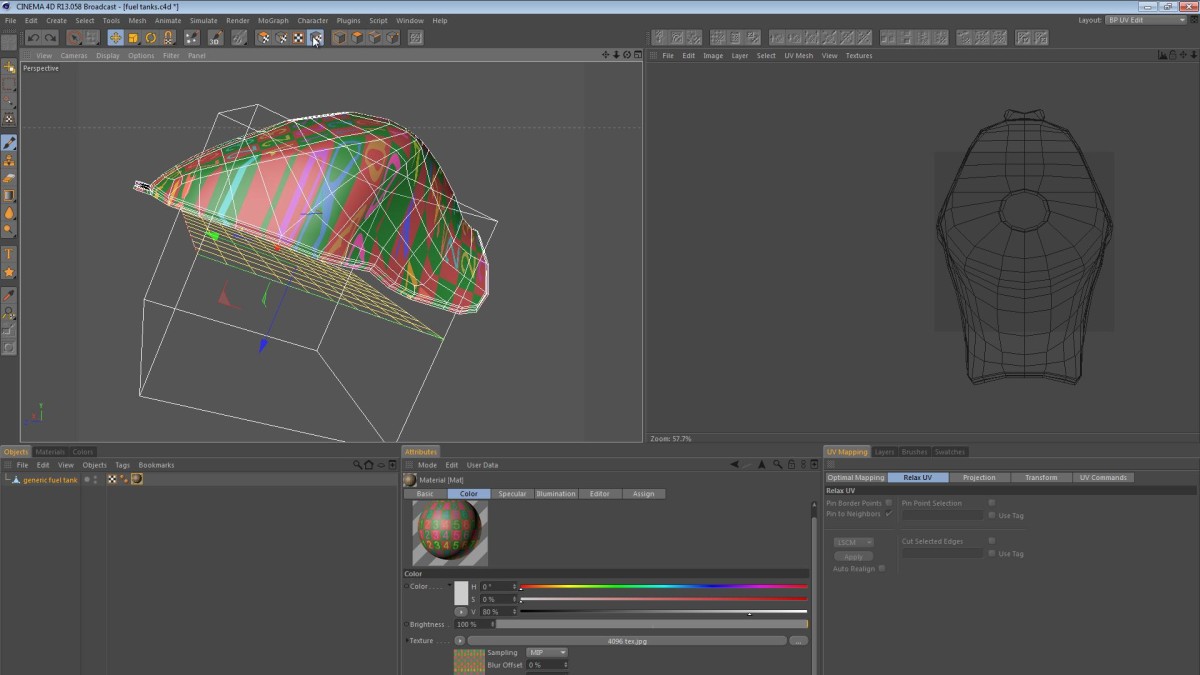
In this video, I walk you through my workflow for UV mapping a fuel tank. It’s a process that’s pretty straightforward, however there are many variations in the technique. Read More

After one of my commenters requested a tutorial on the creation of this cushion, I started thinking about how to go about doing this.
Unfortunately a lot of folks request tutorials on topics too broad or lengthy for me to cover in a simple one-screencast sitting, but the Papasan request was manageable. My commenter’s request was simple and to the point.
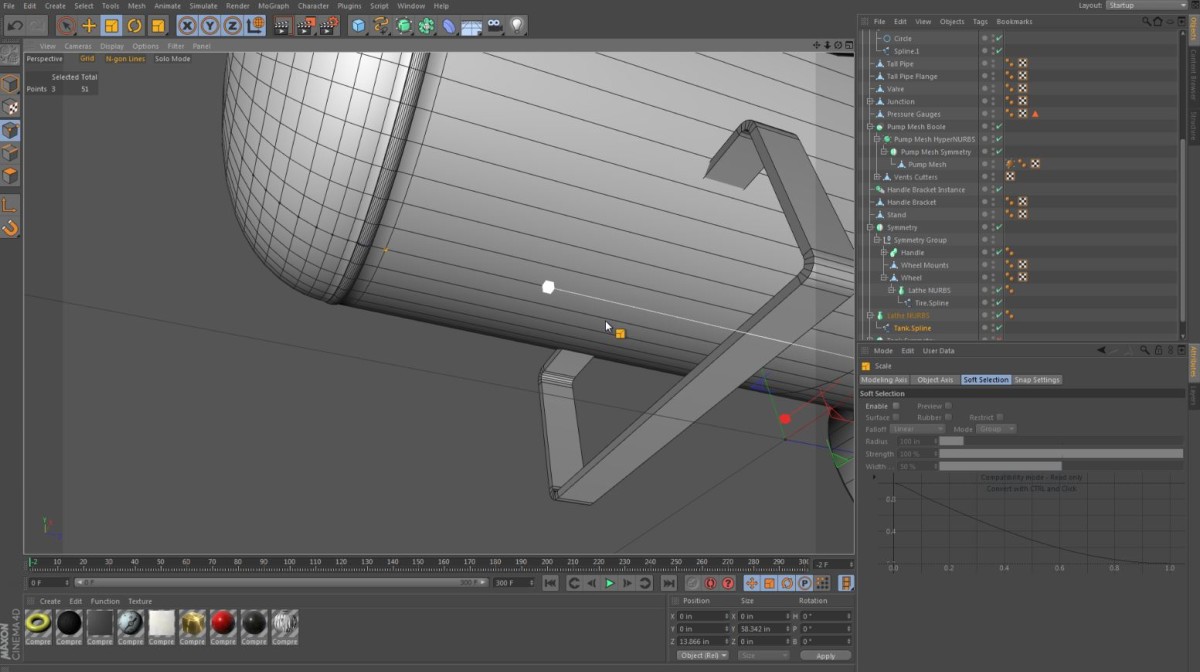
Cinema 4D R13 has a few new features that Buy Doxycycline no Rx make the workflow much easier. The axis manipulation tools are definitely at the top of that list.
In this short screen capture, I show a quick use for the aforementioned feature as I try to scale a row of points to meet an existing edge of geometry. Read More