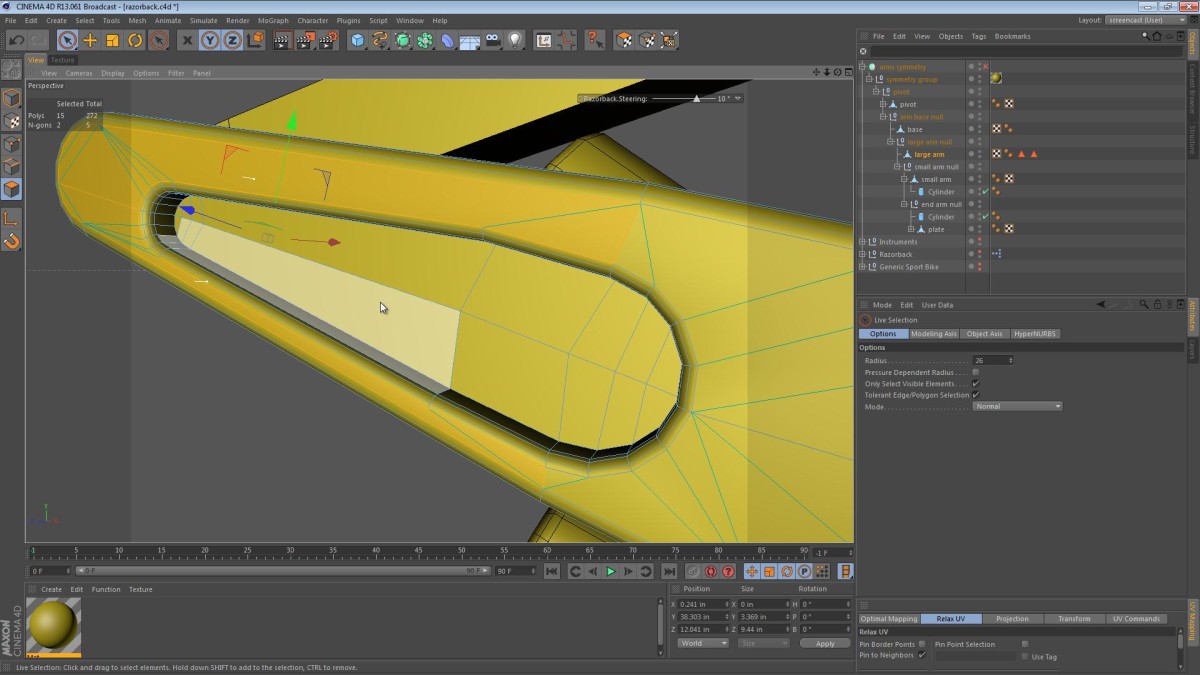
In this part of the series, we continue refining one of the robotic arms, in an effort to make the Razorback’s arms more polished and complete.
Most of the video is spent cleaning up geometry and beveling edges to create smooth transitions.
Covered in this video:
- We start off by cleaning up the base plate of the robotic arms.
- The lower (larger) arm is selected next for refining.
- Instead of refining the existing proxy object, I choose to rebuild it using a couple splines and an ExtrudeNURBS object (using a cool double Target Expression trick).
- Later on we carve a hole or indentation into lower arm, to create some variation and depth.
Leave a comment for me below if you like the video, and please let your friends know about the Razorback series. Tweet about it, or share it on Google Plus. You should also share the link to the new Razorback page on my site.
I’d also like to say thanks to C4D Weekly for featuring my Razorback series! You should subscribe to their newsletter as it usually has countless great resources and free downloads. See the C4D Weekly Archive of newsletters for an idea of what they curate.
