Category: Five Minute Tips

Short-form screencasts where I show a quick tip (usually in Cinema 4D) that you’ll likely find useful. It’s worth noting that most (if not all) of these videos have closed captions available in English. If you would like to help me translate one of these tips to your language, please email [email protected].

Custom Keyboard Shortcuts in Cinema 4D

Cinema 4D (like many other modern 3D packages) has the ability to assign custom keyboard shortcuts. I typically assign a few groups of custom keyboard shortcuts for things like selection tools and painting tools.

In the video below, we take a look at how you can assign your own shortcuts.

Light Clipping in Cinema 4D

The Near Clip and Far Clip features in Cinema 4D are pretty useful, but they can be slightly tricky to understand. In the images below, you can see an example of how near clipping will influence a light’s illumination, but in the video we take a look at how it can also influence its shadow. Read More

Create a UV Mesh Layer in Cinema 4D

This tip takes a quick look at one of my favorite Cinema 4D texturing features; the Create UV Mesh command. Creating a UV mesh layer is primarily useful for taking your UV mapped object into another painting package for additional texturing work. BodyPaint 3D provides a comprehensive toolset for painting and editing textures, but Photoshop is the standard, and a lot of texture artists prefer it. Read More

Exploding Things with MoGraph in Cinema 4D

This Five Minute Tip for Cinema 4D shows us how to use the Fracture object (MoGraph) and an Attractor force object to make things explode. Read More

Using the MoGraph Fracture Object for Dynamics in Cinema 4D

This Five Minute Tip focuses on achieving simple dynamics in Cinema 4D using MoGraph. The dynamics module in Cinema 4D Studio is awesome, but the Broadcast Edition lacks a full dynamics tool set. This technique will not replicate more advanced features like soft bodies, wind, or air pressure, and does not easily allow for different properties per object. Having said that, it’s important to note that this technique is quick, simple, and relatively effective.

Read More

Corrugated Pipes with the Spline Wrap Deformer and a Cloner

This Five Minute Tip was inspired by one of my YouTube viewers. The viewer in question (Sean) asked what techniques I would use to create corrugated pipe that’s easily repeatable and can be deformed along a curving path. I immediately thought of using a MoGraph Cloner to repeat the pipe segment, a Connect object to glue the pieces together, and a Spline Wrap deformer to make it follow the pipe. Read More

Instances with Different Materials

Instances are powerful objects in Cinema 4D. They allow you to copy or “clone” an object while maintaining a link to the original. This works out well for perfect copies of objects, but what do you do if there’s variation in the materials of these instances?

Read More

Simple Global Illumination in Cinema 4D

In this tip, we explore a few quick settings for creating a nice, evenly lit, Global Illumination based, lighting setup for your models in Cinema 4D. This isn’t a replacement for other full lighting rigs, or even a replacement for putting the proper time when lighting a scene, but it’s a quick start.

Read More

Projecting Splines on a Surface

Many of my Five Minute Tips come from a place of exploration; sometimes I find a tool (or remember a tool that I used once) and think to myself, “Wow, that would make a good Five Minute Tip video!”. The Project tool Five Minute Tip is just that kind of tip. I used to use this tool a lot when working at my last job where I would need to enhance architectural models with extra features… but I digress. This week’s tip focuses on this “Project” tool and how it can be used.

The Project Spline Tool

Read More

Piles of Objects Using MoGraph

This tip focuses on the fact that simple rigid body dynamics can be used in the Broadcast Edition of Cinema 4D with some simple techniques. The Broadcast Edition of Cinema 4D includes rigid body dynamics tags but curiously, they don’t work with regular polygonal objects. So why are they there and what can we use them for?

The available dynamics tags in "Cinema 4D Broadcast"

Check out the rest of the post for more info, some still images and the short video tutorial.

Read More

Sesame Seeds with a Cloner

This tip focuses on the placement of sesame seeds on a baked treat.

One of my readers commented on my Constraining Objects to a Surface tip and mentioned that he’d found it particularly useful. He also referenced placing sesame seeds on a burger bun and I immediately thought of achieving that effect using the MoGraph Cloner. Granted, there are many circumstances under which the subsequent tip won’t be ideal but I think it could be a real time-saver.

Check out the rest of the post for some still images and the short video tutorial.

Read More

Vertex Weight and Deformers

A quick tip that shows how to use a Vertex Weight Map to restrict the influence of a Cinema 4D deformer.

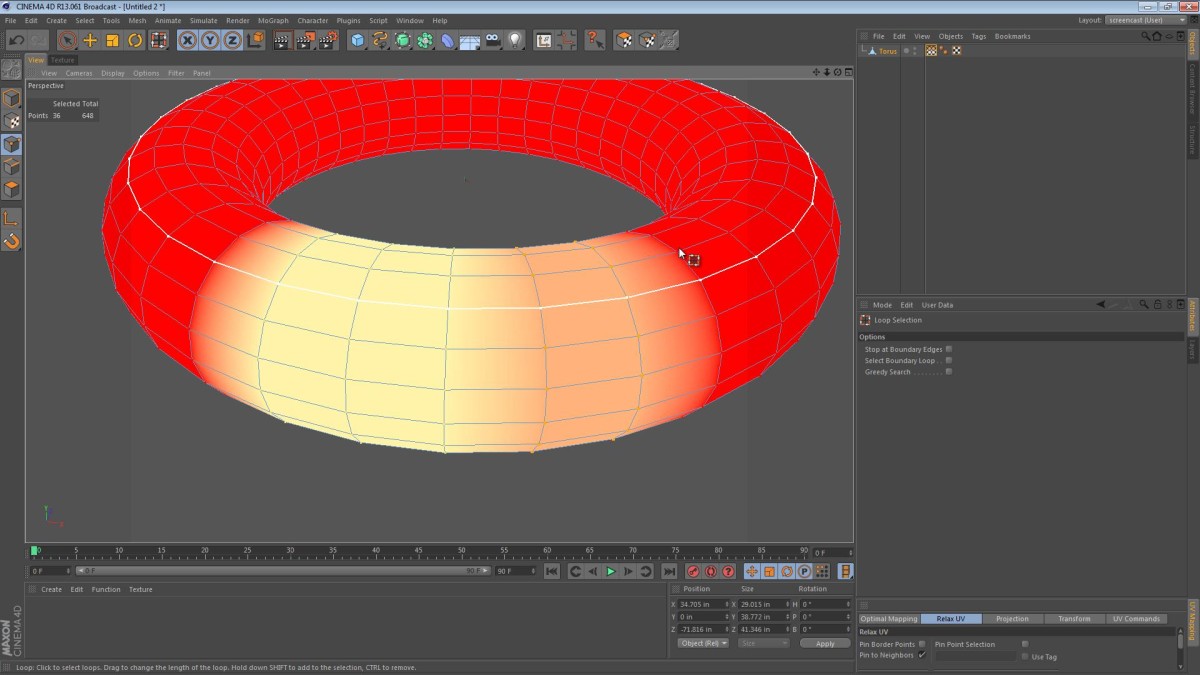
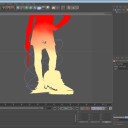
When applying a deformer in 3D software, the limitations of the deformer are considered in the decision to use it. For instance, if we wanted to bend an object we would obviously use a bend deformer. This gets more complicated as we look for ways to influence only part of an object (typically we want to bend the entire object). In Cinema 4D, we can use the Vertex Weight tag/a Vertex Map to define the area of influence that a deformer can affect.

The general idea of this tip is: We want to twist the lower half of David, while leaving the sword in his hand straight. The Vertex Weight Map and a restriction tag can help us in this case.

Read More

Mastodon