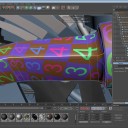
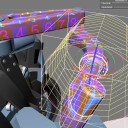
In this part of the Razorback Screencast, we take a look at the last component that is considered a part of the arm, and we tackle the UV mapping of this part. In addition to UV mapping the aforementioned component, we briefly talk about the difference between using one texture map for all of the parts versus using one texture map per part.
Read More
Category: How-to
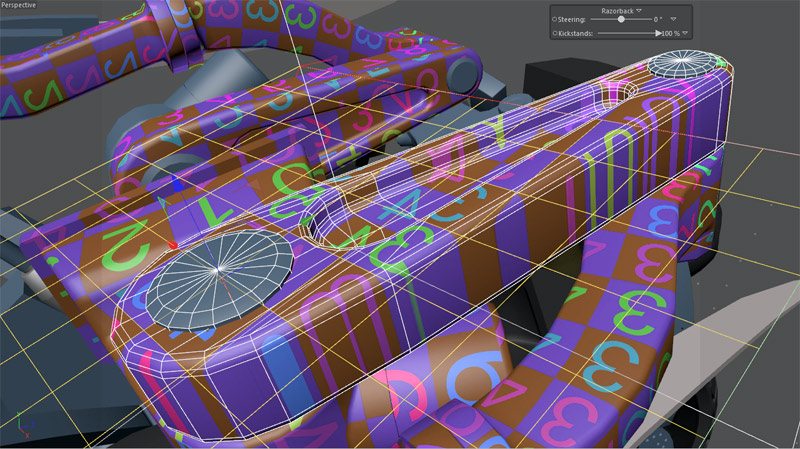
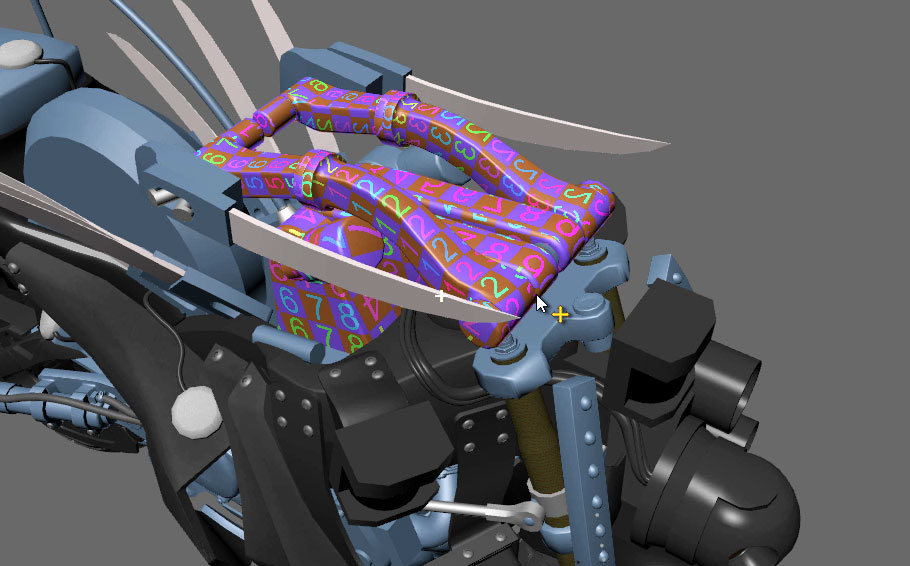
More UV mapping for the Razorback’s robotic arms. This time we focus on the base of the arms (an arguably complex shape) and we see how easy it can be to map an object that has some crazy angles. Later on in the video, we even move a UV seam so it appears in a more out of the way region.
If you’re interested in UV mapping, then be sure to check out my three part UV mapping series.
- UV Mapping Series – Part 1 – Intro and basics
- UV Mapping Series – Part 2 – Mapping a basic object
- UV Mapping Series – Part 3 – Mapping some cheesy text
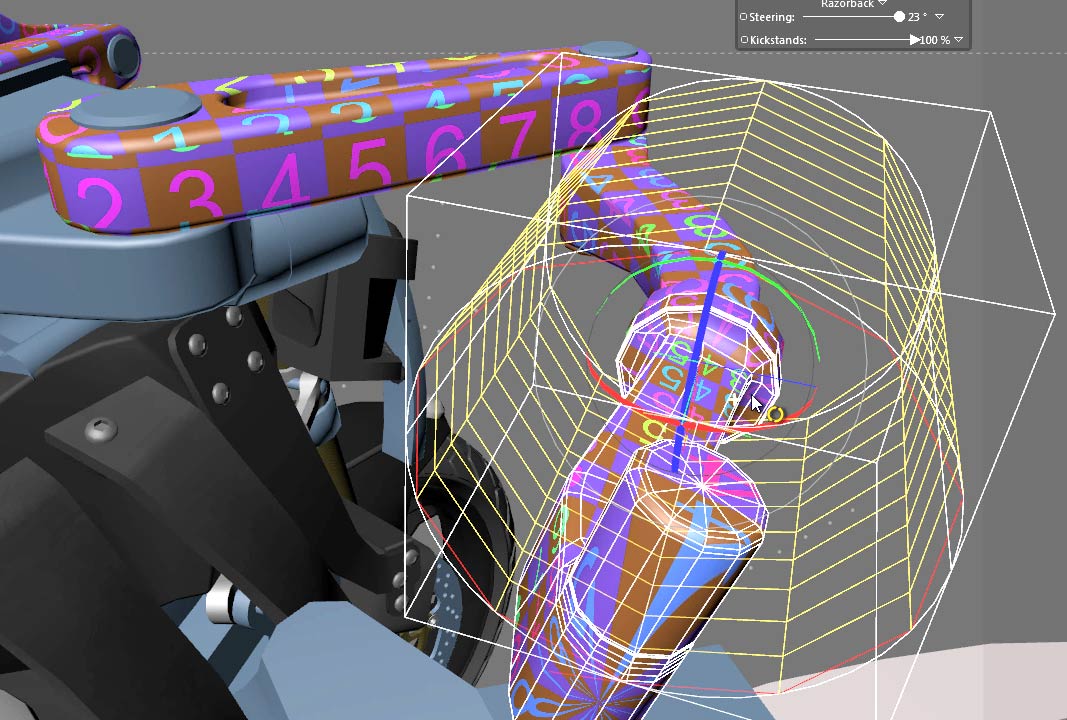
Following the UV mapping of the Upper Small Arm, this part continues with the UV mapping by mapping the Lower Small Arm. If you’d like to see some UV mapping technique, then I’d suggest checking it out.
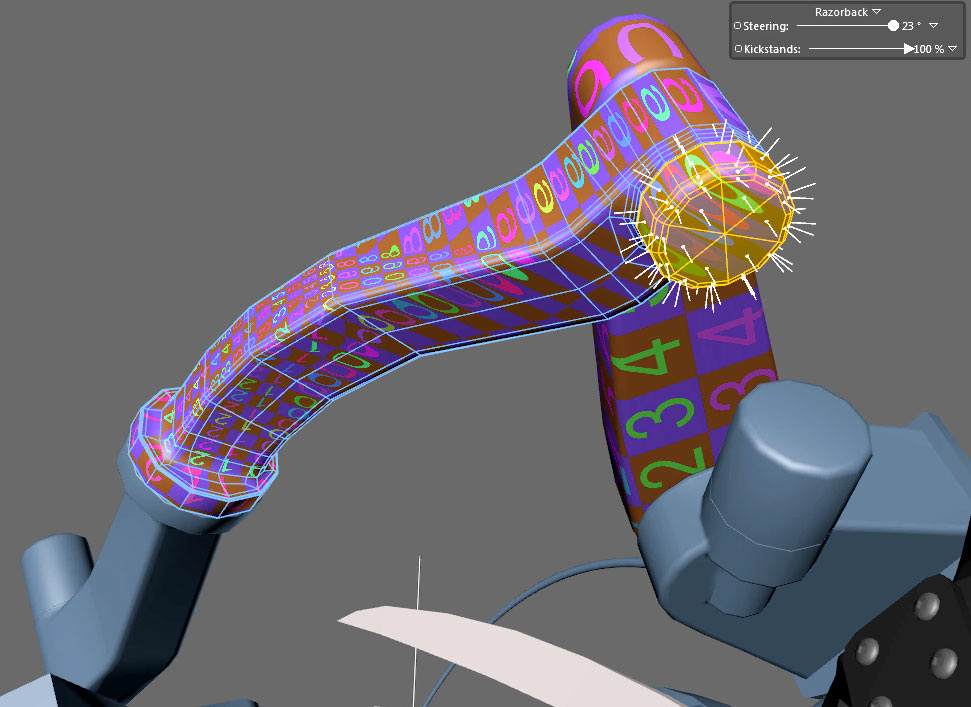
In this installment of the Razorback series (after a short break), we resume UV mapping of the robotic arms. The arms of the razorback contain a few organic profiles, and in this mapping exercise, I’ve decided to approach the mapping from a more organic perspective. Read More
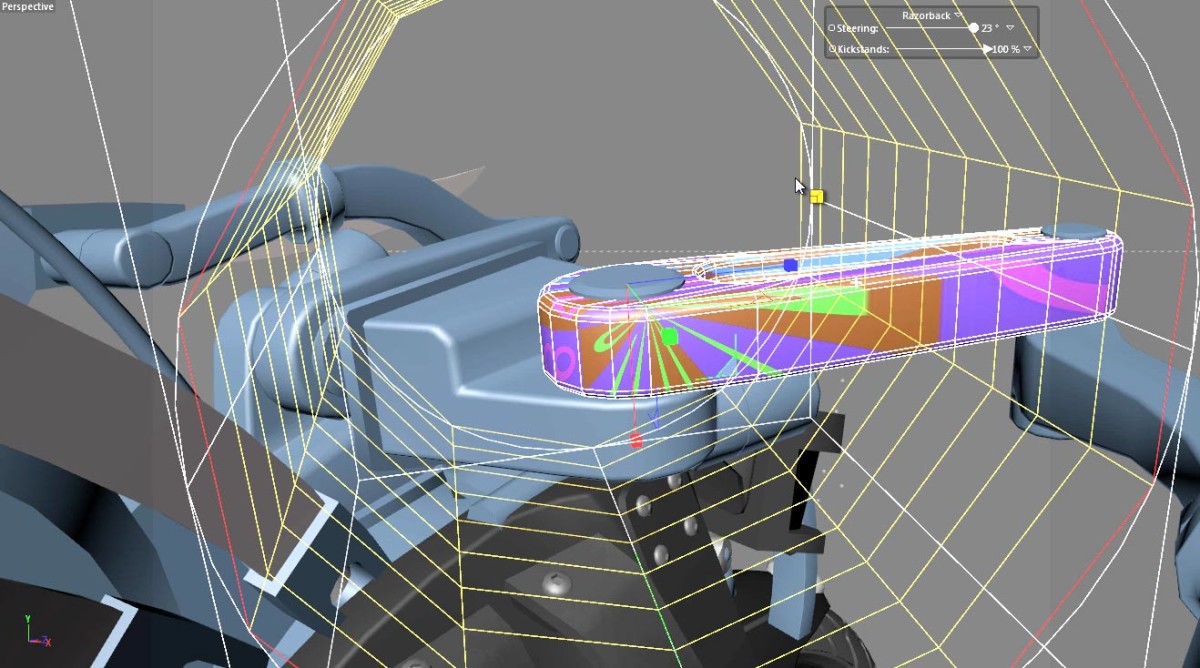
In this episode we tackle UV mapping another one of the objects we’re likely to want to paint. The large arm objects have a few tricky areas, and I take a brief look at how we can create a (not so seamless) relaxed UV map for this part.
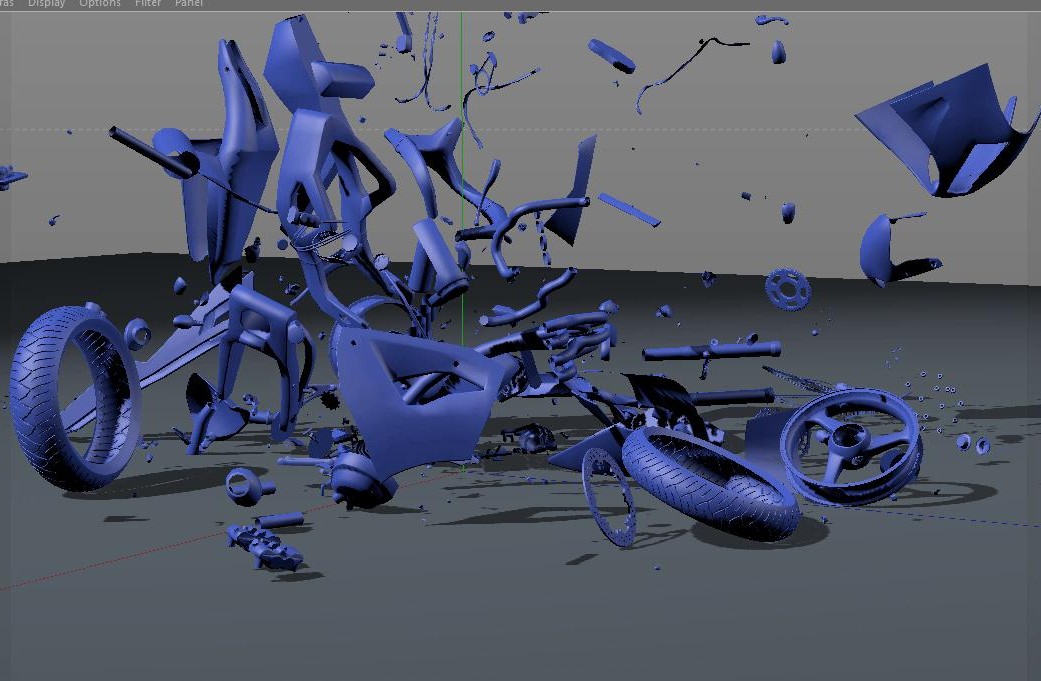
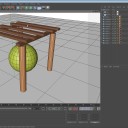
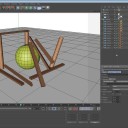
This Five Minute Tip for Cinema 4D shows us how to use the Fracture object (MoGraph) and an Attractor force object to make things explode. Read More
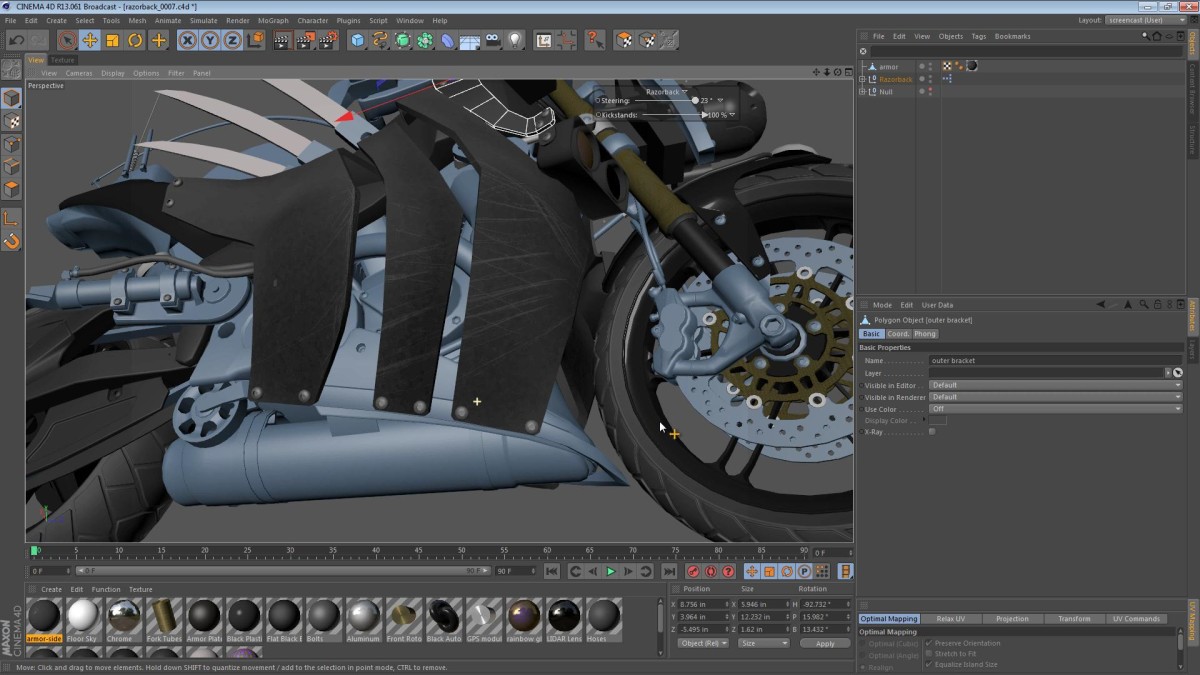
In this episode (it seems crazy that we’re at episode 40 already!) we will be looking at the actual painting of the armor plates. We’ll go for a worn and slightly damaged look; this should help reinforce the realism when we create some renderings. Read More
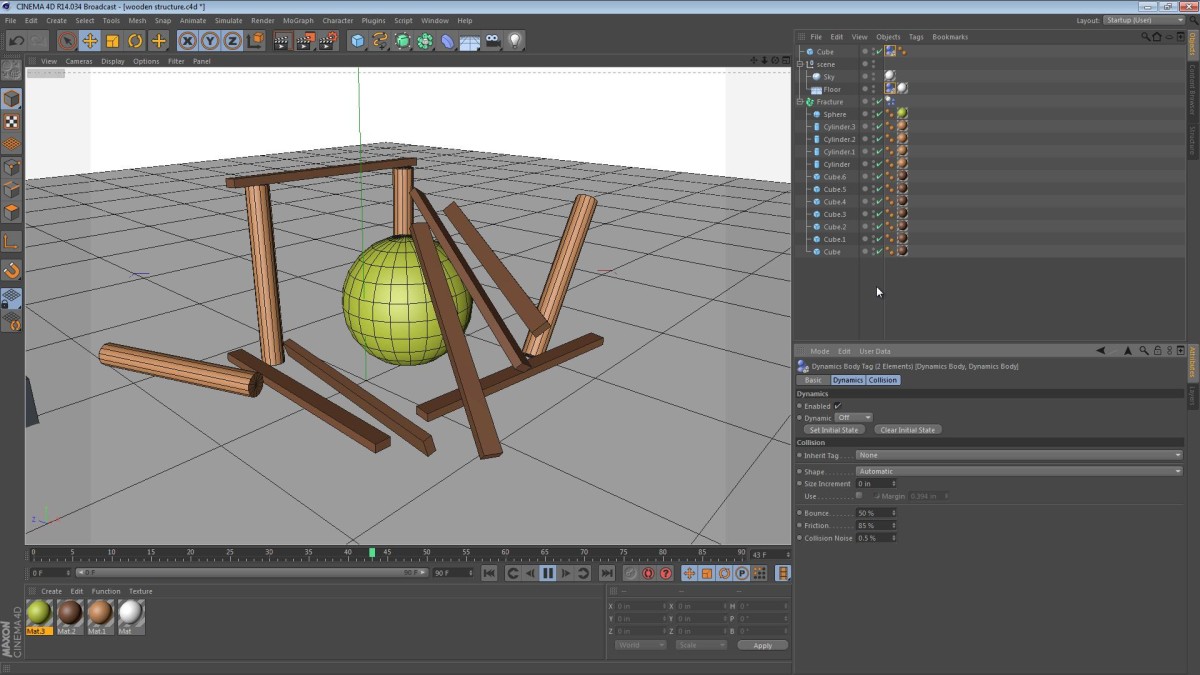
This Five Minute Tip focuses on achieving simple dynamics in Cinema 4D using MoGraph. The dynamics module in Cinema 4D Studio is awesome, but the Broadcast Edition lacks a full dynamics tool set. This technique will not replicate more advanced features like soft bodies, wind, or air pressure, and does not easily allow for different properties per object. Having said that, it’s important to note that this technique is quick, simple, and relatively effective.
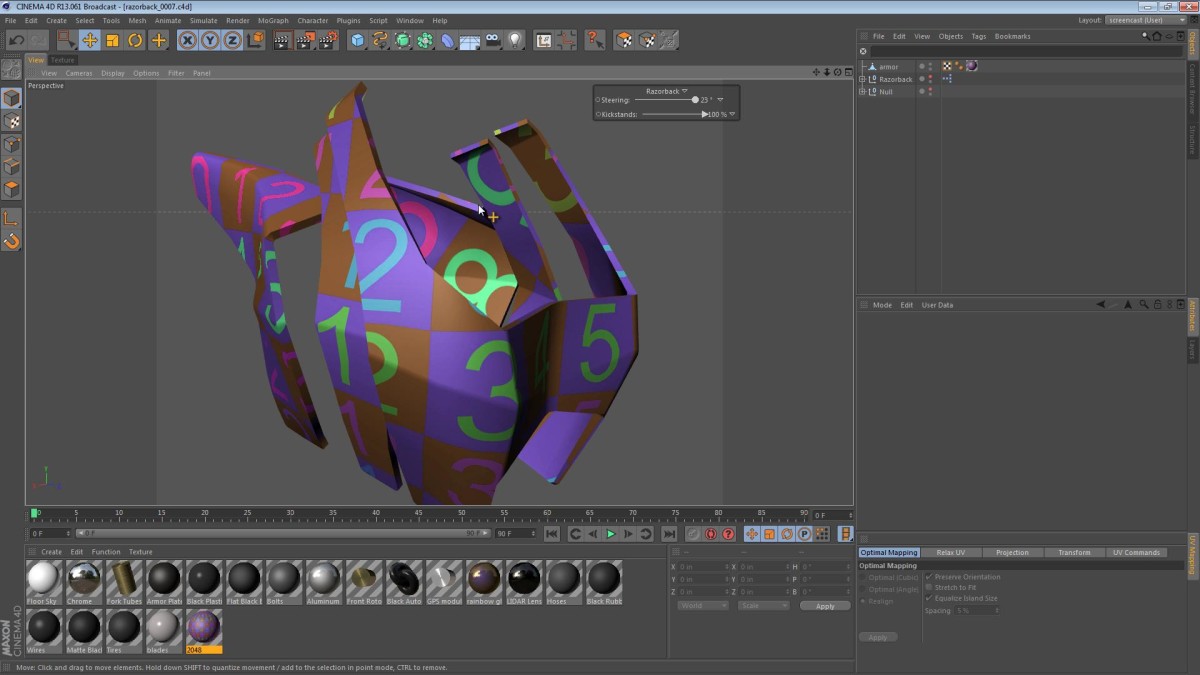
In this part of the Razorback saga, we’re coming up on number 40 in the series. This is a pretty relevant part of the series as we’re starting to get into UV mapping and texturing. The video below is a little similar to my previous UV Mapping tutorial. If you enjoyed the Fuel Tank UV Mapping tutorial, then grab a cup of coffee/tea, sit back, and check out the following video.
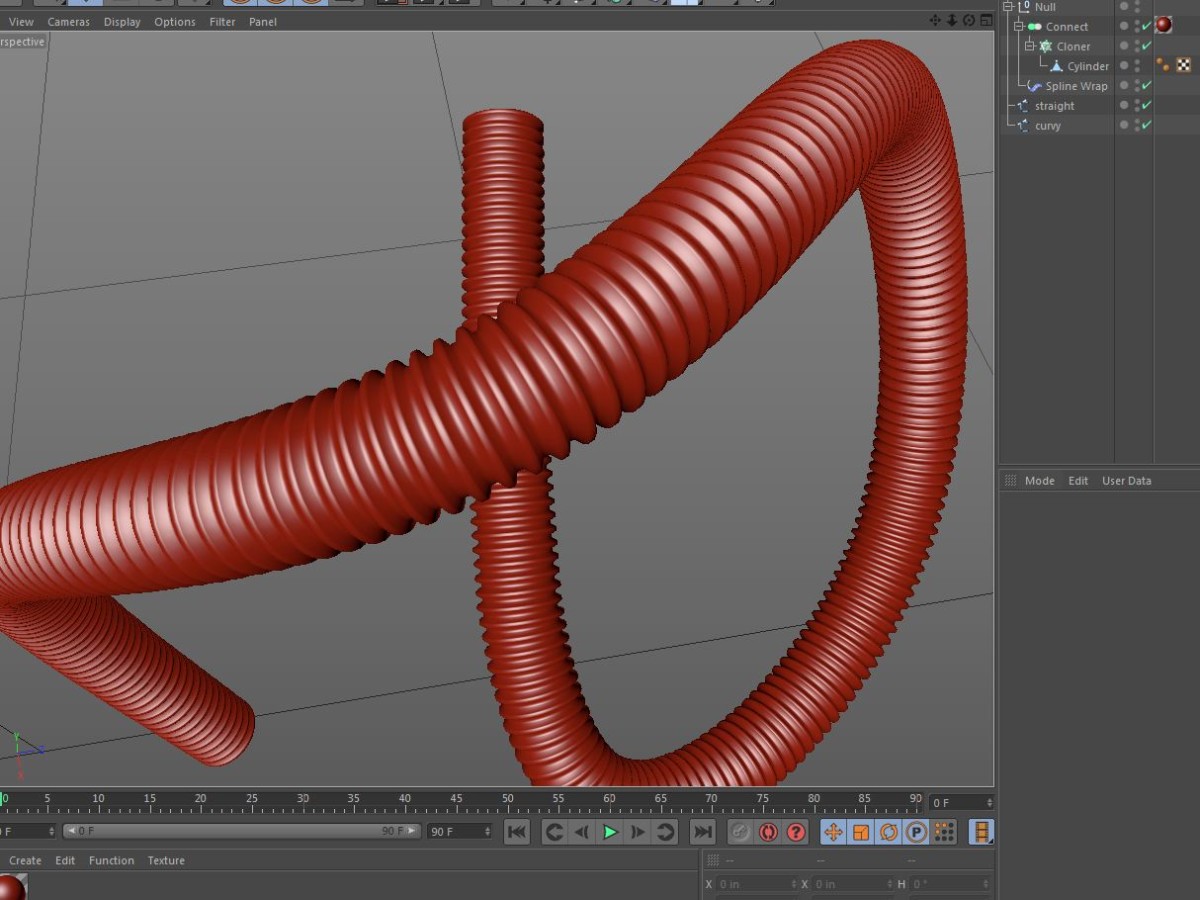
This Five Minute Tip was inspired by one of my YouTube viewers. The viewer in question (Sean) asked what techniques I would use to create corrugated pipe that’s easily repeatable and can be deformed along a curving path. I immediately thought of using a MoGraph Cloner to repeat the pipe segment, a Connect object to glue the pieces together, and a Spline Wrap deformer to make it follow the pipe. Read More
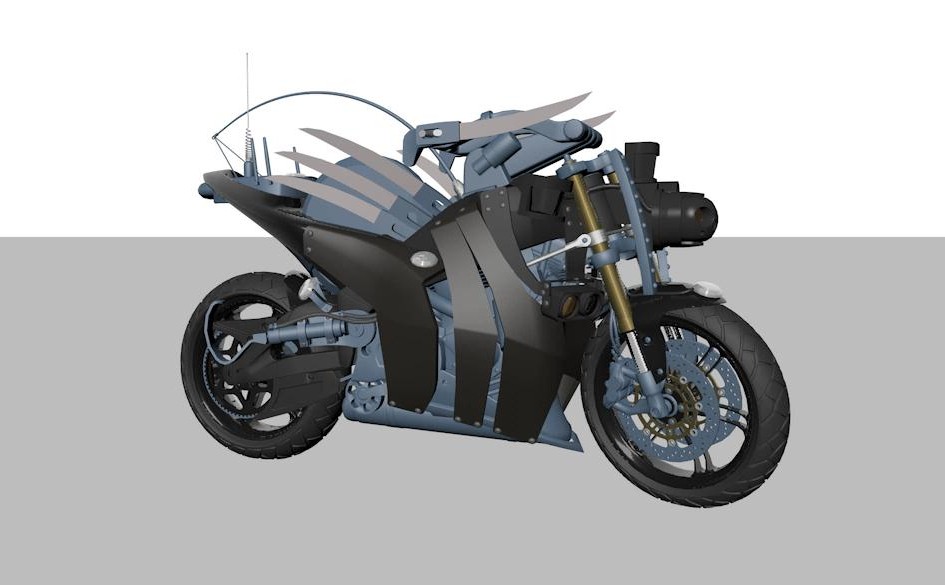
In this part of the Razorback series, we tackle more materials and texturing. Along with a simple set of black materials for some miscellaneous brackets and bolts, we also take a look at the metal materials for the fork tubes and brake rotors.
