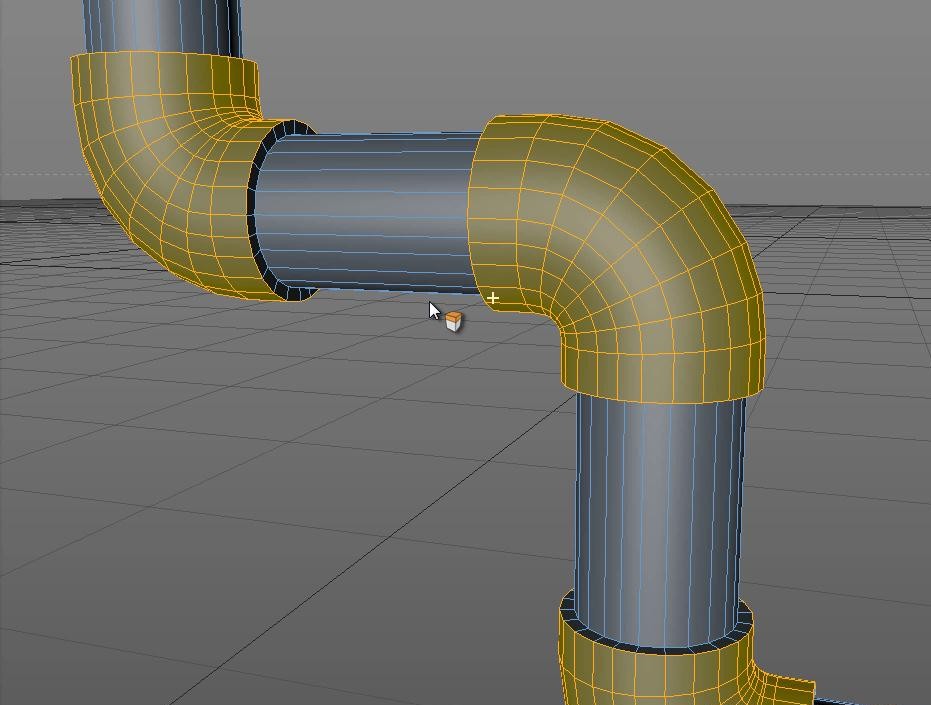
This tip demonstrates a simple technique for rounding, extruding, and detailing some simple metal or PVC pipes.
Category: Screencasts
Watch me create, teach, or share, the things that I am working on.
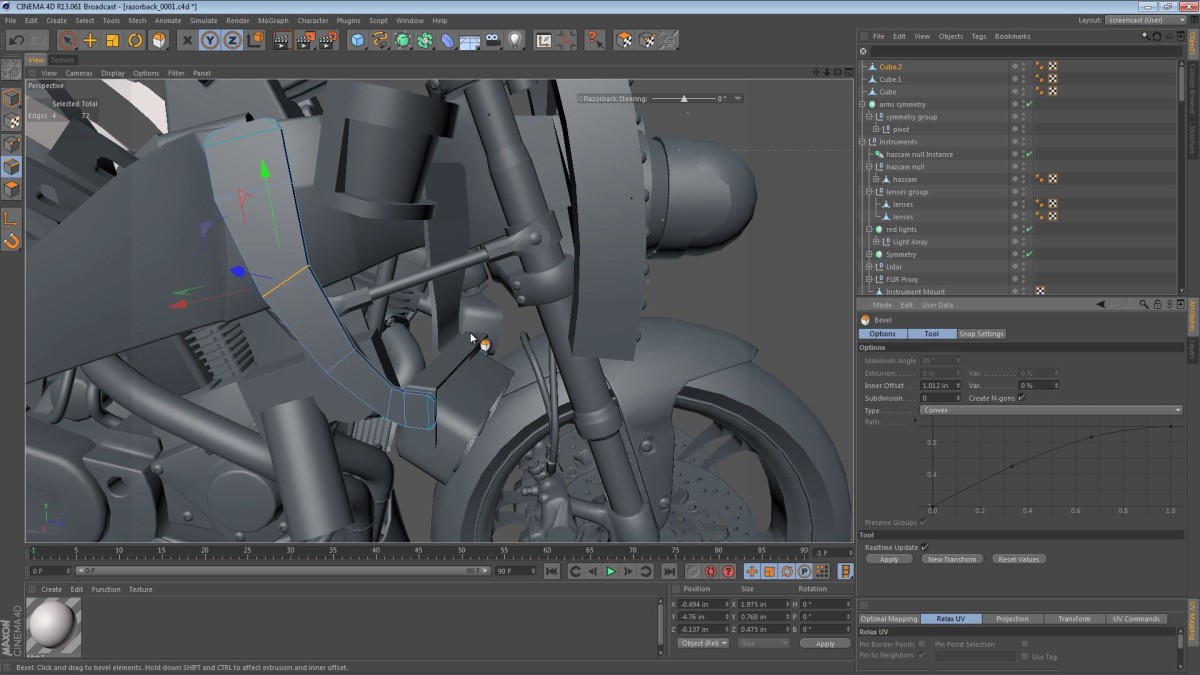
The term Hazcam is taken from the cameras on the front of the NASA/JPL Mars rovers. It stands for Hazard Avoidance Cameras. I think the instrument density is at a good level. We’ve still got to include an antenna array and several GPS sensors as described in the book.
Read More
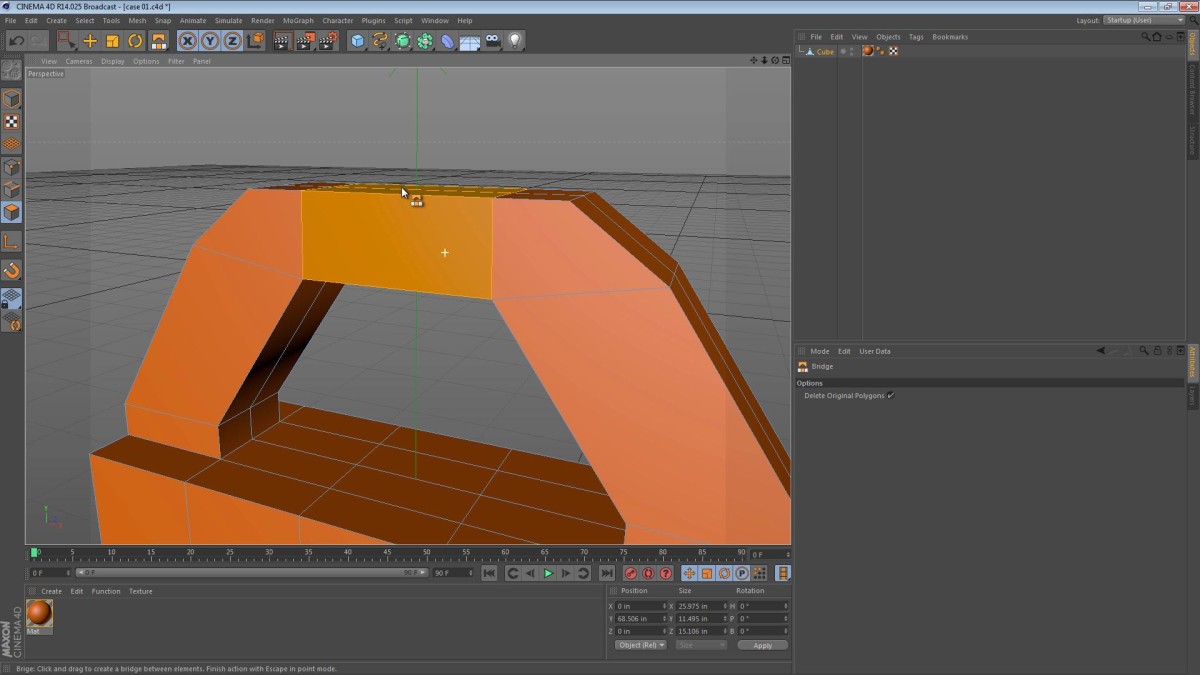
This tip focuses on a situation, and not a specific tool or object. Cinema 4D does not have the most robust polygonal modeling tool-set of all 3D applications, however it does have a few very versatile tools that offer useful workflow shortcuts.
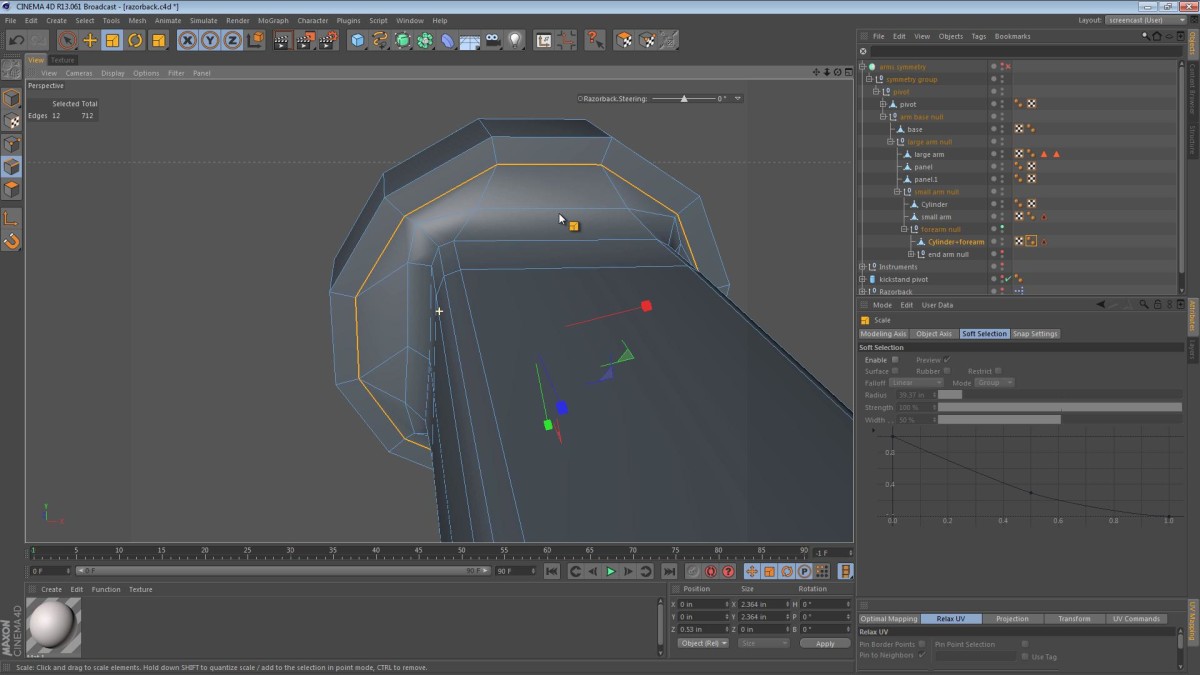
In part 19 of the Razorback screencast series, we use a Boolean operation to join now separate components of the upper arm to the rotating disc/bearing area that we’ve been calling the wrist. Keeping with the visual trend of the robotic arm up until this point, I blend the cylindrical part into the rectangular part of the arm. We’ve used this approach Read More
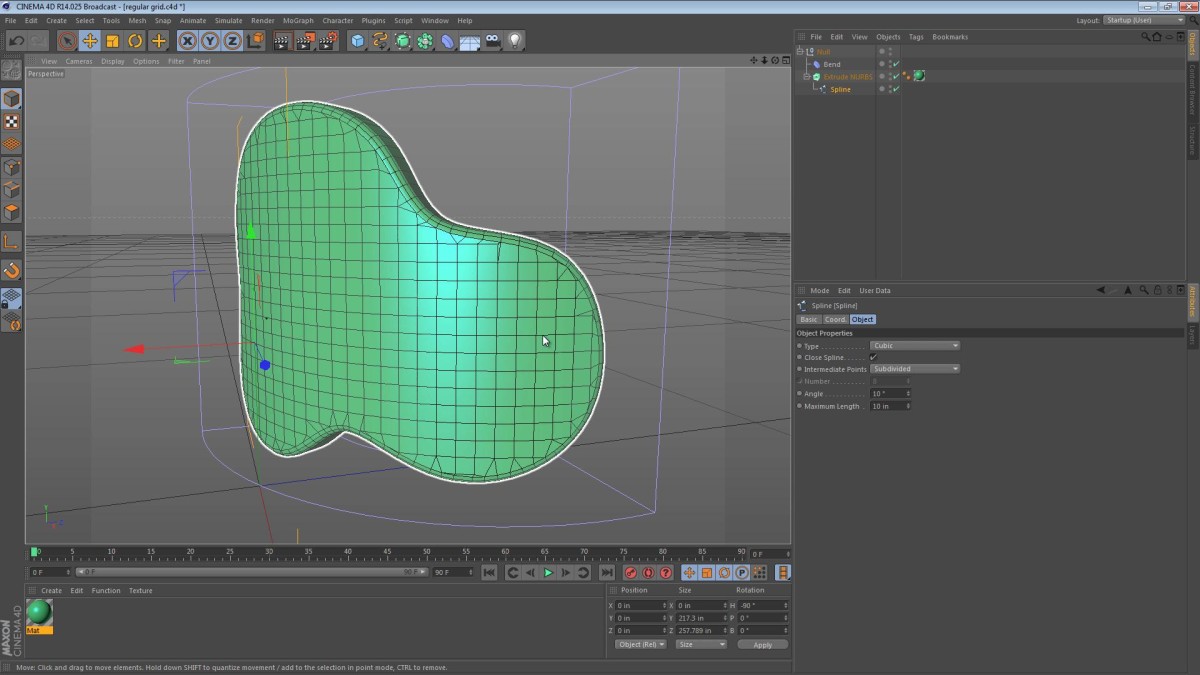
This Five Minute Tip is about the Regular Grid and Subdivided spline options. When used in tandem, these options can provide a very quick and easy way to subdivide geometry that is not yet converted to polygons (in this case, an ExtrudeNURBS object).
The video below shows us bending an ExtrudeNURBS shape and addressing the messy geometry that follows.
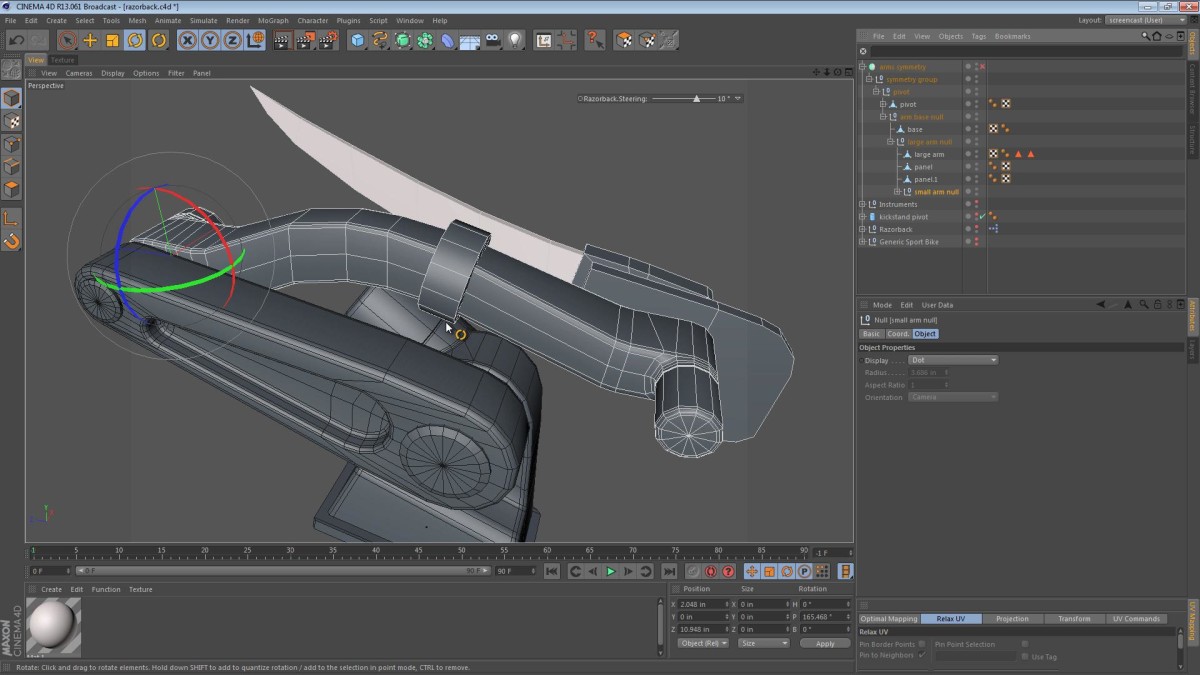
In this part of the Razorback series, we split the upper arm into two pieces. Earlier on in the series I wanted to keep the robotic arms as simple as possible, and while doing so, I unintentionally hampered the range of motion. The following video follows me as I try to correct this situation. The result is actually better looking in my opinion.
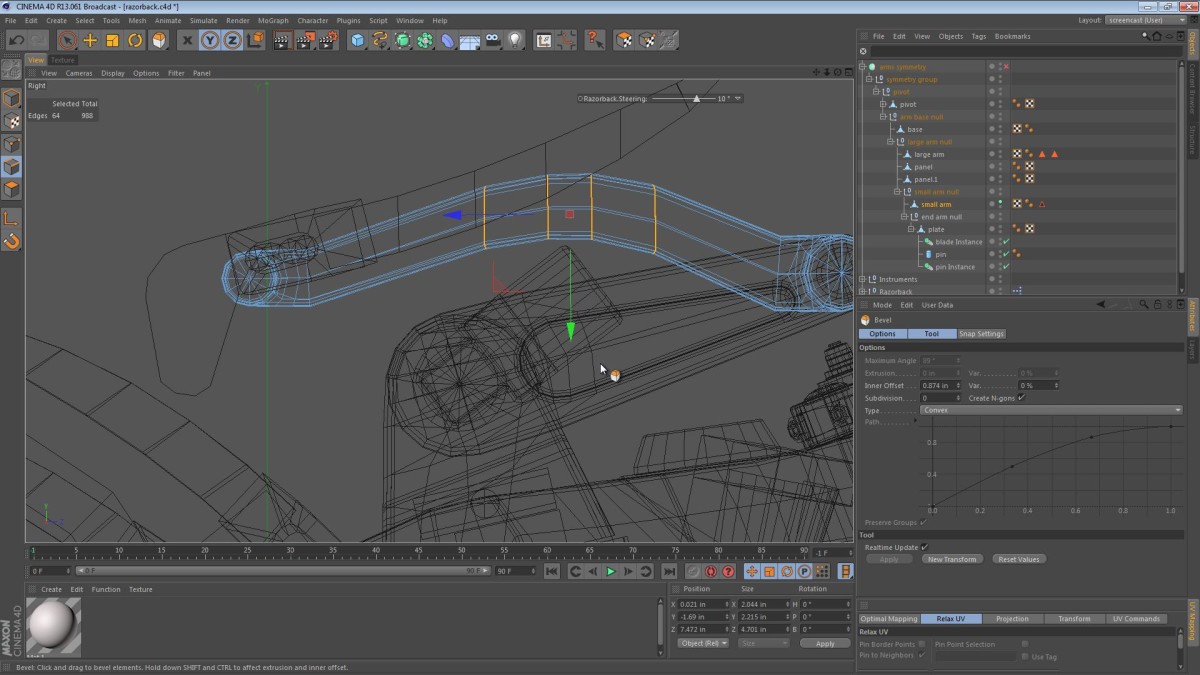
In this part of the Razorback series, we are going to revisit the Pneumatic kickstands. First, we take a second look at the upper robotic arm and make some pretty dramatic tweaks.
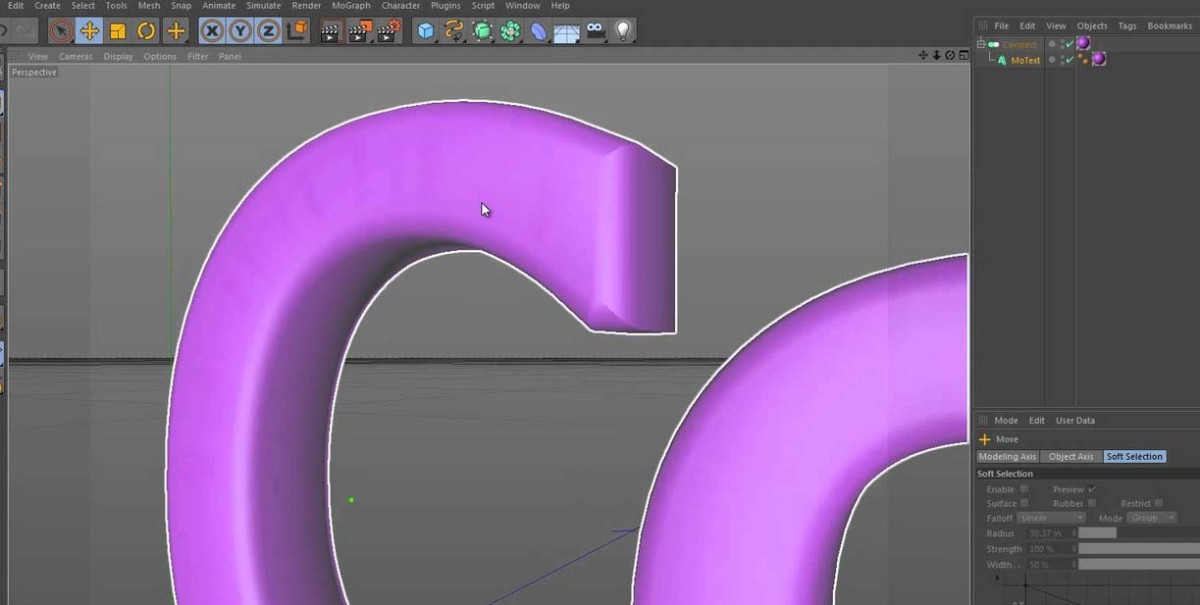
This Five Minute Tip is the inaugural tip and reflects on a video I saw on Greyscale Gorilla a while ago. It uses the Cinema 4D Connect Object to join tow different parts of one object or two completely separate objects. Read on for the video and some more info about the tip.
Read More

When arriving home from work this week, I spotted a dry patch of dirt. It was cracked, and had a dark spot in the center. I was instantly struck with the inspiration to create a simple clay pot with the dirt I saw, and a vine growing from the crack.
The video below is sped up and shows the process I used to create this simple scene. You can also download the Cinema 4D scene file. It should open in versions 12–14. You should read on for the video and the download. Read More
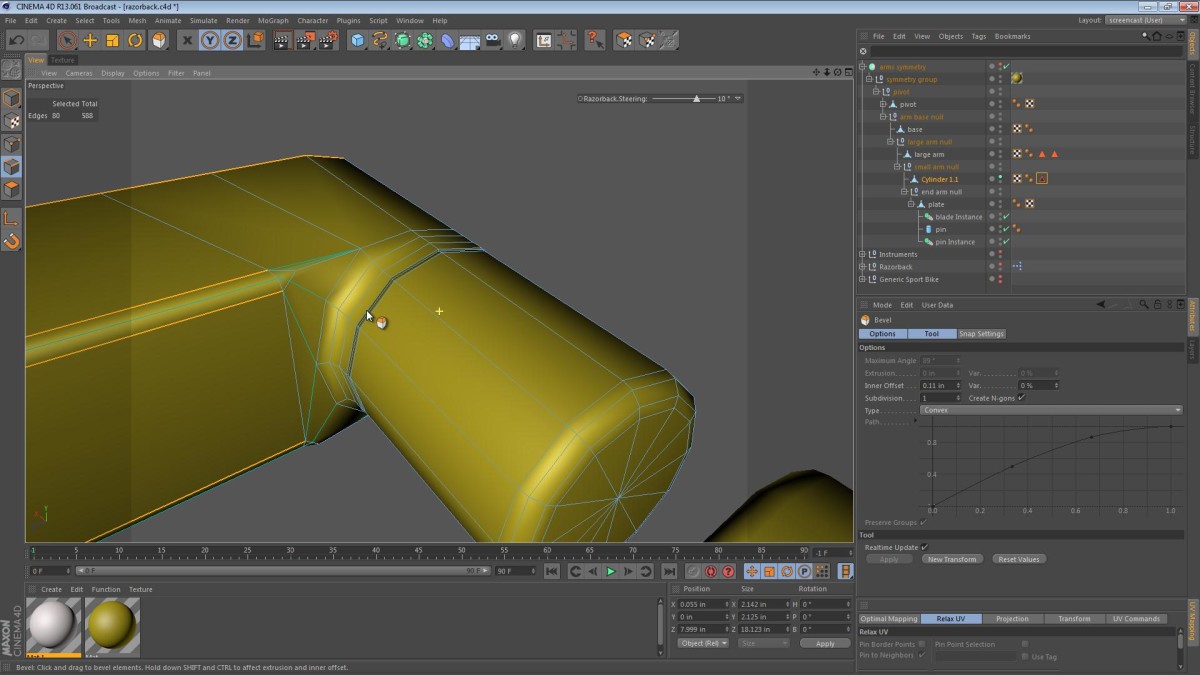
In this installment of the Razorback screencast, we kick things off by reconstructing the upper robotic arm of the machine. There’s a bit of modeling, and some new techniques in store for you.
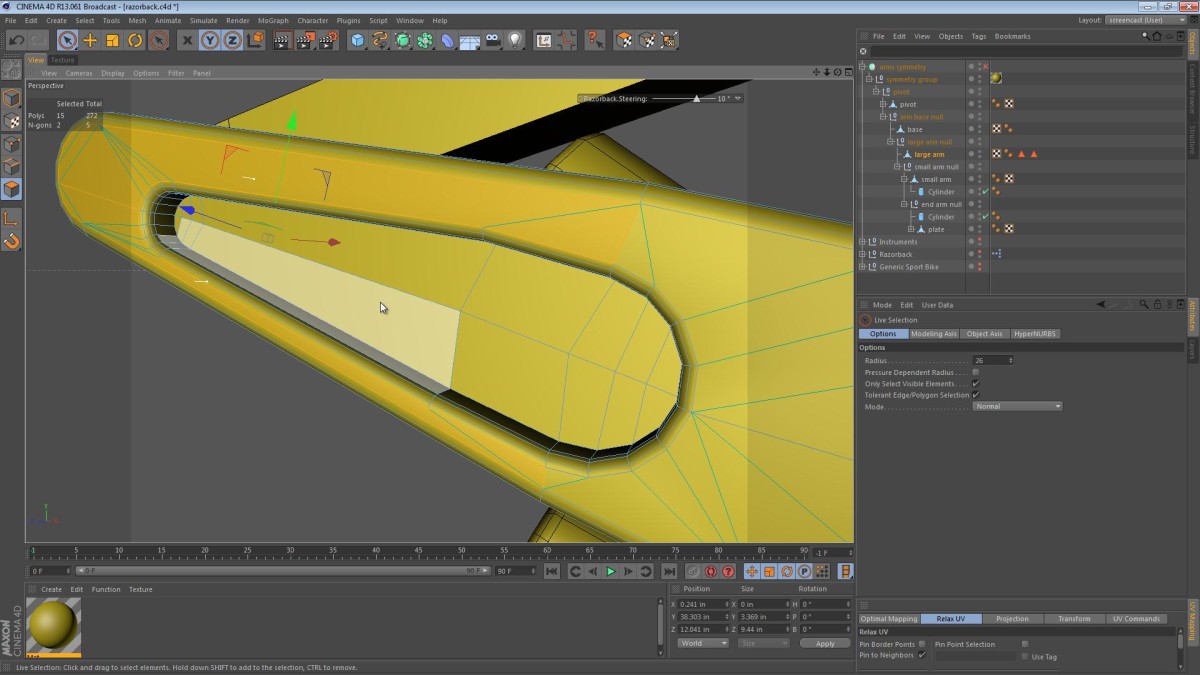
In this part of the series, we continue refining one of the robotic arms, in an effort to make the Razorback’s arms more polished and complete.
Most of the video is spent cleaning up geometry and beveling edges to create smooth transitions.
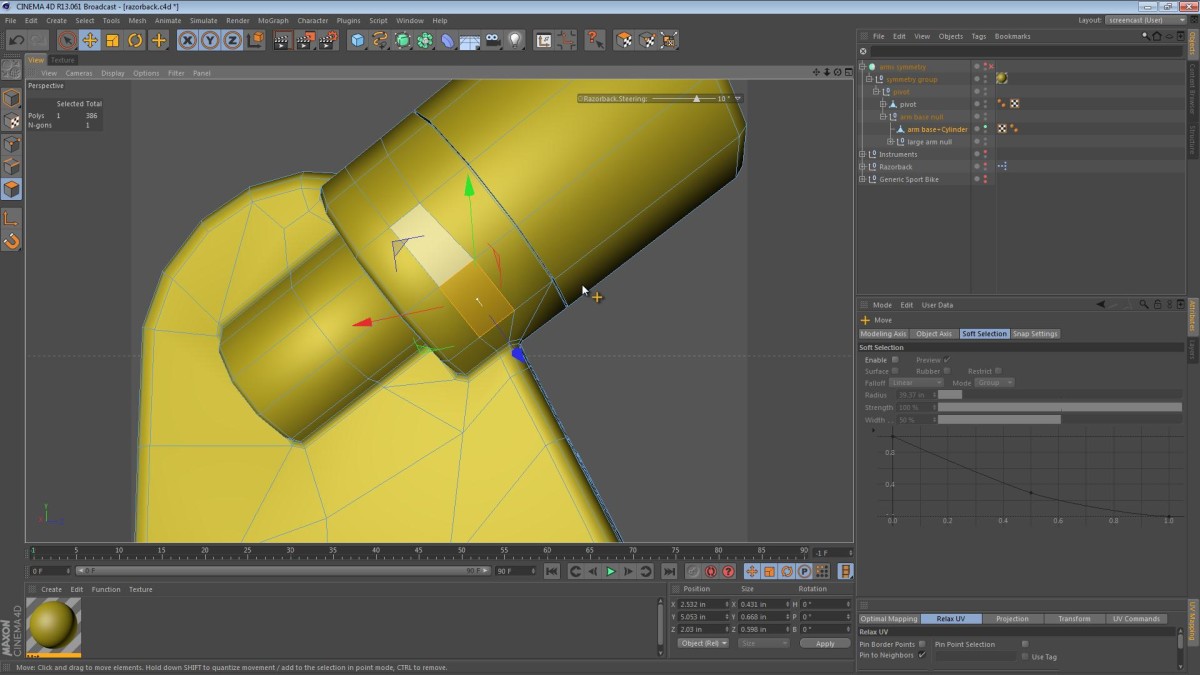
In this part of the video series, we start to give some attention to areas of the model that are still very primitive. I kick things off by refining, smoothing and merging the base of the robotic arms. The base part of the arm has a motor mount fused to the housing as if it were cast from a single mold.
We start by merging the objects, giving it a yellow color and running through some Boolean techniques that may sound familiar if you saw my recent videos on Booleans in Cinema 4D.
I realize that at this stage of the modeling process, I may be making Purchase Desyrel words like: Boolean-ing and Boolean-ed… I’m OK with that. If we can Google something, then I can consider something Booleaned.
